THERMAL TRANSFER LABEL PRINTER
USER MANUAL
LTT204
Page 1: ...THERMAL TRANSFER LABEL PRINTER USER MANUAL LTT204...
Page 2: ...onsent We reserve the right to change the product in technology parts software and hardware If you need further information about the product you can contact the dealer No section of this manual shall...
Page 3: ...of paper 17 4 LED indicator and the function of button 22 4 1 LED indicator 22 4 2 General button function 22 4 3 Boot functions 23 4 3 1 Gap black label sensor detection 23 4 3 2 Gap Black Mark Cali...
Page 4: ...any other purpose without expressed written permission All other brand names product names or trademarks belong to other individual owners Due to continuous product improvement the machine specificati...
Page 5: ...ownload True Type Font fonts to the printer s memory Besides scaled fonts five different alphanumeric OCR A and OCR B fonts are also available Combining powerful functions a competitive price and high...
Page 6: ...Fonts and bar codes can be rotated in four directions 0 90 180 270 degree Included fonts Can download Windows fonts for use Can download firmware to update Supports text barcodes photos Refer to TSPL...
Page 7: ...60W Environmental conditions Operating environment temperature 5 40 C 41 104 F Humidity non condensing 25 85 Storage environment 40 60 C temperature 10 90 1 4 Ribbon Specifications Ribbon external di...
Page 8: ...4 5 Max 115 mm 4 5 Min 25 4 mm 1 0 Min 25 4 mm 1 0 Paper thickness label bottom paper Max 0 25 mm Max 0 25 mm Min 0 06 mm Min 0 06 mm Internal roll paper maximum capacity outside diameter 127 mm 5 OD...
Page 9: ...ly to indicate the nature and extent of the damage please keep the packing material so that the printer can be mailed Install the printer on a clean stable table and open the printer carefully Check w...
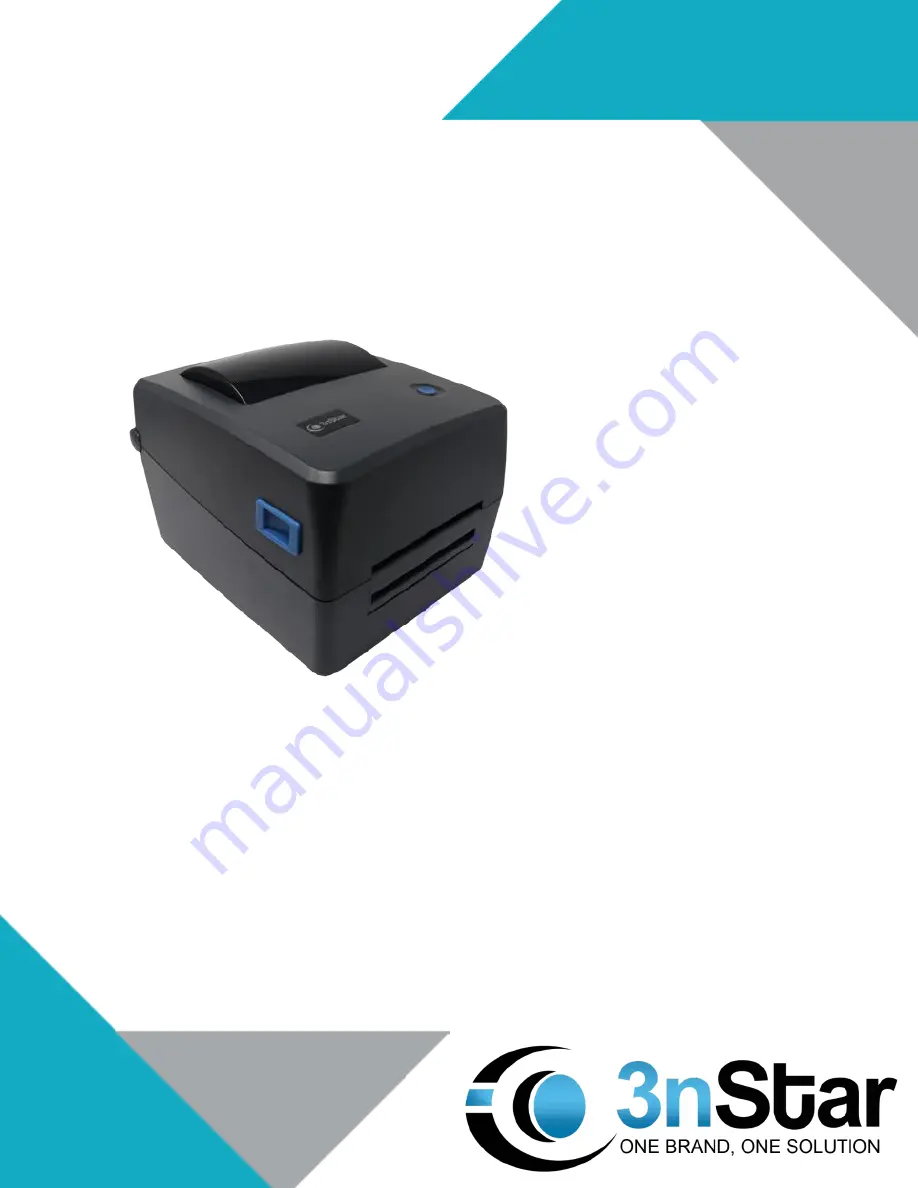
Page 10: ...10 2 2 Printer components Appearance 1 Feed Button 2 LED indicator light 3 Paper outlet 4 Cover open switch 3 2 1 4...
Page 11: ...11 Internal parts 1 Ribbon gear 5 Bracket lock 2 Printhead 6 Cover support kit 3 Label guide 7 Black mark sensor 4 Front cover 8 Stripping sensor...
Page 12: ...12 9 Ribbon fixed kit 13 Platen roller 10 Grating wheel 14 Ribbon fixed fastener 11 Ribbon gear 3 15 Used ribbon fixed fastener 12 Ribbon gear 2...
Page 13: ...ck 3 USB USB 2 0 Full Speed mode 4 Paper inlet Attention The transfer interface of the printer in the picture will difference according to the type of machine you are purchasing actual transfer interf...
Page 14: ...o the appropriate slot on the computer 4 Insert the power cord into the power cord connection 5 Plug the other end of the power cord into an AC outlet ATTENTION Turn off the printer s power switch and...
Page 15: ...down the printhead gently to access the ribbon installation area Use the arrow direction in picture for reference 3 Insert the ribbon into the ribbon fixed fastener at the right side and adjust the wh...
Page 16: ...bon wheel corresponds to the position of the ribbon to the concave surface of the ribbon recovery axis 6 Turn the ribbon gear 2 to flatten the ribbon and take up the slack 7 As shown in the picture to...
Page 17: ...17 Ribbon installation path...
Page 18: ...in the direction indicated by the arrows and open the top cover of the printer 2 Put the paper on the label supply shaft and use the paper coil to fix the paper on the center of the supply shaft if t...
Page 19: ...er through the paper guide block and the black mark sensor Pull the paper over the rubber roller Adjust the paper guide and paper to the same width and having only slight contact with each other 5 Pus...
Page 20: ...c tool select the printer settings page press the sensor correction key Refer to chapter 5 3 Note The label sensor of this series printer is removable Please confirm that the gap or black mark of the...
Page 21: ...21 Media loading path...
Page 22: ...wnloading data or in pause status Purple The printer is formatting the data Red fixed Printer is in head opened or cutter error status Red blinking Printing errors such as paper out jam or memory erro...
Page 23: ...Gap black label sensor detection This detection is used to determine the sensitivity of the label paper sensor after the printer starts up When you change specifications of the paper roll or initializ...
Page 24: ...last used Please follow the steps below to calibrate the sensor 1 Turn off the power switch 2 Hold on the button then turn on the power switch 3 Release the button when the LED becomes purple and blin...
Page 25: ...lf test values can be used to check the quality of the printing and show the settings of the printer s internal set up Self test printout Model Firmware version Serial number Current printing time len...
Page 26: ...the computer And on the right are data printed out in the form of hexadecimal values according to the left ASCII string This function provides the user or engineer a debug program After debugging use...
Page 27: ...blue during the 5 blinks The LED color will be changed as following Purple blue red 5 blinks purple 5 blinks blue 5 blinks solid blue Factory default values Parameter The default value Speed 127 mm s...
Page 28: ...kip the AUTO BAS procedure you can use this function to ignore these automatically executable files Please follow the procedures below to skip an AUTO BAS program 1 Turn off printer power 2 Press the...
Page 29: ...h can check the printer information file download and send emulation commands 5 1 Enable DiagnosticTool tool program There are three administration pages printer settings file management communication...
Page 30: ...et this part Go to the next step 2 Click the needed function in the function area 3 Printer function introduction in the administration page of Printer Setting is as follows Introduction Sensor calibr...
Page 31: ...k sensor Gap sensor 2 Turn on the printer 3 Select the communication port according to the connected port The default setting connection interface of the printer diagnostic tools program is USB If tra...
Page 32: ...nostic Tool show head opened Cover doesn t close entirely Reclose cover firmly Printer Diagnostic tools the Diagnostic Tool show Ribbon end or Ribbon speed error Ribbon at the end Supply a new ribbon...
Page 33: ...FLASH can store up to 256 files at most 2560KBthe maximum storage capacity in FLASH is 2560KB Poor print quality Ribbon and label paper are not installed Correctly There is dust or glue stacking on th...
Page 34: ...e When the printer is restarted the RTC time is incorrect Battery dead Please replace the battery on the motherboard Wrinkle problem Pressure of print head is uneven Ribbon is not installed correctly...
Page 35: ...and wipe it thoroughly with Medical alcohol and a Cotton swab or lint free cloth Clean the platen roller when changing a new label roll Strip paper flake Use the lint free cloth with Medical alcohol...
Page 36: ...36 Update record Date Content Editor 2018 07 01 Release...