19
© 3M 2011. All Rights Reserved.
3M™ Digital Projector X56
Operating
1.
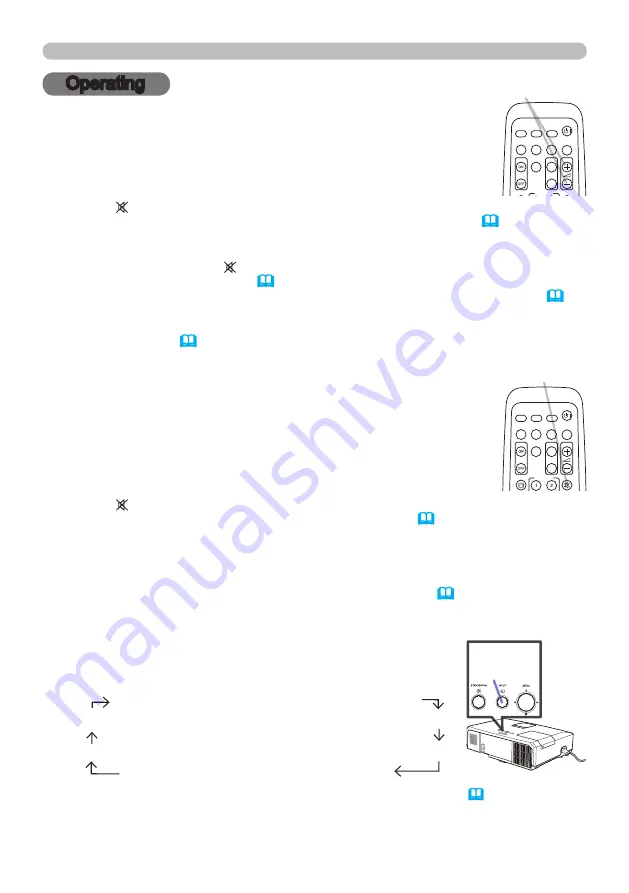
Adjusting the volume
Use the
/
VOLUME -
buttons to adjust the volume.
A dialog will appear on the screen to aid you in adjusting the
volume. If you do not do anything, the dialog will automatically
disappear after a few seconds.
● When is selected for current picture input port, the volume adjustment is
disabled. Please see AUDIO SOURCE item of AUDIO menu (
46
).
● Even if the projector is in the standby mode, the volume is adjustable when
both of the following conditions are true:
- An option other than is selected for STANDBY in the AUDIO SOURCE
item of the AUDIO menu (
46
).
- NORMAL is selected in the STANDBY MODE item of the SETUP menu
(
45
).
● In the standby mode, the volume of the microphone is adjustable with the
/-
buttons on the remote control, in synchronization with the volume
of the projector
(
19
).
1.
Press
MUTE
button on the remote control.
A dialog will appear on the screen indicating that you have muted
the sound.
To restore the sound, press the
MUTE
,
or
VOLUME -
button. Even if you do not do anything, the dialog
will automatically disappear after a few seconds.
Temporarily muting the sound
● When is selected for current picture input port, the sound is always muted.
Please see AUDIO SOURCE item of AUDIO menu (
46
).
● C.C. (Closed Caption) is automatically activated when sound is muted and an
input signal containing C.C. is received. This function is available only when
the signal is NTSC for
VIDEO
or
S-VIDEO
, or 480i@60 for
COMPONENT
,
COMPUTER IN1
or
COMPUTER IN2
, and when AUTO is selected for
DISPLAY in the C.C. menu under the SCREEN menu (
53
).
1.
Press
INPUT
button on the projector.
Each time you press the button, the projector switches its
input port from the current port as below.
Selecting an input signal
/
-
button
INPUT
button
MUTE
button
● While ON is selected for AUTO SEARCH item in OPTION menu (
54
), the projector
will keep checking the ports in above order repeatedly till an input signal is detected.
● It may take several seconds to project the images from the
USB TYPE B
port.
PAGE UP
PAGE
DOWN
VIDEO
MY SOURCE/
DOC.CAMERA
STANDBY/ON
FREEZE
MAGNIFY
ASPECT
SEARCH
AUTO
BLANK
MUTE
VOLUME
KEYSTONE
MY BUTTON
POSITION
ESC
ENTER
MENU
RESET
COMPUTER
PAGE UP
PAGE
DOWN
VIDEO
MY SOURCE/
DOC.CAMERA
STANDBY/ON
FREEZE
MAGNIFY
ASPECT
SEARCH
AUTO
BLANK
MUTE
VOLUME
KEYSTONE
MY BUTTON
POSITION
ESC
ENTER
MENU
RESET
COMPUTER
COMPUTER IN1
COMPUTER IN2
LAN
VIDEO USB TYPE A
S-VIDEO USB TYPE B
COMPONENT (Y, Cb/Pb, Cr/Pr)
HDMI
Operating


