86
C
HAPTER
8: M
AINTENANCE
FOR
THE
8-SL
OT
C
HASSIS
AND
THE
16-S
LOT
C
HASSIS
2
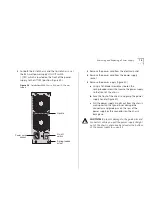
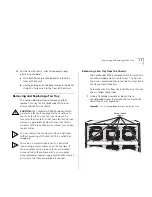
Grasp the two handles on the fan tray and firmly pull
the fan tray toward you (Figure 49).
Figure 49
Removing the Fan Tray from the CoreBuilder 9000
Chassis
CAUTION:
Before you completely remove the fan
tray, wait until all fans in the fan tray stop rotating.
3
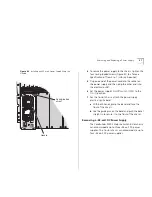
Carefully pull the fan tray straight out from the
chassis, making sure that you do not damage the
connector and guide pin on the rear of the fan tray
(Figure 50).
Replacing a Fan Tray in a Chassis
You can install a fan tray in your CoreBuilder 9000
8-slot chassis or 16-slot chassis while the power is still
on.
To install a new fan tray:
1
Grasp the two handles on the fan tray and then face
the rear of the chassis.
2
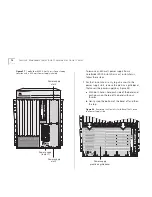
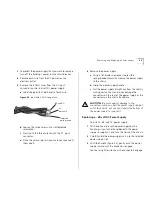
Locate the guide pin and the connector on the fan
tray (Figure 50).
Figure 50
Guide Pin and Connector on the Fan Tray
Fan tray
handles
Handle
Fan tray
connector
Fan tray
guide pin
Summary of Contents for 3CB9E7 - CoreBuilder 9000 Chassis Switch
Page 54: ...54 CHAPTER 4 COREBUILDER 9000 ENTERPRISE SWITCH MODULES...
Page 60: ...60 CHAPTER 5 START THE SWITCH...
Page 74: ...74 CHAPTER 7 MAINTENANCE FOR THE 7 SLOT CHASSIS...
Page 88: ...88 CHAPTER 8 MAINTENANCE FOR THE 8 SLOT CHASSIS AND THE 16 SLOT CHASSIS...
Page 96: ...96 APPENDIX A SPECIFICATIONS...
Page 112: ...112 APPENDIX C INTELLIGENT POWER SUBSYSTEM...
Page 118: ...118 APPENDIX D TECHNICAL SUPPORT...


