


31
DVD System Setup Menu
LANGUAGE SETUP
OSD LANGUAGE
AUDIO LANG
SUBTITLE LANG
MENU LANG
ENGLISH
CHINESE
GERMAN
SPANISH
FRENCH
PORTUGUESE
AUDIO OUT
KEY
SPDIF/OFF
SPDIF/RAW
SPDIF/PCM
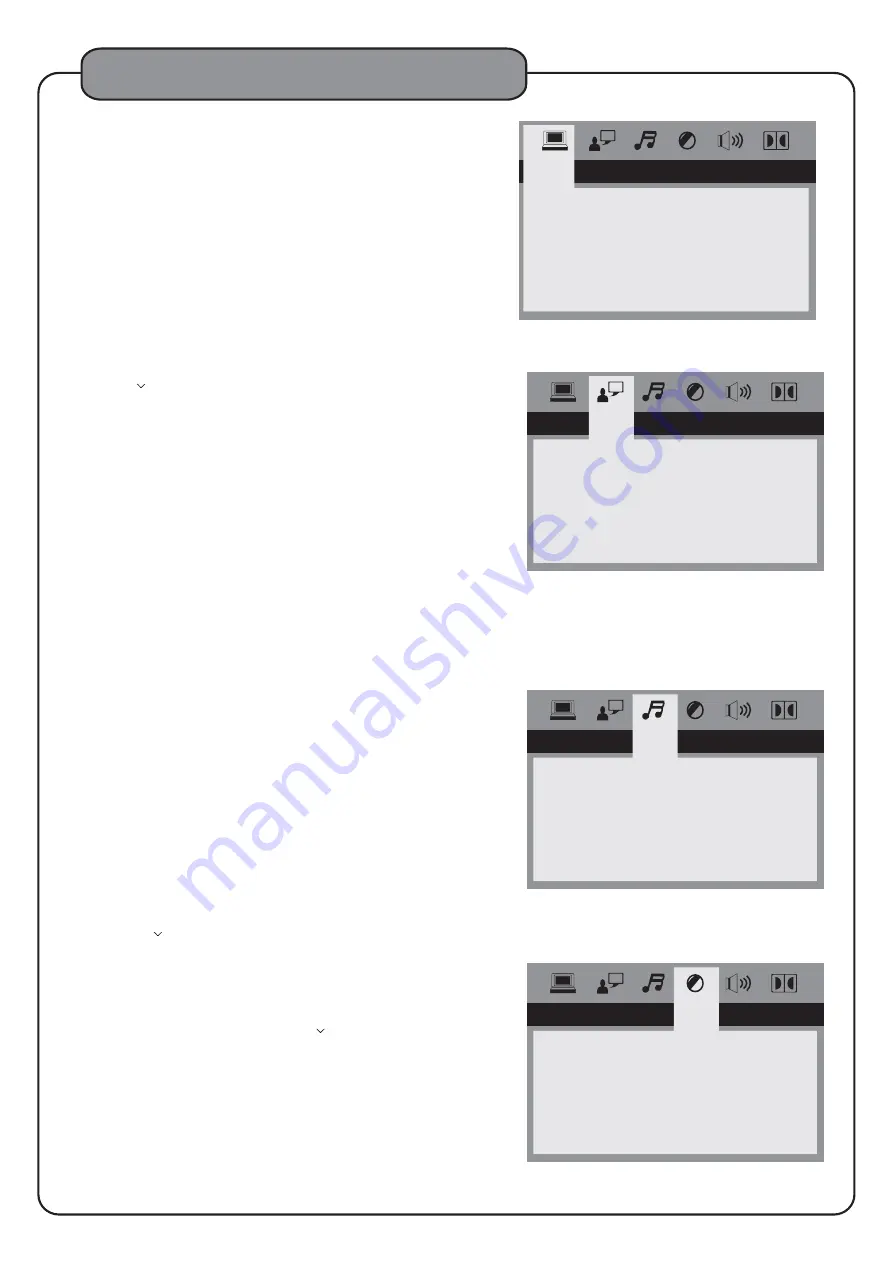
AUDIO SETUP
L ANGUAGE SETUP
1. AUDIO OUT
2. KEY CONTROL
The AKJ780C allows user to use the standard analog audio
outputs and the digital output simultaneously by using the RCA
L/R outputs and the coaxial output. When the AKJ780C is
connected to an external sound system with digital inputs,
select settings as follows:
(a) SPDIF/OFF This setting completely disables the digital
audio output.
(b) SPDIF/RAW This setting selects the Dolby 5.1 digital
audio output. (optical- coaxial)
(c) SPDIF/PCM This setting selects the stereo digital audio
output (2 channels)
This feature functions exactly the same as the KEY CONTROL
buttons on the remote control, but with a virtual vertical fader
instead of a left-right display. Use the Directional buttons
(< > ^
) on the remote control to the fader bar and raise
(# or sharp) or lower (b or flat) the output of the disc in
quarter-step increments.
AUDIO SETUP
BR I GHTNESS
CONTRAST
HUE
SATURATION
VIDEO SETUP
Use the Directional buttons (< > ^
) to raise or lower the
vertical fader bars to set up the following video preference
settings.
- Adjust the brightness of the display.
- Adjust the contrast of the display.
- Adjust the hue of the display.
- Adjust the saturation of the display.
1. BRIGHTNESS
2. CONTRA ST
3. HUE
4. SATURATION
VIDEO SETUP
7. NEXT PAGE
SYSTEM SETUP
DEFAULT
RESUME
PREV PAGE
7.1 DEFAULT
7.2. RESUME
7.3. PREV PAGE
Select this mode if you choose to return all system
preferences to the DEFAULT settings.
ON:RESUME the last spot played on a disc and
returns to it when the AKJ780C is turned back on
from the Standby mode.
OFF:RESUME is off.
?
?
RESTORE
This menu is used to set up the language preferences for the
functions described as follows. Use the Directional buttons
(< > ^
) on the remote control to navigate through the
menu and use the ENTER button to make selections.
The available OSD languages include English, Spanish,
French, German, Portuguese, and Chinese.
This feature is dependent upon the options included with each
individual disc. Choose from the list provided by the disc.
This feature is dependent upon the options included with each
individual disc. Choose from the list provided by the disc.
This feature is dependent upon the options included with each
individual disc. Choose from the list provided by the disc.
1. OSD (On Screen Display) Language
2. AUDIO L ANGUAGE
3. SUBTITLE L ANGUAGE
4. MENU L ANGUAGE


