


Prestige 650H-E
14
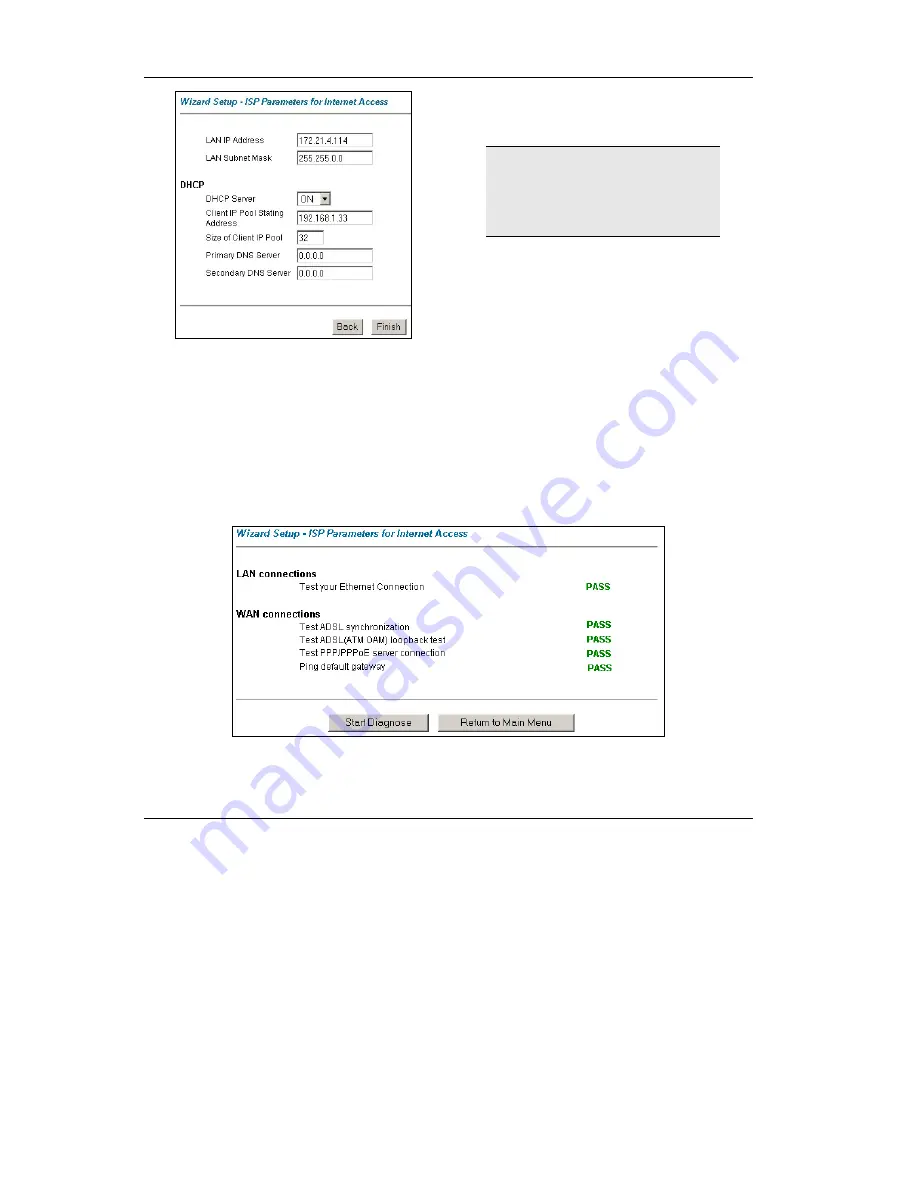
Figure 12 Wizard: LAN Configuration
Enter the IP address of your Prestige in dotted decimal
notation in the
LAN IP Address
field. For example,
192.168.1.1 (factory default).
If you change the Prestige’s
LAN IP address, you must use
the
new
IP address if you want
to access the web configurator
again.
Enter a subnet mask in dotted decimal notation in the
LAN Subnet Mask
field.
From the
DHCP Server
drop-down list box, select
On
to allow your Prestige to assign IP addresses, an IP
default gateway and DNS servers to computer systems
that support the DHCP client. Select
Off
to disable
DHCP server.
When DHCP server is used, set the following items:
Specify the first of the contiguous addresses in the IP address pool in the
Client IP Pool Starting Address
field.
Specify the size or count of the IP address pool in the
Size of Client IP Pool
field.
Enter the IP address(es) of the DNS server(s) in the
Primary DNS Server
and/or
Secondary DNS Server
fields.
Step 2.
The Prestige automatically tests the connection to the computer(s) connected to the LAN
ports. To test the connection from the Prestige to the ISP, click
Start Diagnose
.
Otherwise click
Return to Main Menu
to go back to the
Site Map
screen.
Figure 13 Wizard Screen 4