14
УКР
АЇНСЬКА
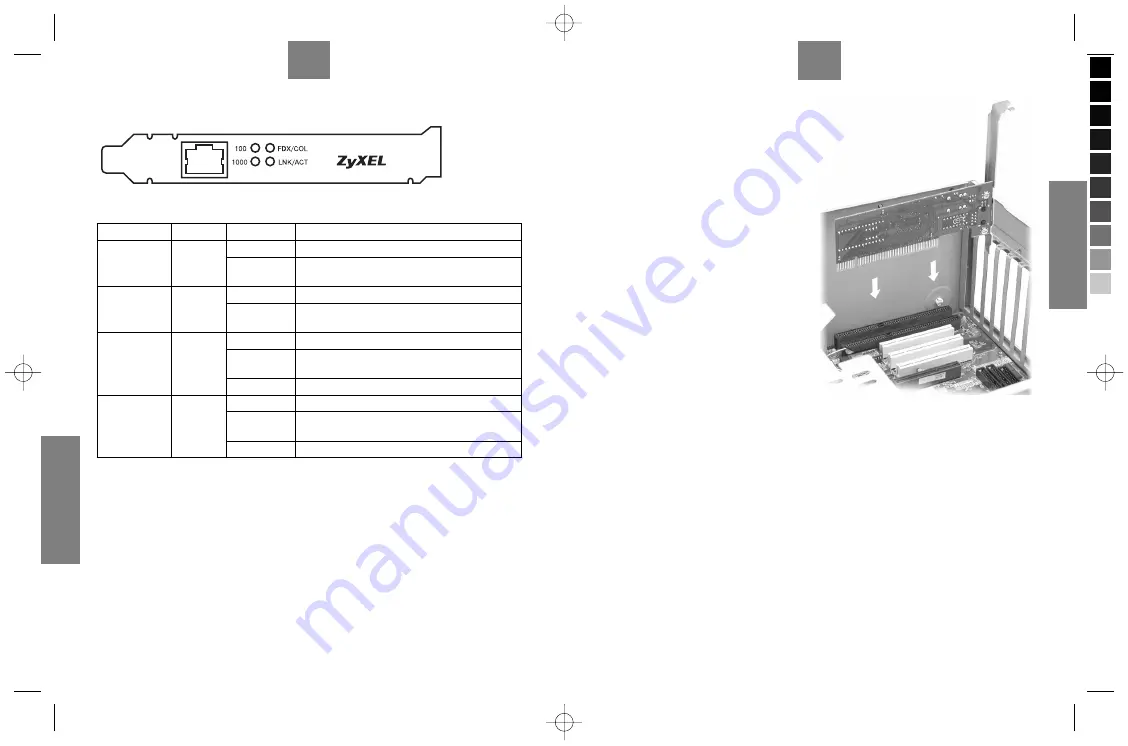
Панель зі світлодіодами
Світлодіоди показують поточний стан роботи адаптера.
Світлодіоди
Колір
Стан
Описання
100
Зелений
Увімкнений
Порт працює на швидкості 100M Мбіт/с
Вимкнений
Порт працює на швидкості 10 Мбіт/с, якщо
світлодіод 1000 також вимкнений
1000
Зелений
Увімкнений
Порт працює на швидкості 1000 Мбіт/с
Вимкнений
Порт працює на швидкості 10 Мбіт/с, якщо
світлодіод 100 також вимкнений
FDX/COL
Зелений
Увімкнений
Порт працює в повнодуплексному режимі
Миготить
Має місце конфлікт пакетів, що проходять
через порт
Вимкнений
Порт працює в напівдуплексному режимі
LNK/ACT
Зелений
Увімкнений
Порт приєднаний до мережі
Миготить
Через порт передаються або надходять
дані
Вимкнений
Порт не приєднаний до мережі
Настроювання та діагностика апаратних
засобів
Тільки для досвідчених користувачів. Без нагальної необхідності не змінюйте
параметри апаратних засобів, встановлені за умовчанням. Для настроювання
адаптера та діагностики апаратних засобів користуйтеся програмою
DIAG.EXE
, яка
знаходиться на встановлювальному диску. Запускайте цю програму тільки у вікні
DOS.
3
ENGLISH
Hardware Installation
Follow the steps below to install the adapter.
1
Save your work and close all
programs.
2
Turn off the computer and peripheral
devices, such as the printer.
Then disconnect the computer power
cord from the power source.
3
Ground yourself by wearing an anti-
static wrist strap or touching a metal
object.
4
Remove the computer cover and a slot
cover from a PCI slot.
Avoid touching the exposed
electronic components.
5
Insert the adapter into an available PCI
slot. Make sure the adapter’s contacts
are fully seated in the slot. If you
wish to use the Wake On LAN (WOL)
function, choose an available PCI slot
closest to the 3-pin WOL connector on
the computer motherboard. Refer to
Connecting WOL Cable
section.
6
Secure the adapter to the chassis with a bracket screw.
7
Replace the computer cover and power on your computer.
8
Proceed
to
Hardware Connection
section.
Connecting WOL Cable (Optional)
This is an optional function. Proceed with the installation if your computer supports
Wake On LAN and that you wish to use this function. Refer to your motherboard user’s
guide for more information.
1
Follow the steps in the Hardware Installation section to turn off the computer and make
sure the adapter is fully seated in the PCI slot.
2
One end of the WOL cable should already be connected to the adapter.
Connect the other end to the 3-pin WOL connector on the computer motherboard.
3
Replace the computer cover.
G1-UG.indd, Spread 3 of 8 - Pages (14, 3) 07/31/03 09:39 PM
OMNI LAN PCI G1 MANUAL


