


When an exception occurs when the device self-test, this interface will stay in the lower
right of the screen, you can choose to continue or shutdown. If you choose to continue,
the device will continue to start, until the device login screen is shown.
NVR hard drive has rigorous testing, if fails, the reasons may include the following
ġ
z
Unformatted new hard disk. Go to quickly configure the hard disk is formatted
d
z
Formatted hard drive, the NVR supported file systems do not match
d
z
Hard disk is damaged
d
4.7
Shutdown
If the equipment is not load, long press the PWR button on the front panel for more
than three seconds, the device will shut down, solid red becomes off after a
successfully shut down.
z
Shutdown process, the system prompts are off, do not cut off the power
d
z
Equipment running directly through the rear panel power off switch, cut off the
power or unplug the power cord should be avoided.
z
In some circumstances, the power supply is not normal, will lead to the NVR not to
work properly, serious damage can occur to the NVR. In this environment, it is
recommended to use regulated power supply, or a backup AC source.
z
If the device is logged into the main interface, you can click the top right
Button or long press the PWR button on the front panel for more than three seconds
will bring up the shutdown interface, shown in Figure 4-8 Interface.
11
Figure 4-8
Shutdown interface
4.8
Displayer resolution adjustment
NVR support resolutions with VGA 1024*768, VGA 1280*1024, VGA1600*1200,
HDMI720P, HDMI1080P, you can select the proper resolution according your
displayer.
For display using VGA set to 1024*768 or VGA 1280*1024. When using HDMI input we
advise to use HDMI 1080P.
Adjustment Steps:
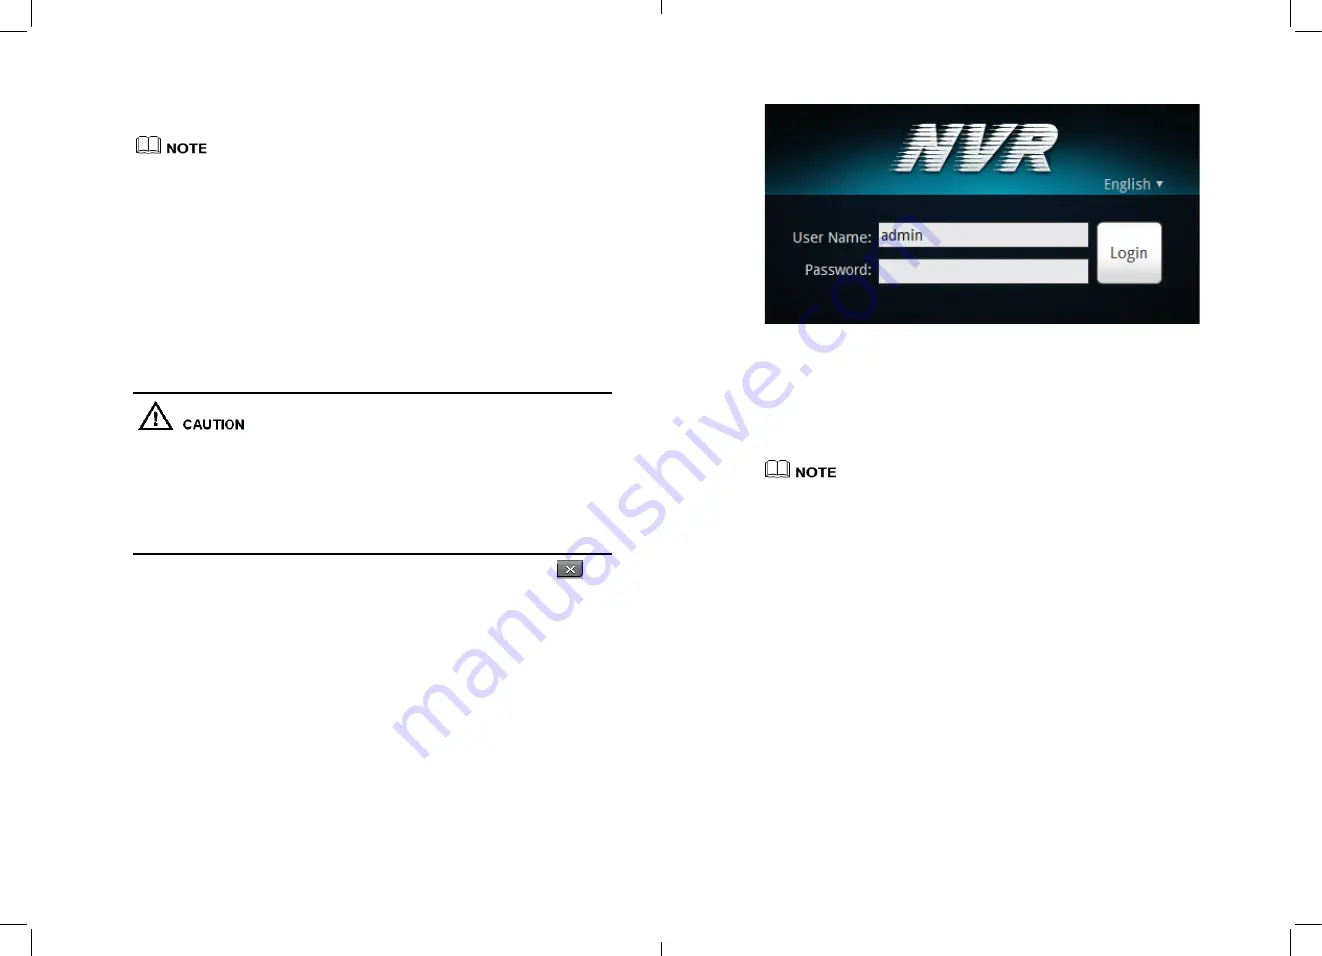
Step 1
Click Change on login interface and find the adjustment interface shown in Figure 4-9.
12


