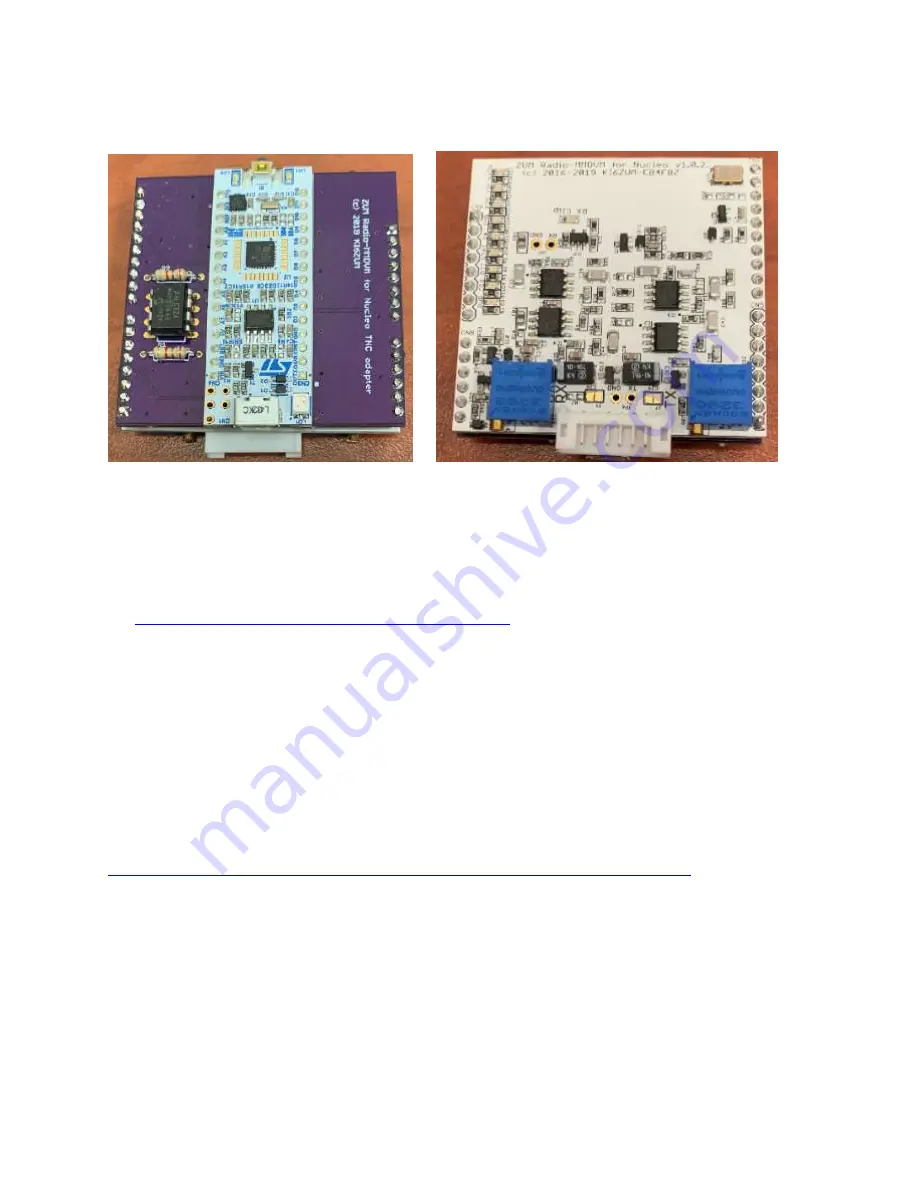
These two images below show the MMDVM-Nucleo board mounted and soldered to the
adapter board.
Flashing the NucleoTNC firmware
These steps are only for use with the NUCLEO-L432KC board.
To flash the NucleoTNC firmware you must first either build the firmware following the
steps in the section “Building the NucleoTNC firmware” or you can also download it from:
https://github.com/mobilinkd/NucleoTNC/releases
Once you have the BIN file, copy the firmware.bin file to the root of the Nucleo removable
storage device. You should see the multi-color LED near the USB connector on the Nucleo
flash while it is programming.
Once you have accomplished that, you are ready to configure and use the TNC.
Configuring the NucleoTNC firmware
To configure the NucleoTNC firmware, follow the instructions in the “TNC Configuration”
section of this NucleoTNC how-to guide:
https://github.com/mobilinkd/NucleoTNC/blob/master/Build/NucleoTNC.ipynb
Connecting the MMDVM-Nucleo board to radios
To connect the MMDVM-Nucleo board to a radio, follow the “Wiring connections” and
“Adjusting signal levels” sections above.


