


27
B150ATX series Motherboard
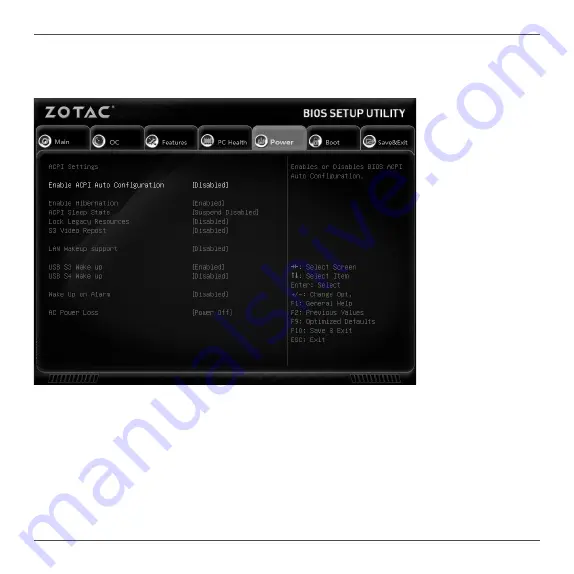
Power Menu
The items in this menu allow you to control the system power management. Press
<Enter> to display the configuration options:
q
Enable ACPI Auto Configuration
Enable or disable ACPI Auto Configuration.
q
Enable Hibernation
Enable or disable hibernation function.
q
ACPI Sleep State
Select the highest ACPI sleep state, the system will enter when the SUSPEND button is
pressed.
q
Lock Legacy Resources
Enable or diable Lock Legacy Resources.
Содержание B150 MINING
Страница 1: ...291 MA350 01R5F...
Страница 45: ...B150ATX series Motherboard 44 291 MA350 01...


