75
5.
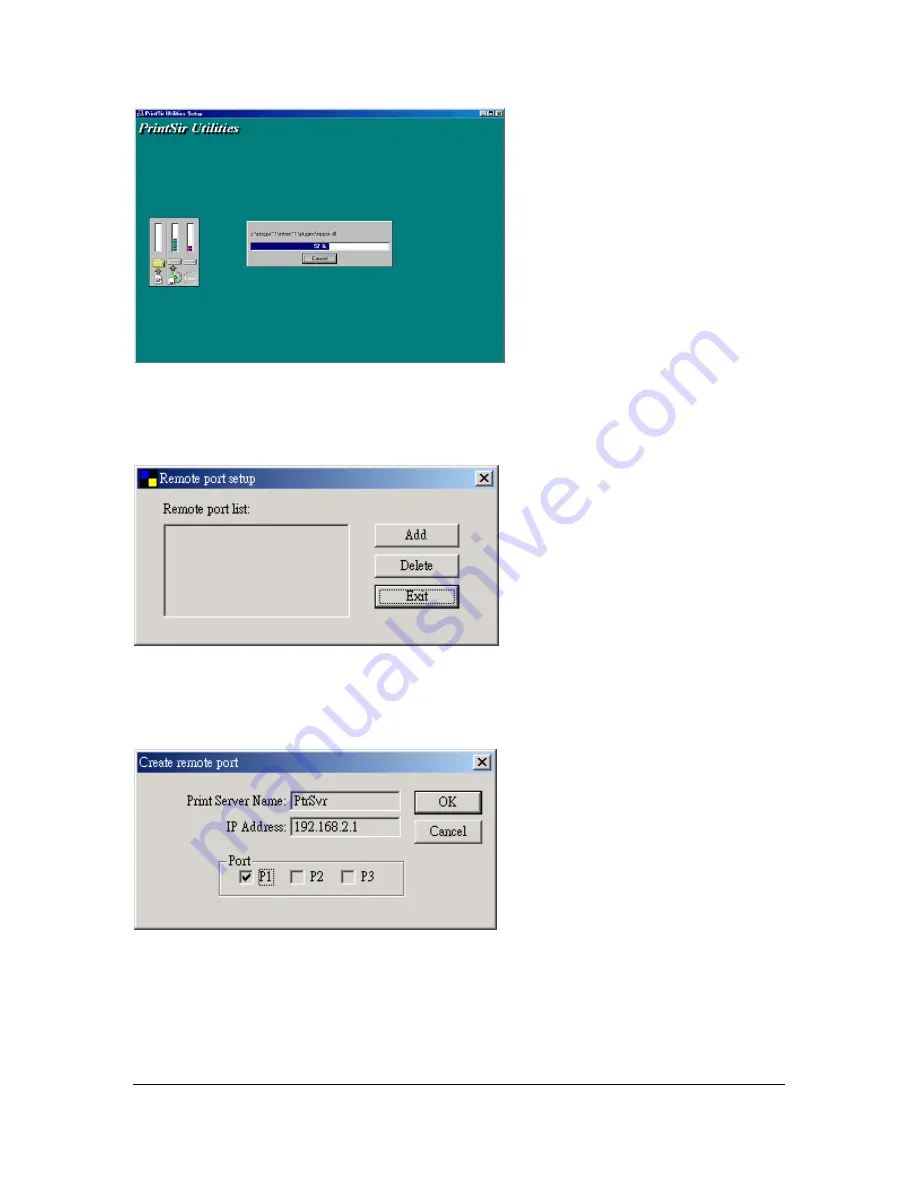
In a while, the program will finish installing all the utilities and drivers. Thus far you
have completed the installation phase and prepare to use the print server. First, you
have to add a remote port for the print server. Click “Add” to add a remote port.
6.
You have to assign a name for the print server and enter the IP address of the print
server. You only can select P1, because the router only has one print port – P1. After
filling the data, click “OK” to finish adding a remote port.
7.
After adding a remote port for the print server, you can see the remote port’s name
in the remote port list. The remote port’s name consists of print server name and the
port number and there is a “-“ between these two parts. For example, if you assign
“PtrSvr” as the print server name and select port “P1”, then the remote port’s name
will be “PtrSvr-P1”. You can click “Add” to add another remote port or click


