


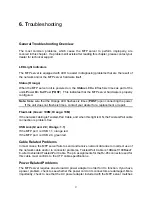


6. T
roubleshooting
General Troubleshooting Overview
The most common problems, which cause the MFP server to perform improperly, are
covered in this chapter. If a problem still exists after reading this chapter, please contact your
dealer for technical support.
LED Light Indicators
The MFP server is equipped with LED to assist in diagnosing problems that are the result of
the network and/or the MFP server hardware itself.
Status (Orange)
When the
MFP server unit is powered on, the
Status
LED will flash six times as part of the
unit’s
P
ower
O
n
S
elf
T
est (
POST
). This indicates that the MFP server hardware is properly
configured.
Note:
Make sure that the Orange LED flashes six times (
POST
) upon connecting the power.
If the unit does not flash six times, contact your dealer for a replacement or repair.
Flow/Link (Green: 100M; Orange: 10M)
If the network cabling is Twisted-Pair Cable, and when this light is ON, the Twisted-Pair cable
connection is problem free.
USB Link (Green: 2.0; Orange: 1.1)
If the MFP port is USB 1.1, orange led.
If the MFP port is USB 2.0, green led.
Cable Related Problems
In most cases, the MFP server fails to send and receive network data due to incorrect use of
the network cable and/or to connector problems. Twisted-Pair Cable is 10BaseT/100BaseT
8-wire Unshielded Twisted-Pair Cable. The pin assignments for the RJ-45 connector used for
this cable must conform to the UTP cable specifications.
Power Related Problems
The MFP server requires an external AC power adapter in order for it to function. If you have
a power problem, check to see whether the power cord or its connectors are damaged. More
importantly, check to see that the AC power adapter included with the MFP server matches
27
Содержание ZPS2000
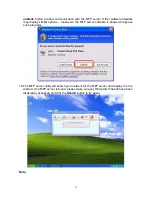
Страница 7: ...3 Click OK 4 Windows show message box 7...
Страница 8: ...5 Click Next 6 Click Next 8...
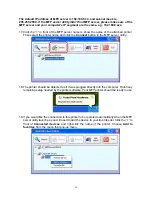
Страница 11: ...12 Click Continue Anyway 13 Click Finish to complete the software installation 11...
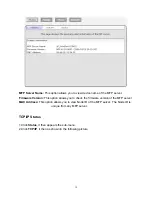
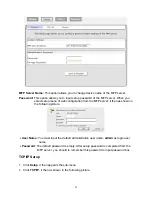
Страница 24: ...Note This option is reserved 24...
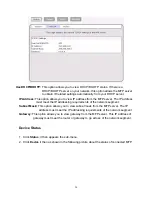
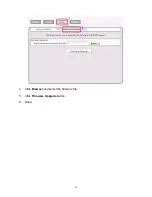
Страница 26: ...4 Click Browser and select the firmware file 5 Click Firmware Upgrade button 6 Done 26...
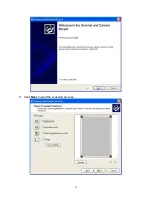
Страница 34: ...7 Double click the MFP device icon to launch Windows Scanner and Camera Wizard 8 Click Next 34...
Страница 35: ...9 Click Next to start the scanning process 35...
Страница 36: ...10 Click Next 11 Click Next 36...
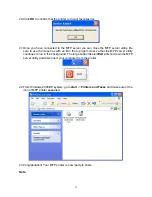
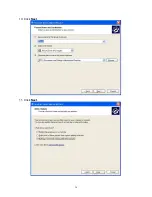
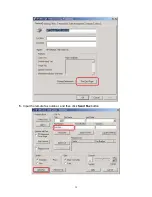
Страница 38: ...3 Right click the MFP device fax icon and then select Properties 4 Click the Print Test Page button 38...
Страница 39: ...5 Input the remote fax number and then click Send Fax button 39...
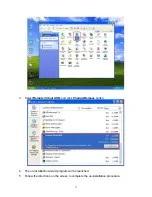
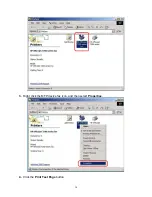
Страница 41: ...2 Setup utility will search all the MFP servers located on your private network 41...


