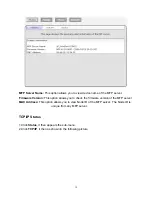
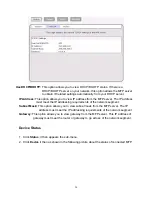
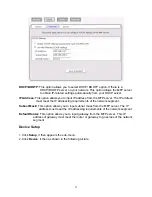


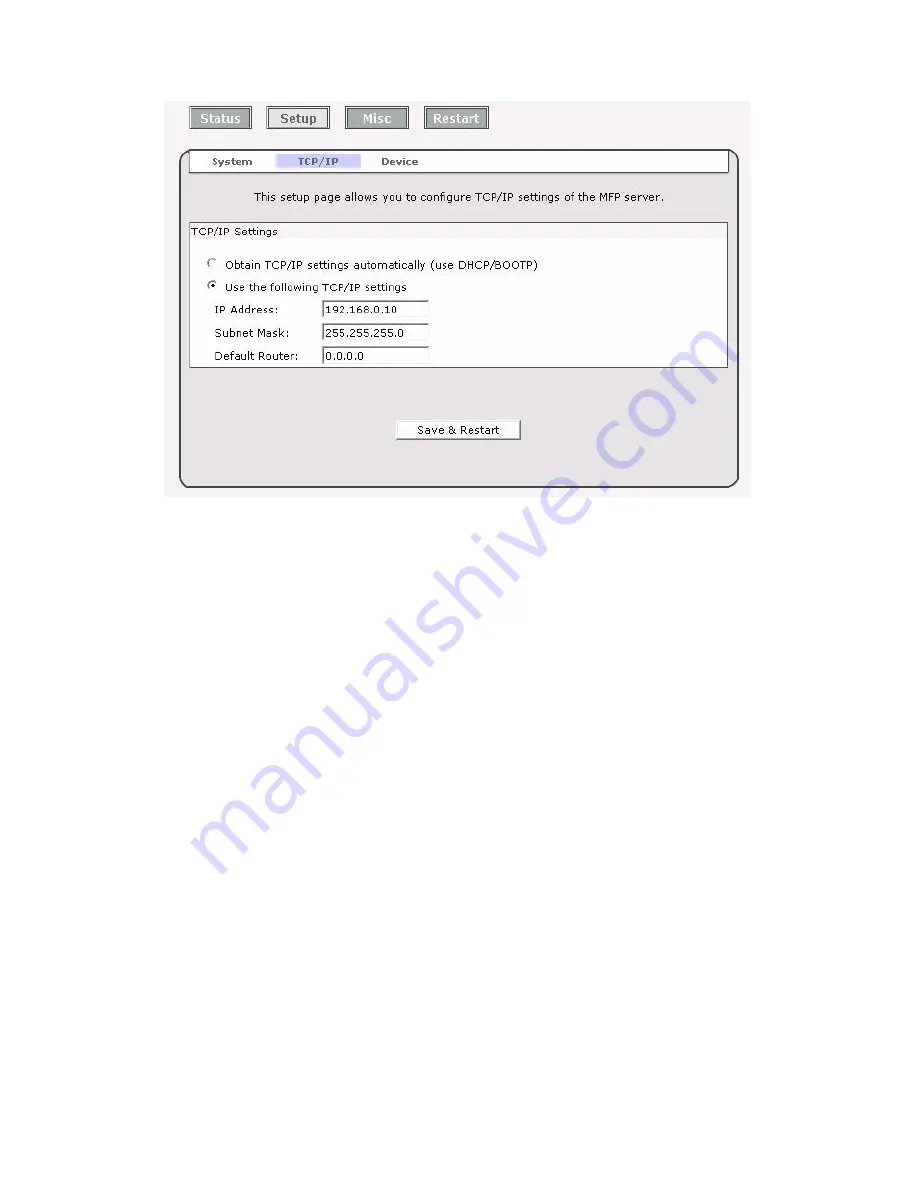
DHCP/BOOTP:
This option allows you to select DHCP/ BOOTP option.
If there is a
DHCP/BOOTP server on your network. This option allows the MFP server
to obtain IP-related settings automatically from your DHCP server.
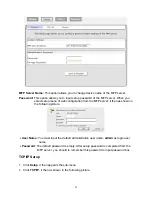
IP Address:
This option allows you to input IP address from the MFP server. The IP address
must meet the IP addressing requirements of the network segment.
Subnet Mask:
This option allows you to input subnet mask from the MFP server. The IP
address must meet the IP addressing requirements of the network segment.
Default Router:
This option allows you to input gateway from the MFP server. This IP
address of gateway must meet the router or gateway to go across of the network
segment.
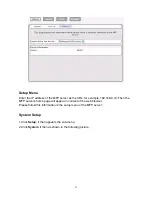
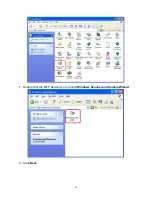
Device Setup
1. Click
Setup
, it then appears the sub-menu.
2. Click
Device
, it then as shown in the following picture.
23
Содержание ZPS2000
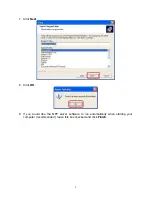
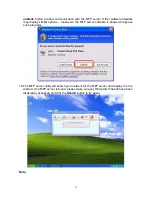
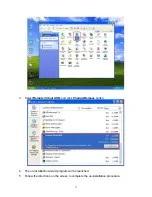
Страница 7: ...3 Click OK 4 Windows show message box 7...
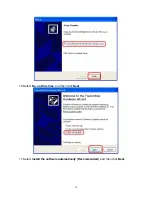
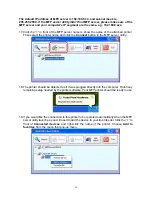
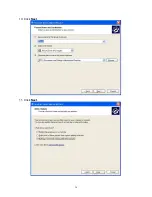
Страница 8: ...5 Click Next 6 Click Next 8...
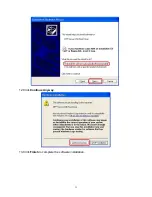
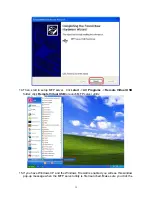
Страница 11: ...12 Click Continue Anyway 13 Click Finish to complete the software installation 11...
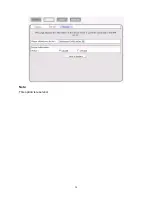
Страница 24: ...Note This option is reserved 24...
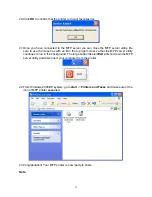
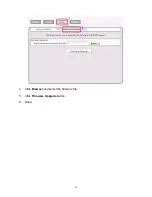
Страница 26: ...4 Click Browser and select the firmware file 5 Click Firmware Upgrade button 6 Done 26...
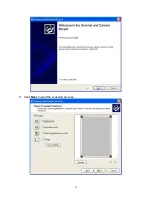
Страница 34: ...7 Double click the MFP device icon to launch Windows Scanner and Camera Wizard 8 Click Next 34...
Страница 35: ...9 Click Next to start the scanning process 35...
Страница 36: ...10 Click Next 11 Click Next 36...
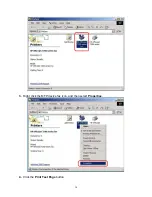
Страница 38: ...3 Right click the MFP device fax icon and then select Properties 4 Click the Print Test Page button 38...
Страница 39: ...5 Input the remote fax number and then click Send Fax button 39...
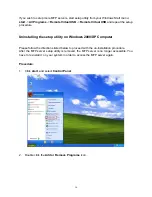
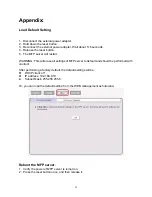
Страница 41: ...2 Setup utility will search all the MFP servers located on your private network 41...


