User Manual for Zmodo DVR
20
3. Call preset: Select the preset number you want to call, and click on the go to button
.
4. Clear/reset preset: Select the preset number you want to clear/reset and click on
the clear button
.
⑨
Sequence
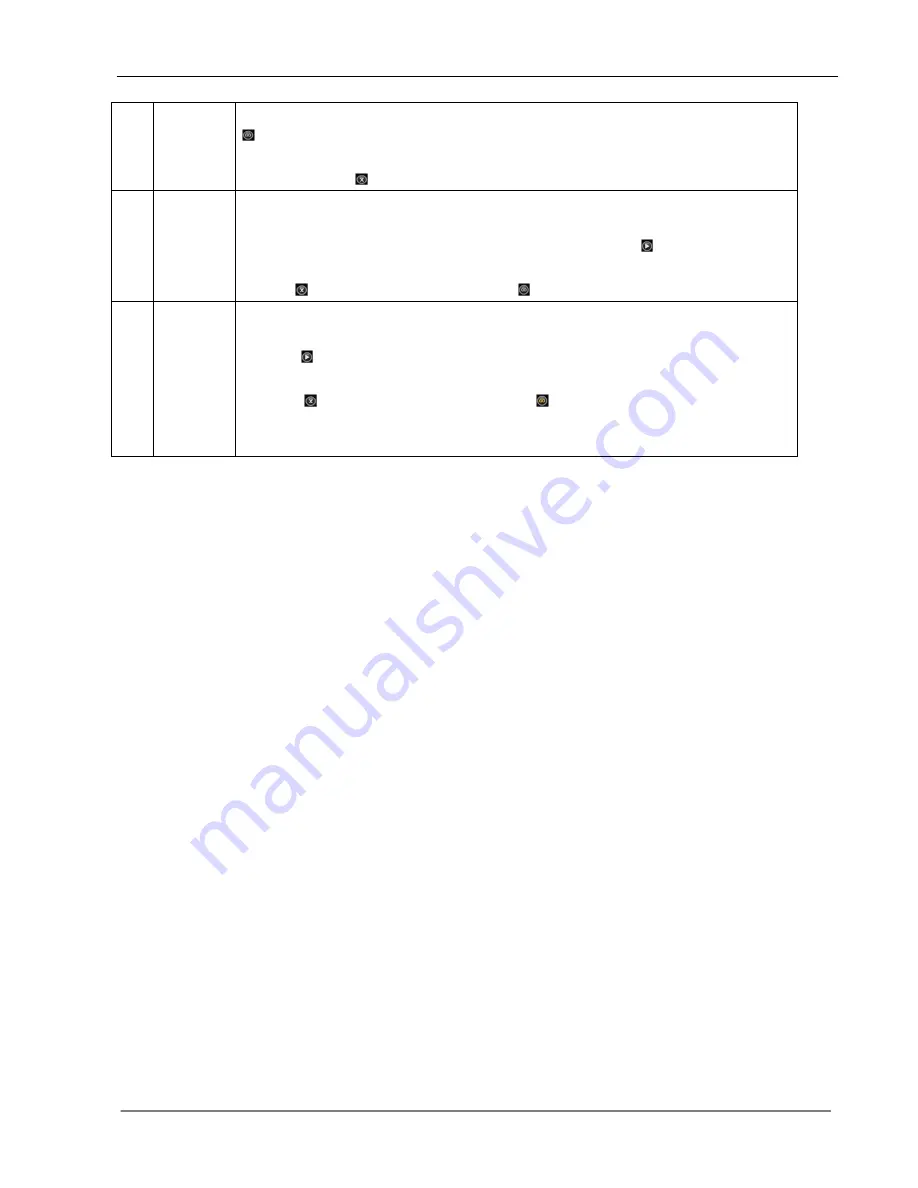
Sequence is a running route of the camera that passes through multiple presets.
Set sequence:
】
1. Select preset number you want to call. Click on set button .
2. Repeat step 1 and 2 to add the other presets till finishing.
3. Click button to end setting. Click on
button to clear sequence.
⑩
Track
Track is a continuous running route of camera.
Set track:
Click on to start setting.
Move camera as the track and pattern you want it to run.
Click on
again to finish setting. Click on to run track and click again to stop
running.
Note
: Whether Track is supported or not depends on the type of PTZ.
4.4.2 Motion Detection Setting
Motion detection settings include sensitivity and area. The sensitivity includes three levels: High, Med,
and Low. Please select <Tool
Bar>→<System>→<Video>→<Motion Detection> to set schedule and
area settings.
With the grid displayed for both schedule and area detection settings click and drag mouse to alter the
schedule and area settings. Areas not covered by a blue box on area detection grid will be disabled for
motion detection.
Front Panel Operation: The area detection grid is displayed as 16 X 12 blocks on screen. Move
highlight icon among the blocks
by using [◄], [►]buttons. Please follow these steps below to set:
1. Move highlight icon to one of the blocks
you want to adjust by using [◄], [►] buttons. Press [OK]
button to adjust that blocks setting. An active motion detection block will be colored blue.
2. Press [FN] button to open a multi-box selection grid. User the [Direction] buttons to expand grid in
desired directions. Once the grid covers the desired area, press [OK] to adjust the entire grids
setting.
3. Repeat steps 1 and 2 until finished.
4. Press [ESC] to exit grid.
In the Motion Detection Schedule Settings, users are free to schedule motion detection capabilities
being on or off based on a grid which allows for hourly and daily customization throughout the week.
4.4.3 Mask Setting
The mask setting function can make some regions of the camera image invisible. These regions in both
live preview and playback will be masked out in black. The method to set the mask is similar to the
motion detection setting. You may click and drag to select an area to mask out. Right clicking on a
masked area will remove the mask and right clicking in a non-masked area will exit the masking screen.
A total of 4 masking blocks can be added to each channel.
Содержание 16CH DVR
Страница 1: ...1 For further help please visit www zmodo com User Manual H 264 Standalone DVR 16CH...
Страница 12: ...User Manual for Zmodo DVR 11 Chapter 3 Menu Description 3 1 Menu Structure...
Страница 41: ...User Manual for Zmodo DVR 40 Figure 1 Figure 2 Figure 3 Figure 4...
Страница 42: ...User Manual for Zmodo DVR 41...
Страница 43: ...Lifetime Customer Support Informative Knowledge Base at kb zmodo com 24 7 Live Support onwww zmodo com...


