Zip CEX-O Скачать руководство пользователя страница 1

Installation, Maintenance and User Instructions

Please read these instructions carefully

before

commencing installation of the InLine water heater.

Please leave these instructions with the end user after installation.

Zip Heaters (UK) Ltd
14 Bertie Ward Way
Dereham
Norfolk
NR19 1TE

Telephone 0845 6024533
Facsimile 01362 692448
www.zipheaters.co.uk
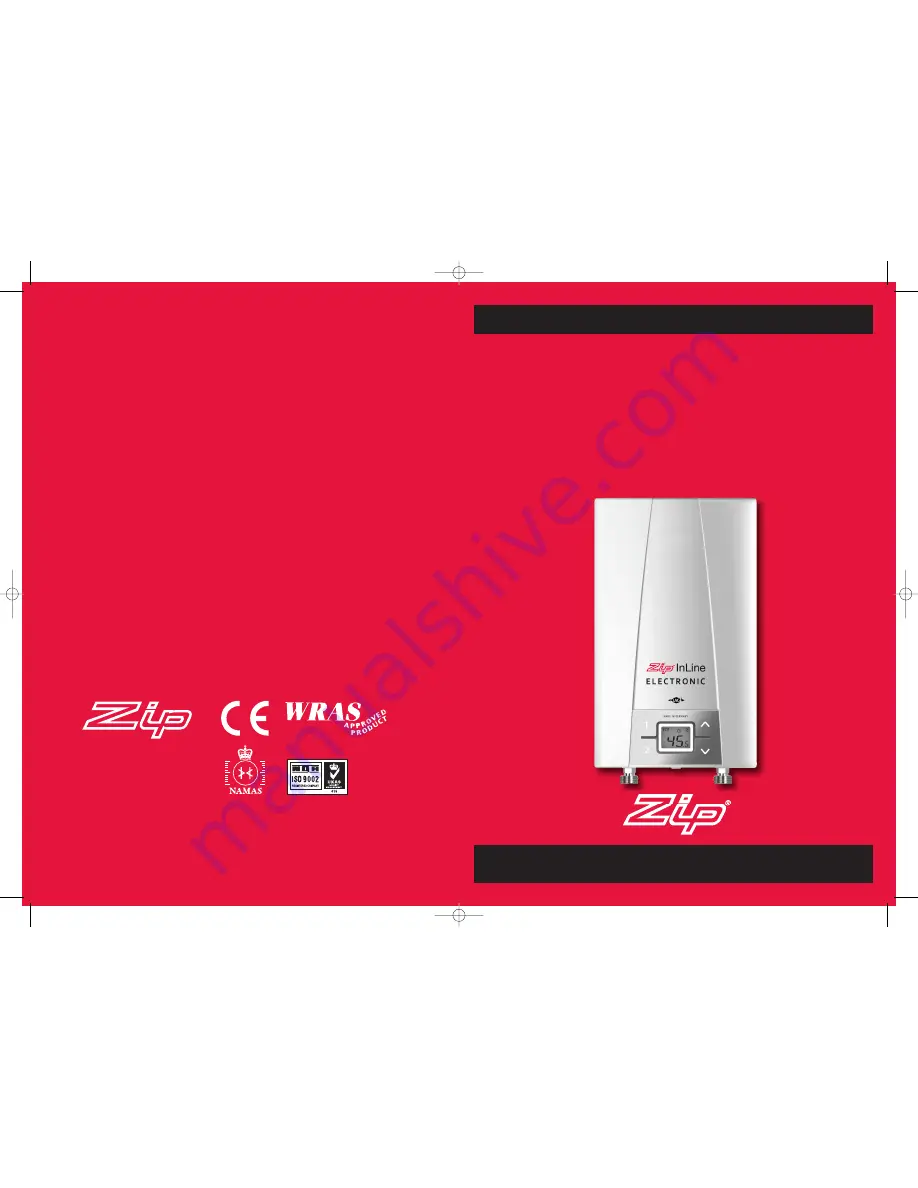
Zip InLine

Electronically Controlled Instantaneous

Water Heaters

Models CEX-O & CEX-U

Issued August 2011

The terms ‘Zip’ and ‘InLine’
are registered trademarks.

9120 - 2546

CEX cover qxd:Varipoint cover qxd  17/10/11  16:41  Page 1

Содержание CEX-O

Страница 1: ...the end user after installation Zip Heaters UK Ltd 14 Bertie Ward Way Dereham Norfolk NR19 1TE Telephone 0845 6024533 Facsimile 01362 692448 www zipheaters co uk Zip InLine Electronically Controlled...

Страница 2: ...alled and used strictly in accordance with the instructions supplied and that failure is not due to accident misuse abuse unsuitable water conditions or to any alteration modification or repair by any...

Страница 3: ...red temperature is achieved exactly to the degree and irrespective of fluctuations in voltage and water pressure The power rating of the appliance can be selected as either 9 6kW or 7 2kW at 240V at t...

Страница 4: ...he hot water tap until all air has been eliminated from the water heater and no more air emerges before re connecting to the electrical supply The front cover of the appliance must never be opened bef...

Страница 5: ...min 5 0 2 Pressure loss 2 5 l min 0 2 bar 9 0 l min 1 3 bar 3 Temperature setting range 30 C 55 C Maximum weight kg 2 70 Dimensions H x W x D mm 294 x 177 x 108 Water connections BSP Protection class...

Страница 6: ...Dimensions 5 CEX O CEX U Installation Maintenance and User Instructions August 2011 294 108 177 100 37 CEX pages qxd Varipoint qxd 30 8 11 14 27 Page 4...

Страница 7: ...e IN82812 CEX U IN82816 CEX O Control Panel IN82811 Main PCB IN82246 Non return Valve IN82819 Flow Sensor IN86250 Terminal Block IN82806 Grommet IN82813 Water Connection IN82512 Temperature Sensor Set...

Страница 8: ...on and ensure that the wiring is not directly accessible after installation Check that the power supply is switched off prior to electrical connection This appliance must be earthed Installation site...

Страница 9: ...s see Fig 2 4 Drill the holes using a 6mm drill then insert the dowels and screws provided leaving the screws protruding 5mm from the wall 5 Hang the appliance with the screws engaging in the key hole...

Страница 10: ...wiring is not directly accessible after installation To protect the appliance a circuit breaker must be fitted with a rating suitable for the nominal current of the appliance Check that the power supp...

Страница 11: ...e sizing and fuse protection is in place and with regard to local site conditions and electrical regulations This should only be done by a competent installer 1 Switch on the power supply to the appli...

Страница 12: ...e maximum power rating has been selected Lock level Operation of the appliance can be restricted Refer to instructions under Service Menu to set the lock level This should only be done by a competent...

Страница 13: ...to the menu item list Press program key 2 to exit the service menu and return to the standard display After two minutes without any key stroke the system automatically returns to the standard display...

Страница 14: ...erating mode of the appliance can be restricted Setting options 0 no restriction factory setting 1 disables Reset to factory setting Parameters can be viewed but not modified in service menu 2 as 1 ad...

Страница 15: ...d outlet temperature can be adjusted between 30 C and 55 C Note reducing the temperature below 30 C displays and the heating function will not operate Program buttons The two program keys allow a pres...

Страница 16: ...to confirm deactivation Note Programmed temperature settings may need to be reset after deactivating temperature limitation Reset to factory setting To reset to factory settings press the up arrow an...

Страница 17: ...more than one outlet Power limit If the maximum power available from the appliance is insufficient to heat the volume of hot water being drawn off to the required temperature this will be indicated b...

Страница 18: ...r heaters Plastic surfaces and sanitary fittings should only be wiped with a damp cloth Never use abrasive cleaning agents or solvents Outlet fittings tap nozzles and shower heads should be unscrewed...

Отзывы: