


61
4
(*) The frequency mentioned is a minimum frequency. Local legislation and/or your insurance
prescription might prevail depending on which one is the most stringent. When intensively
using the heater the chimney must be cleaned more frequently.
d.3 maInTenance Tasks
Only provide maintenance to the stove after verifying the stove has inter-
nally and externally cooled down completely!
Never install the unit or operate maintenance to the unit with plugged in
electrical plug. Always make sure the stove is disconnected from mains!
The Zibro authorized installer is fully trained for all maintenance tasks. Therefore
maintenance to the stove must only be done by Zibro authorized installer using
Zibro agreed parts.
G
For maintenance:
• disconnect the chimney and
• disconnect the stove completely from electrical power supply.
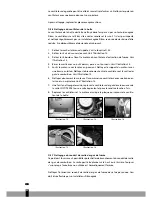
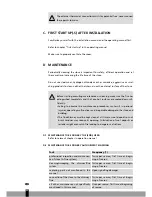
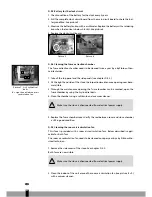
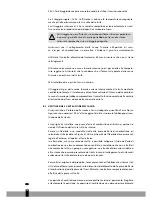
d.3.1 replacing the fire door seal
Take out the fire door seal. Carefully clean the contact area between door and door
seal. Replace the door seal using original Zibro spare part code COM 0244. The door
seal is provided with 4 metal pins at the corners (see picture 3). These pins must care-
fully be pushed inside the holes in the door. Check whether the seal is making a tight
connection all around.
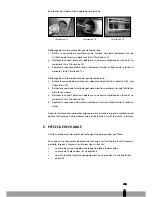
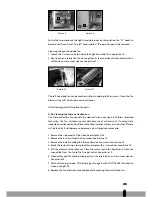
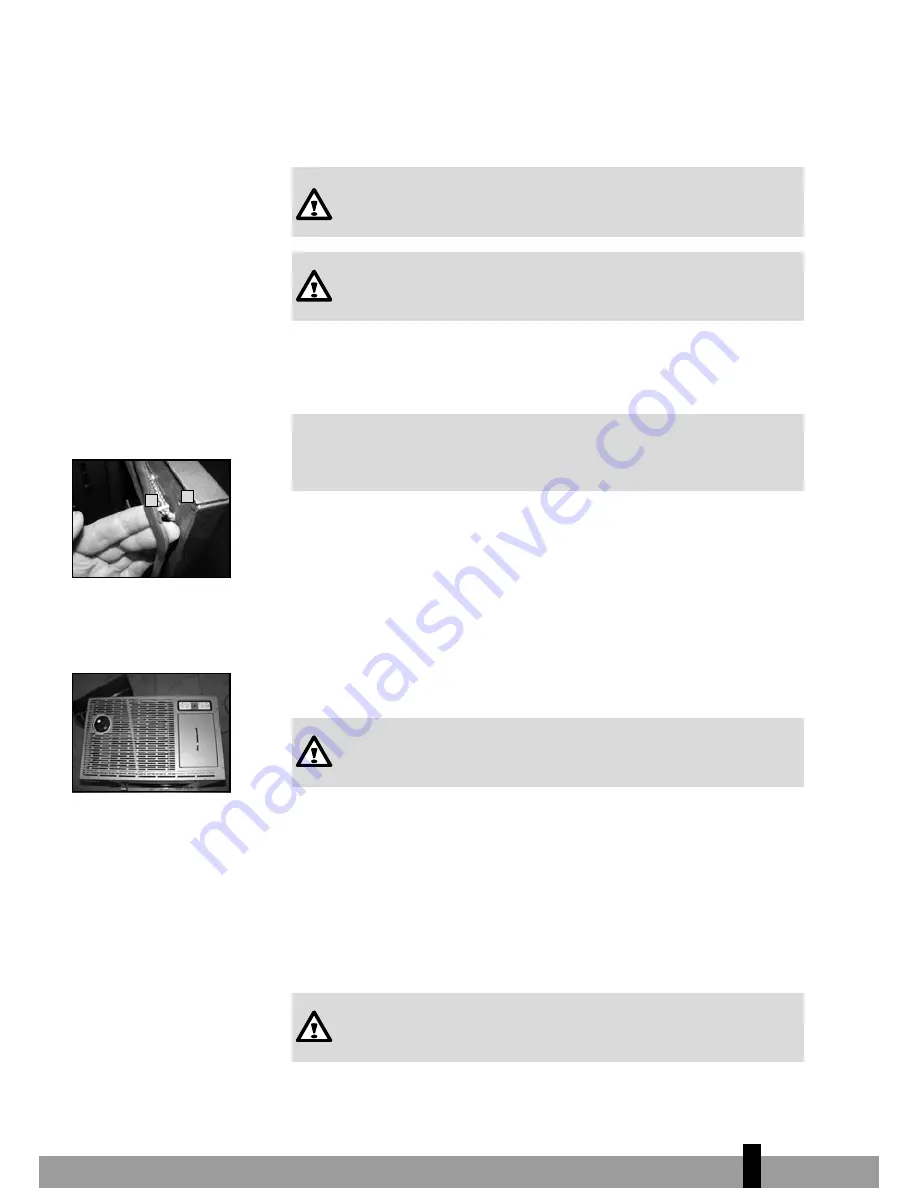
d.3.2 Taking off the top and side panels
For maintenance removal of the top and side covers is needed.
Make sure the stove is disconnected from electrical power supply.
1. Remove all 10 screws from the top panel. See picture 4.
2. In order to be able to take off the side panels the top panel must be lifted
The electrical connection between display and circuit board is still in place. Take care
not to damage the cable whilst taking off the top panel.
3. Lift the side panels from their seat and take them out.
4. Store the side panels carefully in order not to damage them.
When replacing the panels: take care not to damage the electrical cable
between display and circuit board.
Picture 3, the door seal. A =
metal pin at corner of door
seal
B= hole in door for door
seal pin
a
b
Picture 4
Содержание TOSCA
Страница 17: ...17 2...
Страница 34: ...34 6...
Страница 50: ...50 3...
Страница 66: ...66 4...
Страница 83: ...83...
Страница 85: ...85...
Страница 101: ...101 1...
Страница 103: ...103 1...
Страница 118: ...118...


