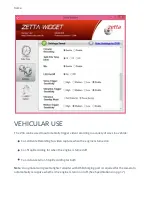
Turn on the camera, click on Settings on the left side of the Zetta Widget software, then scroll all the
way down to the Auto On/Off selection. Click on Scheduled Recording, then the Edit link. You’ll see
the Schedule Settings screen showing a 7-day, 24-hour calendar. Move your mouse to a particular
time slot. You can either click and let go to highlight a one-hour block or click and hold the mouse to
extend the time in one-hour multiples.
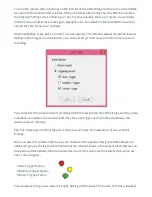
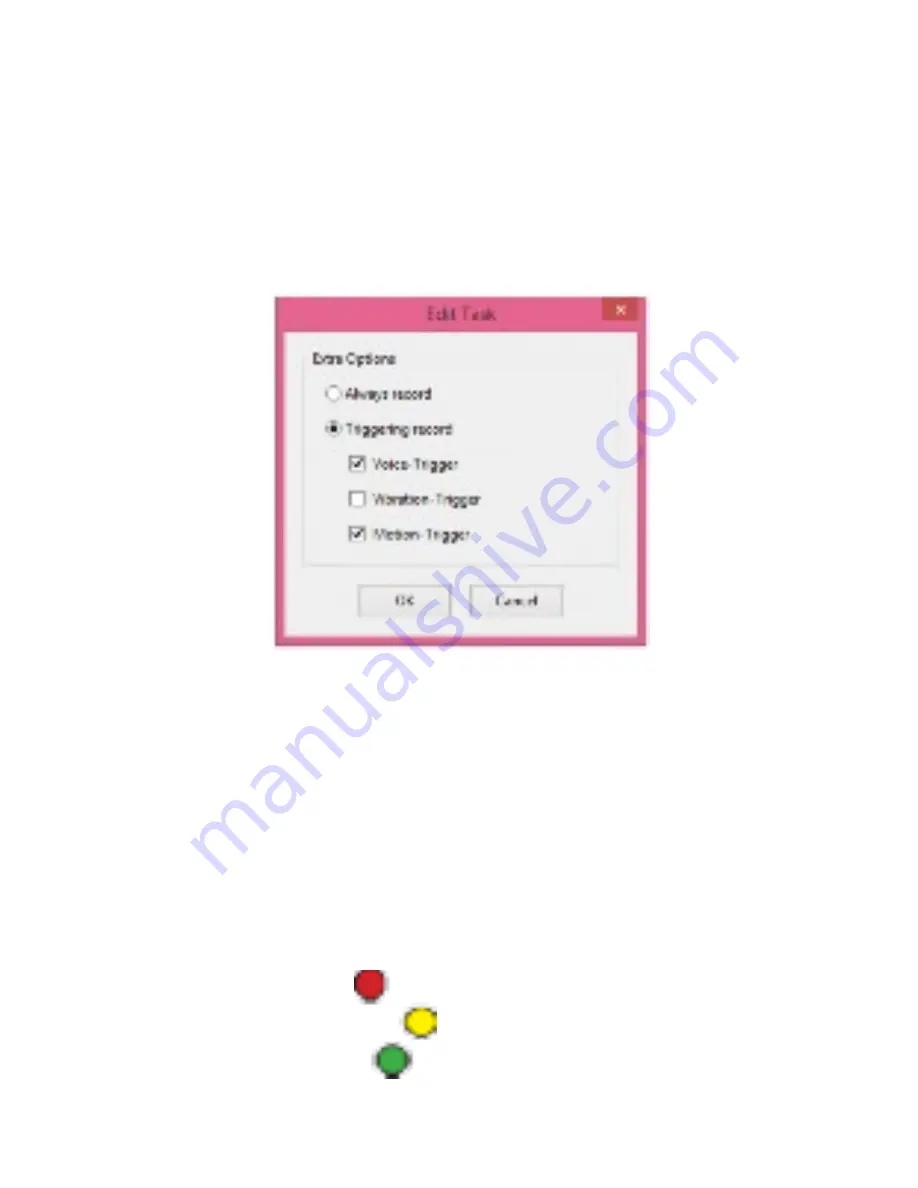
Upon highlighting a time block, a Create Task box appears. The default is Always Record. By instead
clicking on the Trigger record selection, you can check off up to three ways for the camera to start
recording.
You can instruct the camera to start recording within the designated time block if triggered by a voice,
a vibration or a motion. You can check off more than one trigger, and any of them will cause the
camera to start recording.
Tip: The advantage of setting triggers is that you won’t have to review hours of non-eventful
footage.
Once you click OK, you’ll be able to view your choices on the calendar. Designated time blocks are
outlined in gray. As the legend at the bottom of the calendar shows, a transparent block indicates an
Always Record task. Blocks that are occupied by one or more colored icons indicate that you’ve set
one or more triggers:
You can always change your options by right-clicking within a block. The Create Task box will appear
Voice -Trigger Option
Vibration -Trigger Option
Motion -Trigger Option
Содержание Z16
Страница 23: ...not exceed one year from the date of sale...

