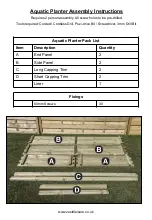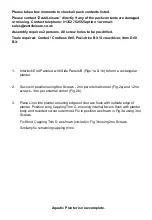
Please take a few moments to check all pack contents listed.
Please contact “Zest4Leisure” directly if any of the pack contents are damaged
or missing. Contact telephone: 01352 752555 option 1
or email:
Assembly requires 2 persons. All screw holes to be pre-drilled.
Tools required: Corded / Cordless Drill, Pozi-drive Bit / Screwdriver, 3mm Drill
Bit.
Aquatic Planter is now complete.
1.
Interlock End Panels A with Side Panels B (Figs.1a & 1b) to form a rectangular
planter.
2.
Secure in position using 8no Screws - 2no per internal corner (Fig.2a) and 12no
screws - 3no per external corner (Fig.2b).
3.
Place Liner into planter ensuring edges of liner are flush with outside edge of
planter.
Position Long Capping Trim C, ensuring internal face is flush with planter
body and rounded corner outermost. Fix in position as shown in Fig.3a using 3no
Screws.
Fix Short Capping Trim D as shown (circled)
in Fig 3b using 2no Screws.
Similarly fix remaining capping trims.
Содержание Aquatic Planter
Страница 4: ...www zest4leisure co uk 1b 1a 3a 3b 2a 2b...


