EN
5
FITTED WITH
BS 1362 13A FUSE ALWAYS
FIT BS 1362 REPLACEMENT
CARTRIDGE FUSE
GREEN &
YELLOW
OR
GREEN
N
BLUE
OR
BLACK
L
BROWN
OR
RED
22mm.
6mm.
6mm.
6mm.
32mm.
12mm.
FU
S
E
CORD GRIP
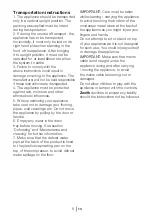
• Children shall not play with the
appliance. Cleaning and user
maintenance shall not be made by
children without supervision.
• Children should be supervised to
ensure that they do not play with the
appliance.
Electrical requirements
Before you insert the plug into the wall
socket make sure that the voltage and
the frequency shown on the rating
plate inside the appliance corresponds
to your electricity supply.
Rating label is on the left hand side of
fridge inner liner.
We recommend that this appliance be
connected to the mains supply via a
Suitable switched and fused socket.
The appliance must be positioned so
that the plug is accessible.
WARNING: When positioning the
appliance ensure the supply cord is not
trapped or damaged.
Should the mains lead of the appliance
become damaged or should it need
Replacing at any time, it must be
replaced by a special purpose made
mains lead which can only be obtained
from a
zenith
authorised service agent.
Warning! This appliance must
be earthed
If the fitted moulded plug is not suitable
for your socket, then the plug should
be cut off and an appropriate plug
fitted. Destroy the old plug which is cut
off as a plug with bared cord could
cause a shock hazard if inserted into a
socket elsewhere in the house. The
moulded plug on this appliance
incorporates a 13 A fuse. Should
the fuse needs to be replaced an
ASTABEAB approved BS 1362 fuse of
the same rating must be used. Do not
forget to refit the fuse cover. In the
event of losing the fuse cover the plug
must not be used until a replacement
fuse cover has been fitted.
Colour of the replacement fuse cover
must be the same colour as that visible
on the pin face of the plug. Fuse covers
are available from any good electrical
store.
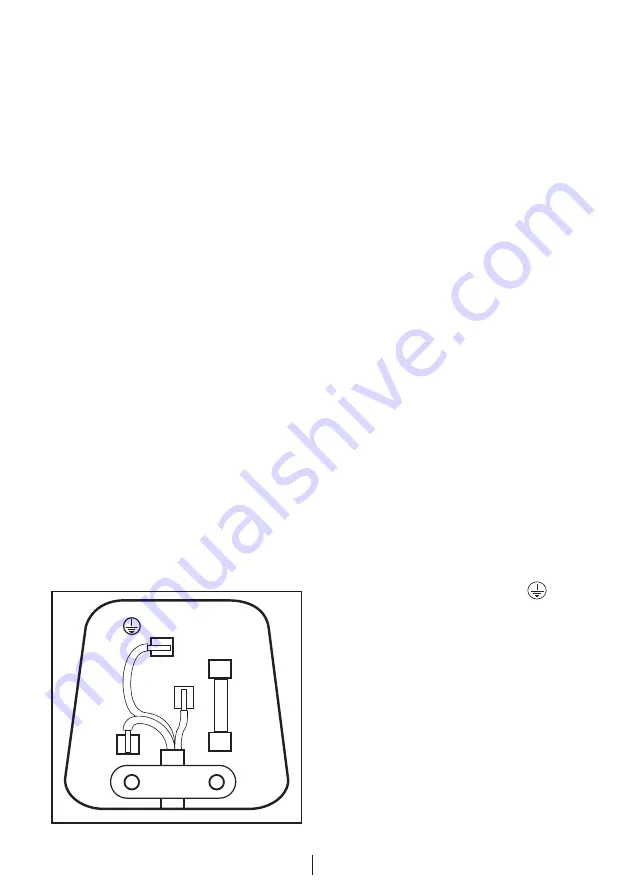
Important! Fitting A Different Plug
As the colours of the wires in the mains
lead of this appliance may not
correspond with the coloured markings
identifying the terminals in your plug
proceed as follows: (see diagram).
1.
Connect the green-yellow or green
(Earth) wire to the terminal in the plug
marked ‘E’ or with the symbol or
coloured green and yellow or green.
2.
Connect the blue (Neutral) wire to
the terminal in the plug marked ‘N’ or
coloured black.
3.
Connect the brown (Live) wire to the
terminal in the plug marked ‘L’ or
coloured red.
With alternative plugs a 13 A fuse must
be fitted either in the plug or adaptor
or in the main fuse box. If in doubt
contact a qualified electrician.
Содержание ZICSD355
Страница 1: ...ZICSD355 Installation Instruction Manual en...
Страница 2: ......
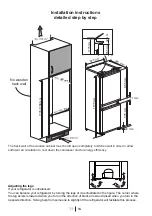
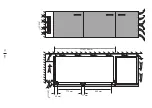
Страница 14: ...EN 12 775 mm 40 mm 71 mm 855 mm 1778 1788 mm...
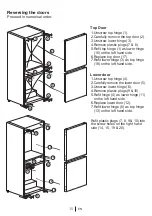
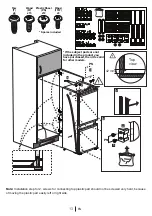
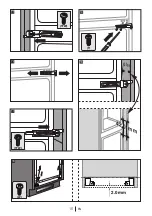
Страница 16: ...EN 14 2 3 6 T 7 1 5 4 4 mm...
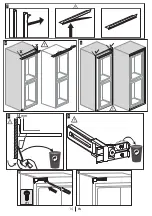
Страница 17: ...EN 15 8 10 9 11 T 42 0 mm 42 0mm 1TW 12 42 0 mm 42 0 mm...
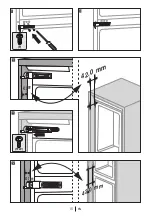
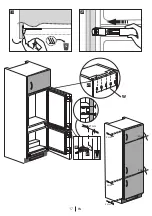
Страница 18: ...EN 16 14 13 T 1TW 15 17 16 1TW 42 0 mm 42 0mm W 2 0 mm 18...
Страница 19: ...EN 17 20 19 22 90 o 21 mm W 21 W 2 mm 2 mm 2 mm 23 4 mm 4 mm...
Страница 28: ...All dimensions are in mm 1 3 3 2 2 45 FRONT FEET 45 8 mm 59 mm EN 26 8 Installation of high levelling foot...
Страница 29: ...4 5 REAR FEET 45 EN 27...
Страница 30: ...1836 mm 855 mm 32 mm 71 mm 540 mm 545 mm 91 mm 775 mm 1836 mm 855 mm 555 mm EN 28 mm...
Страница 36: ...4578337768_AC EN...

