background image

26 Projection TV

Operation

Parental Lock Setup

Parental Lock Setup

1. Press the menu button and then use 

E

button to select the 

LOCK

menu.

Then, press the 

G

button

• If 

Lock

is already set, enter the password as requested.

• The TV is set up with the initial password “7-7-7-7”.

2. Use the 

/

E

button to choose from the following Lock Menu options. Once the

option is selected, change the settings to your preference.

• Lock System: Activates or disables the blocking scheme you set up previ-

ously.

• Set Password: Change the password by inputting a new password twice. 
• Movie Rating (MPPA): Blocks movies according to the movie ratings limits

specified, so children cannot view certain movies. You can set the ratings
limit by blocking out all the movies with the ratings above a specified level.
Keep in mind that the movie ratings limit only applies to movies shown on
TV, not TV programs, such as soap operas.

• TV Rating-Children: Prevents children from watching certain children's TV

programs, according to the ratings limit set. The children rating does not
apply to other TV programs. Unless you block certain TV programs intend-
ed for mature audiences in the TV Rating - sub menu, your children can
view those programs.

• TV Rating-General: Based on the ratings, blocks certain TV programs that

you and your family do not want to view.

• Aux. Block: Enables you to select a source to block from the external

source devices you have hooked up.

3. Press exit button to return to TV viewing or press menu button to return to

the previous menu.

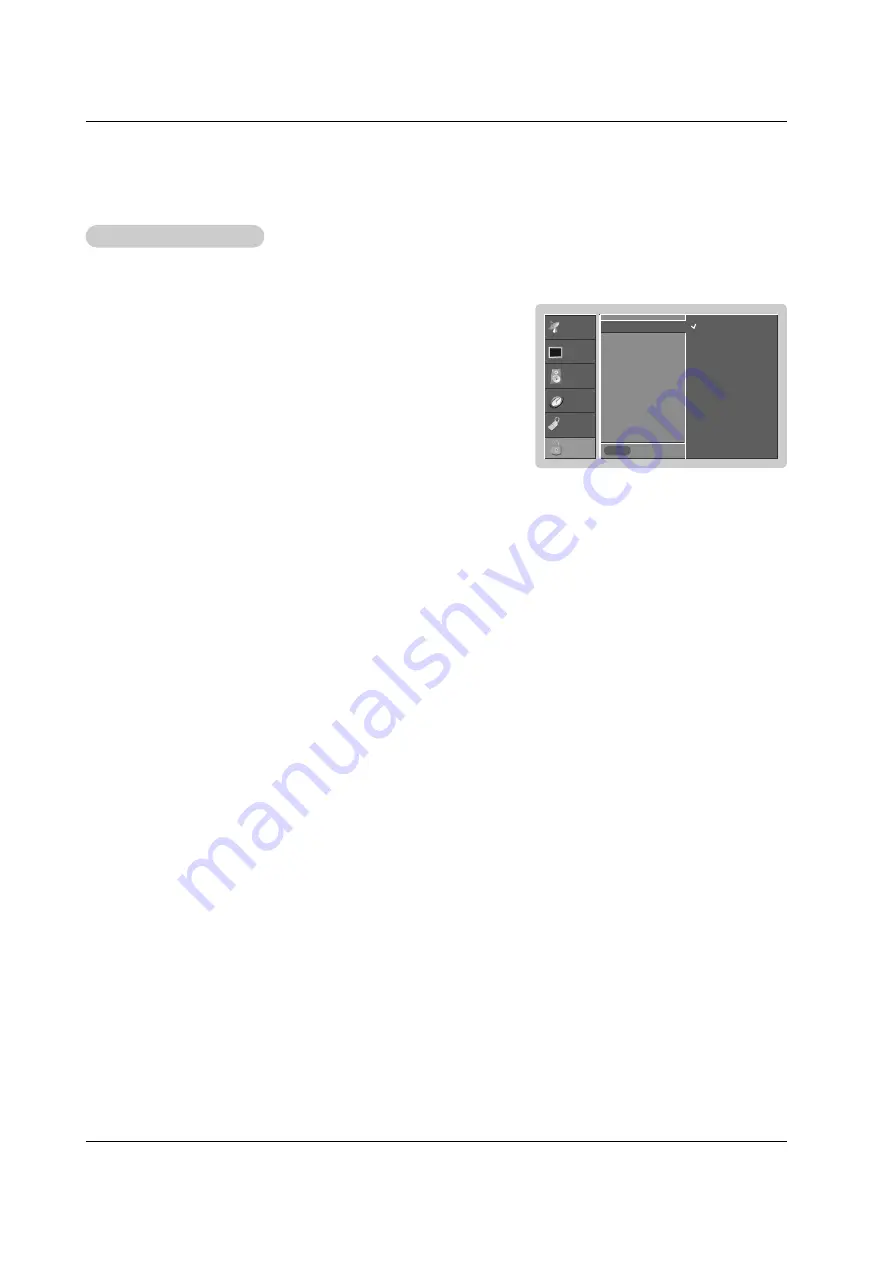
- Lets you set up blocking schemes to block specific channels, ratings, and external viewing sources.
- A password is required to gain access to this menu if the Lock System is turned on

SETUP

VIDEO

AUDIO

TIME

OPTION

LOCK

Prev.

Lock System

G

Set Password

Block Ch.

Movie Rating

TV Rating-Children

TV Rating-General

Aux. Block

MENU

Off

On

Lock Menu Options continued

Lock Menu Options continued

Содержание R45W47

Страница 1: ...Copyright 2004 LG Electronics USA Inc Installation and Operating Guide Warranty Model Numbers R45W47 R50W47 R57W47 Projection TV...

Страница 2: ...gned to provide reasonable protection against harmful interference when the equip ment is operated in a residential installation This equipment generates uses and can radiate radio frequency energy an...

Страница 3: ...unting of the prod uct should follow the manufacturer s instructions and should use a mounting accessory recommended by the manufac turer 8 Transporting Product A product and cart combination should b...

Страница 4: ...touch dangerous voltage points or short out parts that could result in a fire or electric shock Never spill liquid of any kind on the product 19 Servicing Do not attempt to service this product yourse...

Страница 5: ...p Timer Auto Off 21 Option Menu Features Aspect Ratio Control 22 Caption 22 Caption Mode 23 Caption Option 23 VM Velocity Modulation 24 Auto Convergence 24 EZ Demo 24 Lock Menu Options Parental Lock S...

Страница 6: ...ction Introduction Controls Controls Securing TV Position Position the TV and prevent it from being moved by placing the 4 stoppers under the roller casters on the bottom of the TV Casters on TV botto...

Страница 7: ...Owner s Manual 7 Introduction Connection Options Connection Options...

Страница 8: ...ore your TV turns itself off automatically THUMBSTICK Up Down Left Right OK Allows you to navigate the on screen menus and adjust the system settings to your preference MENU Brings up the main menu to...

Страница 9: ...improve picture quality purchase and install a signal amplifier If the antenna needs to be split for two TV s install a 2 Way Signal Splitter in the connections If the antenna is not installed proper...

Страница 10: ...k colors Video yellow Audio Left white and Audio Right red If you have available an S VIDEO output the picture quality is improved compared to connecting a regular VCR to the Video input 2 Insert a vi...

Страница 11: ...PR INPUT jacks on the TV and connect the DVD audio outputs to the AUDIO INPUT jacks on the TV as shown in the figure 2 If your DVD only has an S Video output jack connect this to the S VIDEO input on...

Страница 12: ...STB Setup C A L I B R A T I O N DIGITAL AUDIO OUTPUT OPTICAL VIDEO L R ANTENNA1 ANTENNA 2 DVI HDTV INPUT DIGITAL AUDIO INPUT1 OPTICAL COMPONENT1 DIGITAL AUDIO INPUT2 OPTICAL DVI PR S1 S2 COMPONENT1 A...

Страница 13: ...Language G VM Auto Convergence EZ Demo English Espa ol Fran ais MENU 1 First make all equipment connections Connect power cord correctly At this time the TV is switched to stand by mode In standby mod...

Страница 14: ...cable and digital over the air signals via antenna 1 input jack Analog DTV Cable Watching Over the air cable and digital cable signals via antenna 1 input jack Analog DTV Air ANT2 Watching Over the a...

Страница 15: ...ou need to adjust your antenna or digital cable input The higher the signal strength the less likely you are to experience picture degradation Digital DTV Signals May not be available in all areas nor...

Страница 16: ...blue Set to Medium for normal color 1 Press the menu button and then use D E button to select the VIDEO menu 2 Press the G button and then use D E button to select Color Temperature 3 Press the G butt...

Страница 17: ...TION LOCK Prev EZ Picture Contrast Brightness Color Sharpness Tint Color Temperature Z View Video Preset G MENU Selection G or presets the video configuration 1 Press the menu button and then use D E...

Страница 18: ...E button to select On or Off 4 Press exit button to return to TV viewing or press menu button to return to the previous menu EZ SoundRite EZ SoundRite SETUP VIDEO AUDIO TIME OPTION LOCK Prev Audio La...

Страница 19: ...D E button to select Front Surround 3 Press the G button and then use D E button to select Off 3D EchoSound System or SRS Sound Retrieval System TruSurround XT SRS TruSurround XT Takes advantage of a...

Страница 20: ...y Press the G button and then use D E button to select the channel at turn on Press the G button and then use D E button to set the sound level at turn on 7 Press exit button to return to TV viewing o...

Страница 21: ...setting is cleared when the TV is turned off You can also set up the Sleep Timer using the TIME menu 1 Press the timer button repeatedly to select the number of minutes First the Off option appears on...

Страница 22: ...cture format You can also adjust Aspect Ratio using the OPTION menu Set By Program Selects the proper picture proportion to match the source s image 4 3 4 3 16 9 16 9 4 3 Choose 4 3 when you want to v...

Страница 23: ...for the words that appear in a large black frame and almost cover the entire screen usually messages provided by the broadcaster 4 Press exit button to return to TV viewing or press menu button to re...

Страница 24: ...Auto Convergence EZ Demo G MENU EZ Demo EZ Demo Shows you how to navigate the TV s on screen menus 1 Press the menu button and then use D E button to select the OPTION menu 2 Press the G button and t...

Страница 25: ...t the theaters or direct to video movies use the Movie Rating System MPAA only Ratings for Movies previously shown in theaters Movie Ratings Blocking Off G general audience PG parental guidance sugges...

Страница 26: ...on TV not TV programs such as soap operas TV Rating Children Prevents children from watching certain children s TV programs according to the ratings limit set The children rating does not apply to oth...

Страница 27: ...tion for PIP Twin Picture win Picture Select the Analog or DTV option on the Sub input menu or with the pip input button in PIP or Twin picture Use the pipch pipch button to select a channel for the s...

Страница 28: ...res in POP mode Input source selection for PIP Use pip input button or Sub Input option on the SETUP menu to select an input source for the sub picture You can t select DTV for both the main and sub p...

Страница 29: ...d then press the corresponding mode button on the remote control 3 Press the power and mute buttons simultaneously the remote control is ready to be programmed for the code 4 There are two ways to fin...

Страница 30: ...EARS 003 00 009 010 013 014 017 020 031 042 073 081 101 SHARP 031 054 149 SHINTOM 024 SONY 003 009 031 052 056 057 058 076 077 078 149 SOUNDESIGN 034 STS 013 SYLVANIA 031 033 034 059 067 SYMPHONIC 034...

Страница 31: ...17 021 022 027 133 134 GENERAL INSTRUMENT 003 004 016 029 031 059 101 HITACHI 139 140 HOUSTON TRACKER 033 037 039 051 057 104 HUGHES 068 HYTEK 053 JANIEL 060 147 JERROLD 061 KATHREIN 108 LEGEND 057 LG...

Страница 32: ...trucks computers or portable phones medical equipment If possible increase the distance between your TV and the offending appli ance or shut one of them off Multiple images or ghost shadows Check your...

Страница 33: ...or sound when any non cable source is selected Check to see if the source equipment has been turned on Make sure that the connections are secure on the back of your TV and on the source equipment Rem...

Страница 34: ...y and then use it to wipe the screen 2 Make sure the excess water is off the screen and then let it air dry before you turn on your TV To remove dirt or dust wipe the cabinet with a soft dry lint free...

Страница 35: ...Owner s Manual 35 Notes Notes Notes...

Страница 36: ...specific legal rights and you may also have other rights that may vary from state to state THIS LIMITED WARRANTY DOES NOT APPLY TO 1 Damages or operating problems that result from shipping installati...

Отзывы: