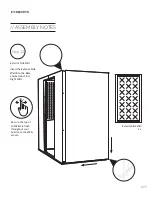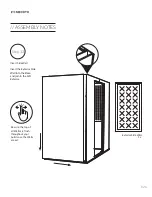
Safely execute the install
with two people!
012
012
// ASSEMBLY NOTES
Before assembly!
Before beginning assembly, we recommend consulting an professional
insured Zenbooth installer or general contractor. Warranty may be
void if components are improperly installed.
Contact us at : [email protected] for any additional information
or customer support.
After unpacking, inspect all parts for damage. If any parts are damaged
as a result of shipping, report them to us with a photo before
assembling so we can send you a replacement part.
-
After assembly, use a damp rag to wipe down any dust created in
the installation process. Do not use amonia based cleaners on the
skylight. Windex fogs acrylic!
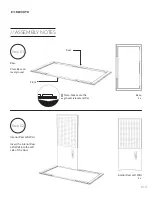
Place the booth a minimum of 4 inches away from wall to ensure
adequate airflow. If the fan stops working, stop using the booth and
contact Zenbooth support for assistance .
Additionally, allow a minimum of 36 inches of clearance at the front of
the booth for door access.
Minimum distance from a
wall for optimal ventilation.
36”
Side
Wall
Top
4”
Содержание Duo
Страница 1: ...01 01 Zenbooth Duo Build Instructions...
Страница 2: ...02 02...
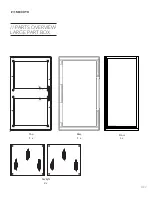
Страница 11: ...011 011 PARTS OVERVIEW LARGE PART BOX Skylight 2 x Top 1 x Base 1 x Door 1 x...
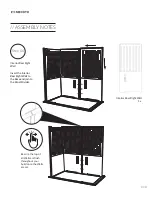
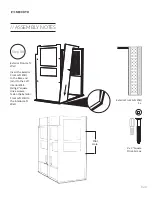
Страница 47: ...ASSEMBLY NOTES Step 24 Install Door Frame Trim Hinge Side Text Needed 047 047 Door Frame Trim Hinge Side 1 x...
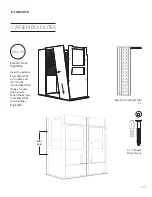
Страница 48: ...ASSEMBLY NOTES Step 24 Install Door Frame Trim Header Lower 048 048 Door Frame Trim Header 1 x...
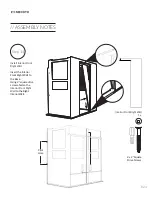
Страница 49: ...ASSEMBLY NOTES Step 24 Install Door Frame Trim Strike Side Lower 049 049 Door Frame Trim Strike Side 1 x...
Страница 50: ...Step 25 Install Interior Trim Strike Side Please repeat ASSEMBLY NOTES 050 050...
Страница 55: ...ASSEMBLY NOTES Step 29 Relocate Booth After completing the build move booth into its final position 055 055...
Страница 57: ...NOTES 057 057...
Страница 58: ...058 058...
Страница 59: ...059 059...
Страница 60: ...060 060 Zenbooth Inc 650 University Ave Suite 10 Berkeley CA 94710 Copyright 2020 All Rights Reserved V6...


