Maintenance and Repair Manual
Revision 2 | 2298-971 & 2289-955
Carl Zeiss Spectroscopy GmbH
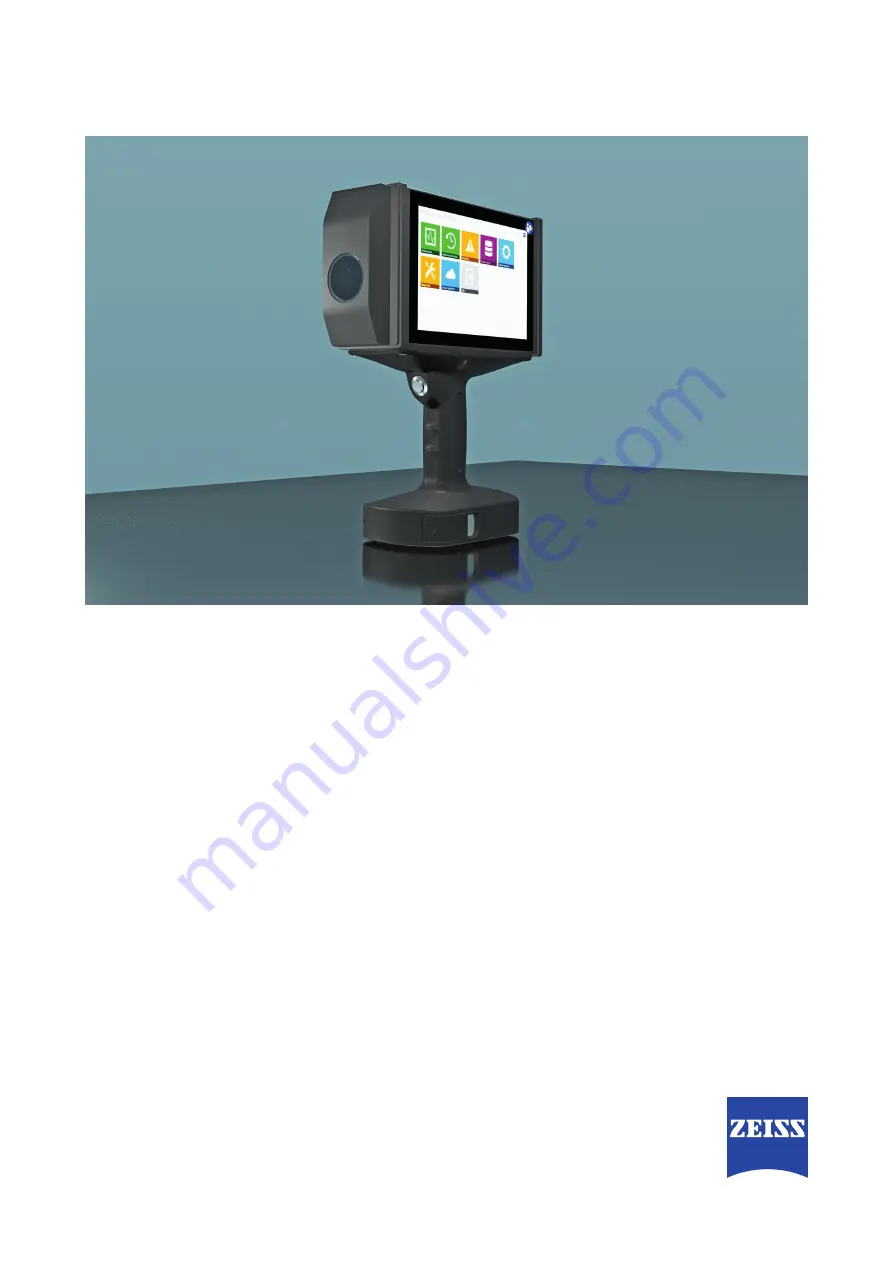
AURA
®
handheld NIR
Страница 1: ...Maintenance and Repair Manual Revision 2 2298 971 2289 955 Carl Zeiss Spectroscopy GmbH AURA handheld NIR...
Страница 2: ...ll rights reserved in the event of a patent grant or registration of a utility patent Caution GENERAL HAZARD Observe the safety instructions in the AURA handheld NIR User Manual publication number UM...
Страница 3: ...ig 5 Remove the Torx screws on the display side and lift out the display 11 Fig 6 Disconnect the display cable 12 Fig 7 Lay down the display 13 Fig 8 Remove the lamp holder with halogen lamp 14 Fig 9...
Страница 4: ...aintained by suitably qualified and trained personnel This maintenance and repair manual is therefore intended both for the specialist personnel responsible for setting up the device and using it on s...
Страница 5: ...FROM ELECTRIC ENERGY Remove the battery from the device before carrying out any of the activities described below Caution HAZARD FROM THERMAL ENERGY Allow the halogen lamp to cool down for approx 10...
Страница 6: ...ept any warranty claims even during the warranty period and is exempt from statutory accident liability obligations Carl Zeiss Spectroscopy GmbH will be released from its warranty obligation if the us...
Страница 7: ...oscopy GmbH service spectroscopy zeiss com if defects or errors arise in the device or individual components INFO NOTES ON WARRANTY Detailed information on the warranty can be found in the General Ter...
Страница 8: ...Put the following spare parts ready Display order no 000000 2315 414 Put the following tools and equipment ready Screwdriver TX 8 3 mm flat tip screwdriver 1 Remove battery Procedure for device versio...
Страница 9: ...ners 1 on the right and left of the grip Carefully pull the lower battery compartment 2 downwards Remove the battery 3 from the lower battery compartment Fig 2 3 1 2 1 Remove battery 2289 955 Close th...
Страница 10: ...l AURA handheld NIR Rev 2 EN_40_070_0030I 3 Remove the slotted screws on the rear of the device Unscrew the two slotted screws 2 on the rear of the device 1 from the housing Use a 3 mm flat tip screwd...
Страница 11: ...ws on the display side and lift out the display Unscrew the six Torx screws 1 on the display side from the housing Use a TX 8 Torx screwdriver for this Carefully lift the display 2 straight out of the...
Страница 12: ...Disconnect the display cable Tilt the display 1 to one side until you can see the display cable 2 and the connector socket 3 in slot X3 on the FBG Handheld PGS CarrierBoard Pull down the latch 3 1 of...
Страница 13: ...display protectors 2 Fig 7 2 2 1 2 1 Lay down the display 7 Install a new display Carry out the previous disassembly work steps 1 to 5 in reverse order Note NOTE REGARDING ASSEMBLY When plugging in th...
Страница 14: ...lamp order no 000000 2345 437 Put the following tools and equipment ready TX 8 and TX 10 screwdrivers 3 mm flat tip screwdriver Screw holding tweezers Cotton gloves 1 Remove the lamp holder with halog...
Страница 15: ...halogen lamp Put on cotton gloves Carry out the previous disassembly work steps 1 to 2 in reverse order Note NOTE REGARDING ASSEMBLY To avoid damaging the inside of the unit use screw holding tweezer...
Страница 16: ...e 1 has been removed see section 6 Changing the motor steps 1 to 2 The lamp holder 2 has been disassembled see section 4 Replacing the halogen lamp Put the following spare parts ready lamp cable order...
Страница 17: ...PowerBoard 3 Pull the lamp cable from slot X600 see also Fig 10 Disconnect the lamp cable from the halogen lamp on page 16 item 4 Fig 11 2 3 1 Disconnect the lamp cable from the circuit board 3 Insta...
Страница 18: ...Motor with cable order no 000000 2326 676 Put the following tools and equipment ready TX 8 Torx screwdriver 2 mm flat tip screwdriver 1 Remove the fastening screws of the front panel Lay down the devi...
Страница 19: ...avoids errors during reassembly Raise the front panel 1 enough to expose the cable underneath Then you can lay the front panel down slightly outside the housing Fig 13 X800 X600 X704 X702 1 2 3 Remove...
Страница 20: ...Avoid touching the white surface of the white reference assembly with your fingers This can cause contamination which can then falsify your measurement results Unscrew the two Torx screws 2 from the...
Страница 21: ...crews 1 from the white reference mount 3 Use a TX 8 Torx screwdriver for this Remove the white reference assembly 2 Fig 15 3 2 1 Dismantle the white reference assembly 5 Pull out the motor with cable...
Страница 22: ...ll the semicular mount 2 off the motor shaft 3 Fig 17 3 2 1 Dismantle the semicular mount 7 Mount the semicular mount onto the new motor Align the screw 3 of the semicular mount 1 and the flattened si...
Страница 23: ...pwards and the cables 4 of the motor point downwards Screw the two clamping screws 3 relatively loosely into the motor holder so that the motor can still be moved Fig 19 3 2 1 5 4 Install new motor 9...
Страница 24: ...se a TX 8 Torx screwdriver for this Fig 21 1 3 4 2 7 6 5 Install motor holder Note NOTE REGARDING ASSEMBLY During assembly make sure that the white reference assembly 3 has the same clearance 7 on the...
Страница 25: ...ay the cables if the lamp holder is temporarily dismantled removed from the housing At the narrow points see red dotted ellipse in Fig 23 on page 26 take special care to avoid damaging the electronic...
Страница 26: ...ls 3 2 2 4 2 2 1 3 1 4 1 12 Screw on the front panel Finally attach the front panel as follows First screw the 2 screws above and below the front panel back into the housing Then screw the 3 screws on...
Страница 27: ...ray and black references Caution SENSITIVE SURFACES Do not touch the surface of the white reference Make sure that the white gray and black references are clean If necessary clean the references with...
Страница 28: ...rnal referencing Insert the device 2 into the stand 1 and fit the attachment for external referencing 3 onto the measuring window 4 Insert the reference Insert the relevant reference 4 into the center...
Страница 29: ...d NIR Rev 2 Maintenance and Repair Manual 5 Start TestCenter Start the TestCenter A scan is run for appropriate devices Once the scanning process is complete any devices which have been found will be...
Страница 30: ...displays additional information about the selected device Click to proceed to the next step 6 Select test block A scan is run for suitable test blocks there is only one suitable test block for the AUR...
Страница 31: ...tificates Enter your name in the User input field Use the buttons to select your reference certificates Click to proceed to the next step 8 Referencing Calibration of white reference Place the white r...
Страница 32: ...lack reference on the centering aid Make sure that the markings on the reference and the centering aid are aligned Click OK to start the calibration 10 Photometric verification Cavity measurement blac...
Страница 33: ...e measurement Place the gray reference on the centering aid Make sure that the reference is correctly aligned with the attachment the nose of the reference should slot into the groove of the attachmen...
Страница 34: ...valuation of the photometry measurement In the following screen you will receive an evaluation of the measurements If measurements are unsuccessful this is indicated by the following pictogram Click t...
Страница 35: ...intenance and Repair Manual 14 Change the device profile The counter must be reset each time the halogen lamp is replaced The previous configuration of the device is now invalid Click Yes to reset Sev...
Страница 36: ...librating the compensation data AURA handheld NIR Rev 2 Maintenance and Repair Manual AURA handheld NIR Rev 2 EN_40_070_0030I The new configuration is read by the device as a check and a backup is cre...
Страница 37: ...r Manual 15 Open protocol Click Open Protocol to open the acceptance protocol 16 Export calibration workflow data The calibration workflow data test data of the current device can be exported at any t...
Страница 38: ...000 2326 676 Display 000000 2315 414 Inclined handle only for device version 000000 2289 955 000000 2316 166 White reference with holder 000000 2326 674 Edge protector set 000000 2345 546 Inclined han...