2.4.7
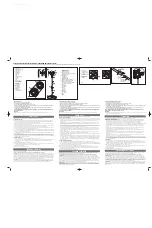
The unit fixes to the ceiling bracket by slotting the bracket attached to the back of the unit and sliding into
place. First ensure connection is achieved on the “securely” fixed bracket
(See Figure 2)
and push unit up to
ceiling,
slide “loosely” fixed bracket to connect with the bracket on the back of the unit
(See Figure 3)
.
Securely locate
brackets together
Figure 2
Figure 3
2.4.8
Tighten loose screws until the unit is securely fitted
(See Figure 4)
, add an additional two screws to the
outside slots. Screw points for both brackets are shown in
Figure 5
.
Figure 4
Figure 5
Note:
•
There should be no movement once correctly located and the filters should be accessible
from easily removing the panels on the front of the unit
(See Section 4.1.9, Homeowner
Guide)
.
8


