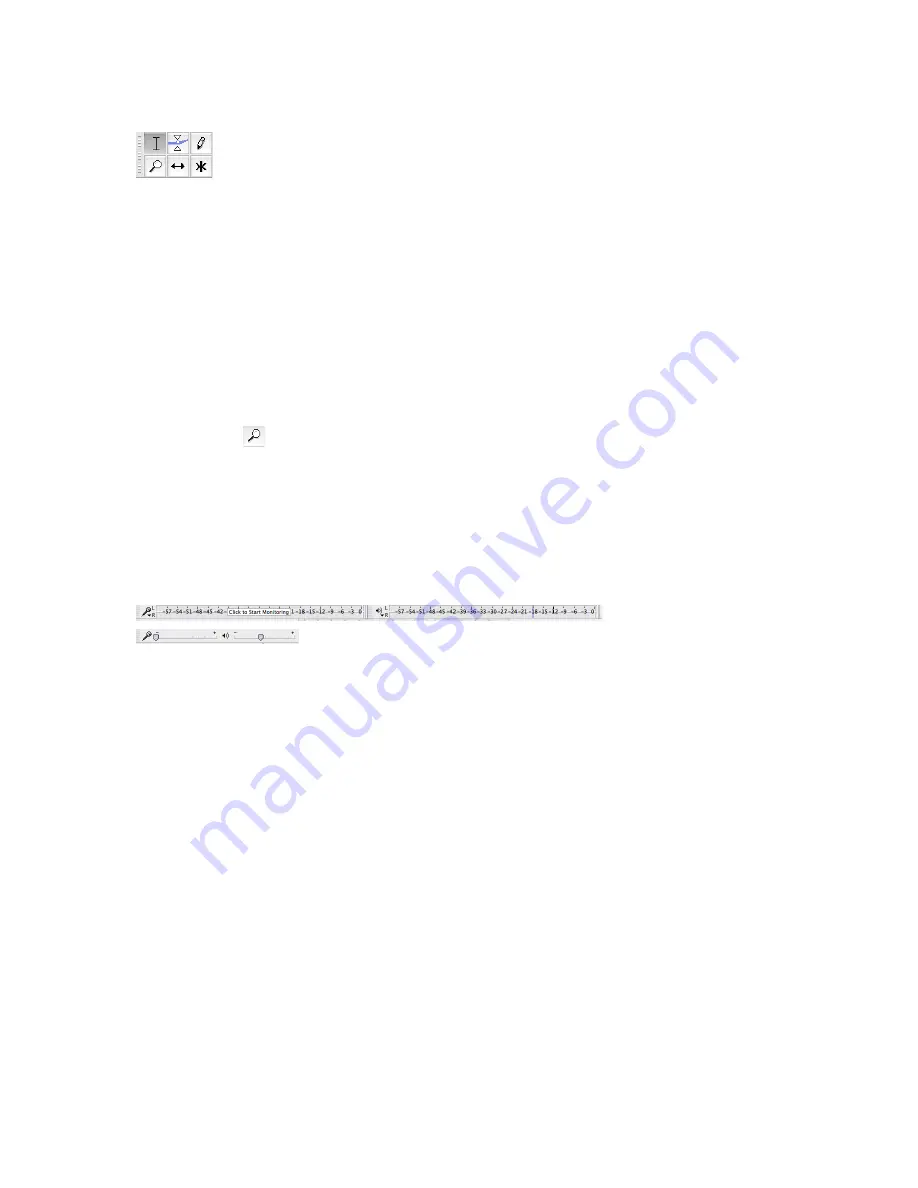
Selection & Adjustment Mode Tools:
•
Selection (I) Tool: Allows you to select portions of the track in the same way you
would select words/paragraphs in a Word document.
•
Envelope Tool: Allows you to change the levels on your entire track and at
specific points within the track. Click and drag at a point on the track to raise or
lower the overall volume. To change a selection, click and drag a second time at
the end of the selection you want to change.
•
Pencil Tool: Allows you to change the levels on a much more detailed level.
Zoom in until your sound wave looks like individual dots connected by a line.
Use the pencil to raise or lower each specific dot to change the level of that
specific spot.
•
Zoom (
) Tool: Allows you to zoom in by clicking and zoom out by holding
down the shift key as you click.
•
Time Shift (
"!
) Tool: Allows you to move either an entire track or a clip within
your track. Simply click on the selection and drag left or right.
•
Multi (*) Tool : Allows you to use several of the functions of the tools above at
once.
•
The microphone audio level indicates the levels of an active recording. The – to +
scale indicates the gain (or volume increase/decrease) for the recording. You
should use this sliding scale if you are NOT using a sound board and you need to
boost your levels.
•
The volume audio level indicates the levels of your playback (your project). The –
to + scale next to the volume symbol will affect the levels of your overall project.
To change the volume levels on a specific track, use the individual scale that is
next to the track on the left.
Effects:
•
If you pull down the effects menu, you will see a number of effects available to
you. The following are important effects for basic editing (explore the others as
you get more familiar with the program!)
•
Fade In & Fade Outs allow you to smoothly transition audio in and out. This can
(and often should) be used at the end of your project, at the end of clips that stop
in the middle of the project, and on any clips with a lot of background noise.
Содержание H2n
Страница 1: ......


