Quick Guide to Editing with Audacity:
Overall, the best way to learn how to use any editing program is to play around with it.
Choose an audio file or two and experiment with the various effects and tools in
Audacity. If you need additional help, you can sign into my.newpaltz.edu and access
Lynda.com which has tutorials on Audacity and many other programs. If you’re not sure
how to do something or need a refresher, you can check Youtube for tutorials, use
Lynda.com, or come visit the DASH Lab during open office hours.
Important Steps to Creating an Audacity Project & Final Audio File:
•
To import an audio track: go to File
!
Import and select your file
•
Make sure you save your audacity file as you go. You may want to keep this file
even after your export your final creation so that you can go back and edit if you
want to.
•
To export your creation: File
!
Export and choose the file format you want. A
.wav file will have higher quality but a .mp3 file will use less memory and be
easier to upload and share.
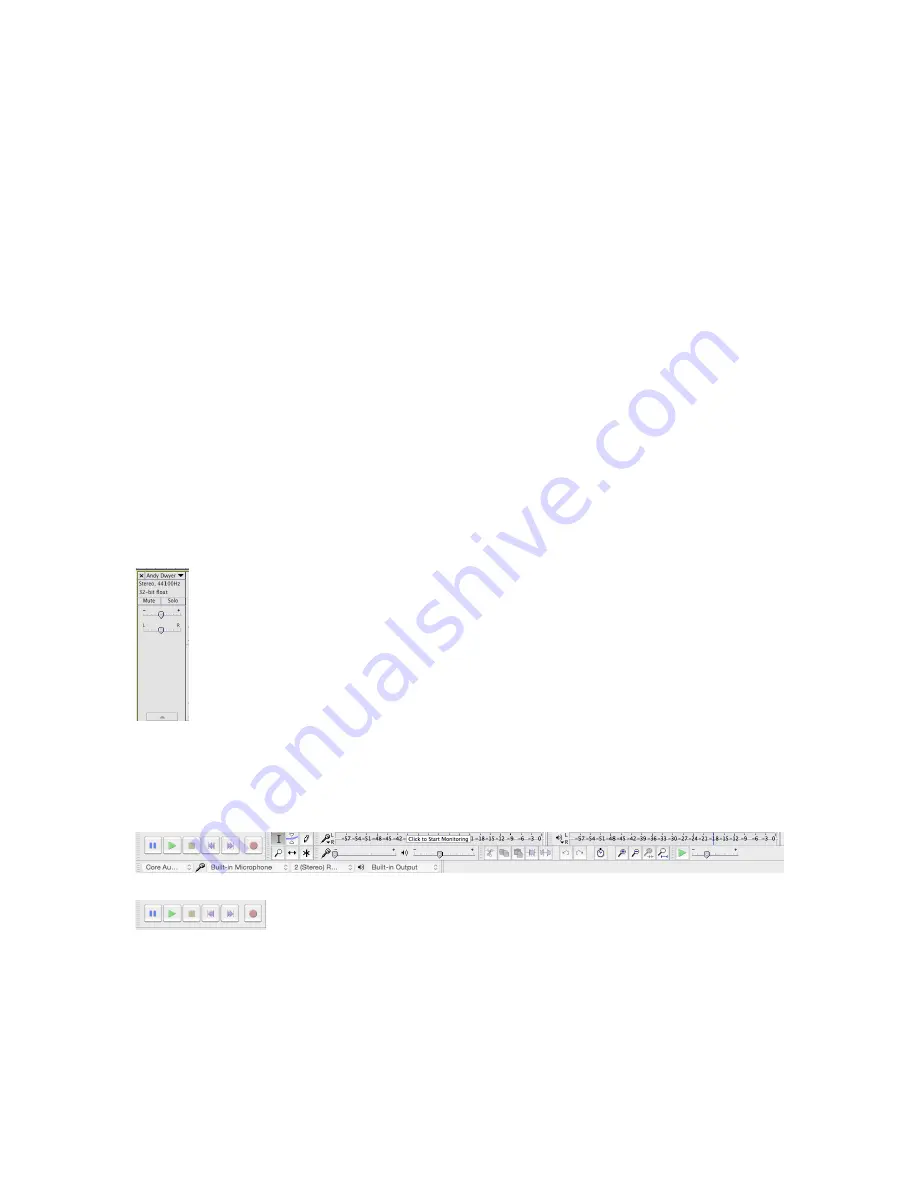
Guide to Your Audio Track:
•
To remove a specific track, click the “x” button in the top left corner.
•
Use the mute button to mute a specific track.
•
Use the solo button to mute all other tracks except for the one you
selected “solo” on. This is very useful for editing, so that you can focus
on one track at a time.
•
The – to + affects the volume level of that specific track. The L to R
scale indicates left and right ear, which can be used to create 3D audio.
Guide to Your Buttons:
•
The pause, play, and stop buttons function normally
•
If you hit the ‘fast forward’ and ‘rewind’ buttons, they will automatically put you
to the beginning or end of the audio track.
•
The red circle indicates the record button, use this if you are recording directly
into Audacity.
Содержание H2n
Страница 1: ......


