43
Dynamic DNS allows you to create a domain name for your network, facilitating the access to the camera
from a remote site. To use the DDNS function, you will need to:
1. Create a DDNS hostname with a DDNS service provider.
2. Set up a DDNS client in the local network that contacts the DDNS service provider and updates the IP
information.
If the router in your local network is equipped with a DDNS client, we recommend using the router
instead of the camera, since the router is the device best suited for the DDNS task as it is in direct control
of handling the Internet connection.
Server Name
– Select the DDNS provider of your choice.
User ID and Password –
Insert the username and password to log into your account settings on
www.dyndns.org. Do not enter your DSL user account information.
Host name
– Insert the full host name that you have created in your server account.
Periodic Update
– Specify the time for the camera to update its IP information with the DDNS
provider or select auto and the camera will automatically update the changes.
Click “Save” to apply the settings. Reboot the camera to activate the DDNS settings. After a reboot you
may need to wait for a few minutes before you can access the camera with the new domain name.
9.6
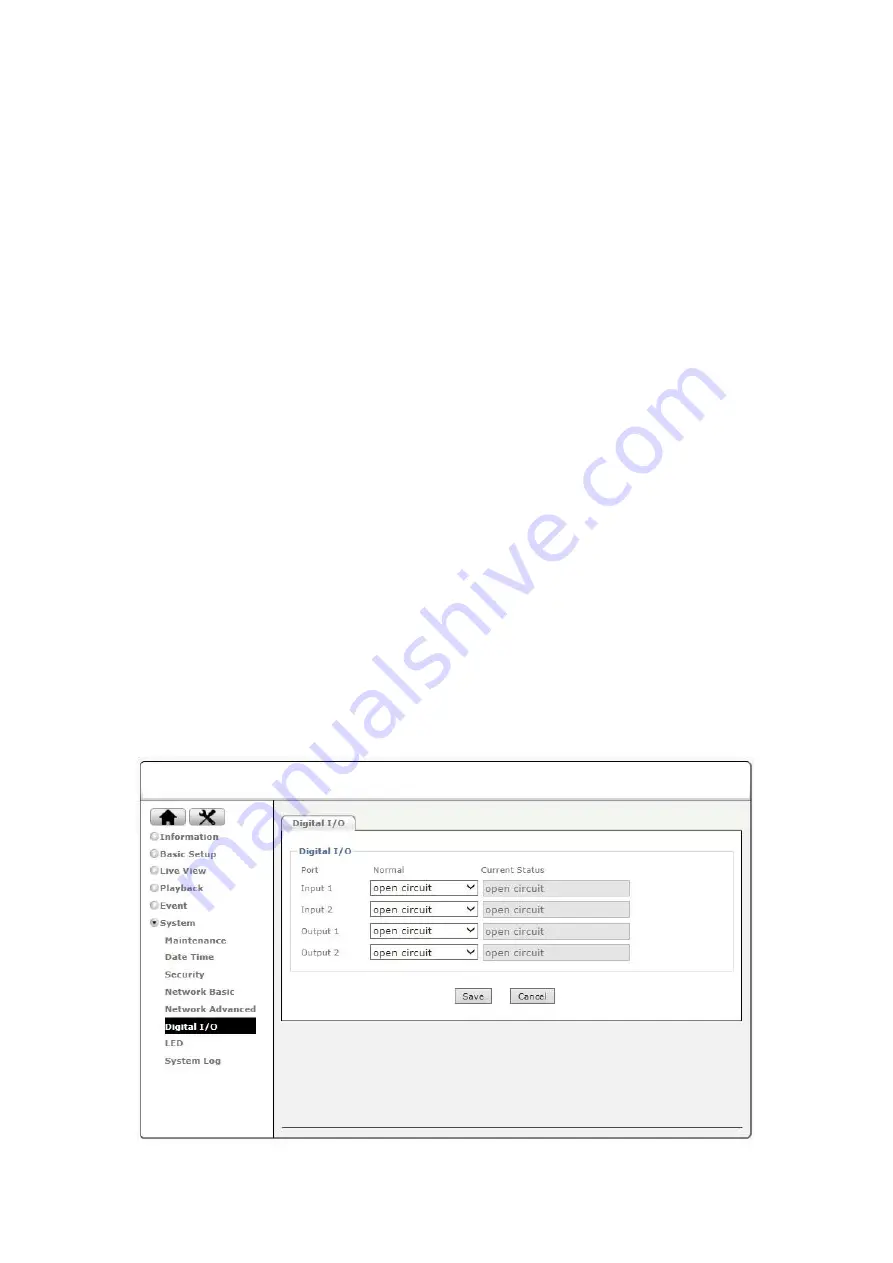
Digital I/O
This menu is only available for cameras that support digital I/O.
Содержание D4220
Страница 1: ...1 ZAVIO Outdoor IR Mini Dome User Manual...
Страница 6: ...6 2 Hardware Overview 2 1 Connectors and buttons...
Страница 39: ...39 9 4 Network Basic 9 4 1 TCP IP Refer to section 5 2 1 9 4 2 PPPoE Refer to section 5 2 2...
Страница 46: ...46...


