background image

16

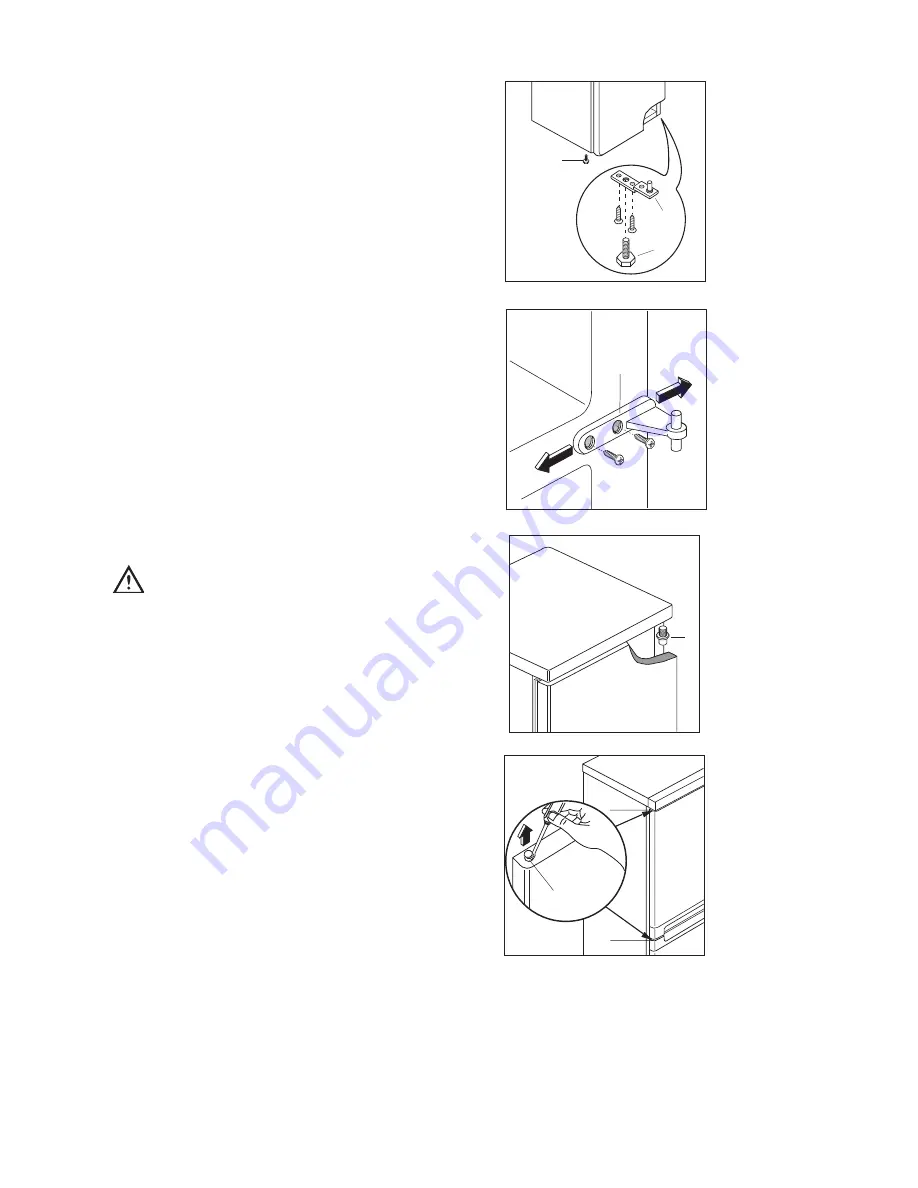
Door reversal directions

1. Disconnect from the electricity supply.

2. Remove all loose items, including food, store food

in a cool place.

3. Gently lay the fridge/freezer on its back with the

top held away from the floor by 5-8 cm (2-3
inches) of packing;

4. Remove the feet (2-3)

5. Remove bottom hinge (1).

6. Remove the freezer door by releasing it from the

middle hinge (H).

7. Unscrew the middle hinge.

8. Slide out the fridge door from pin (G), unscrew

the latter and then screw it down into the hinge
provided on the opposite side, after having
removed the small plugs (I) which should then be
fitted on the opposite side.

9. Refit the fridge door and replace the middle hinge

to the left hand side.

10.Replace the door and bottom hinge (1) on the

opposite side.

11. Refit the feet (2-3) on the opposite side.

Attention

After completion of the door reversing operation,
check that the door gasket adheres to the cabinet. If
the ambient temperature is cold (i.e. in Winter), the
gasket may not fit perfectly to the cabinet. In that
case, wait for the natural fitting of the gasket or
accelerate this process by heating up the part
involved with a normal hairdryer.

G

H

I

I

I

D715

1

2

3

Содержание ZK 53/37 R

Страница 1: ...REFRIGERATOR FREEZER ZK 53 37 R INSTRUCTION BOOKLET 2222 058 12 ...

Страница 2: ...l packaging well away from children During Use This appliance is designed for domestic use only specifically for the storage of edible foodstuffs only Frozen food must NOT be re frozen once it has thawed out Do not place carbonated or fizzy drinks in the freezer Do not remove items from the freezer if your hands are damp wet as this could cause skin abrasions or frost freezer burns Ice lollies can...

Страница 3: ...ounds 5 Dual purpose meat box 5 Movable shelves 6 Cool Check Guide 6 Health and Safety Guidelines 7 Maintenance and Cleaning 8 Internal cleaning 8 External cleaning 8 When the appliance is not in use 8 Changing the light bulb 8 Defrosting 8 Something not working 10 Service and Spare Parts 11 Customer Care 11 Guarantee Conditions 12 Instructions for the installer Technical specification 13 Installa...

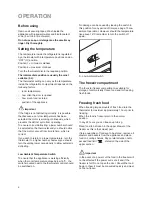
Страница 4: ...should turn the setting lower occasionally to allow automatic defrosting Low Ambient Temperature Switch To ensure that the appliance is working efficiently when the room temperature drops below 16 C the switch mounted next to the thermostat control should be switched on The freezer compartment The four star freezer compartment is suitable for storage of commercially frozen food and for freezing fr...

Страница 5: ...tively if the food is uncooked and has not been completely defrosted it can be cooked and then refrozen Meat fish and fruit should be thawed in the refrigerator compartment and small pieces of meat can even be cooked while still frozen but you must ensure that it is thoroughly cooked through Vegetables should be directly immersed in boiling water ready cooked dishes can be placed directly in the o...

Страница 6: ...n the fridge according to the instructions located on the fridge wall and always ensure the guide is at the front If the Cool Check shows TOO WARM In certain conditions the temperature guide may show TOO WARM if The fridge is switched off The door has been recently opened A quantity of warmer food has been introduced to the fridge The fridge temperature is above the recommended maximum for the saf...

Страница 7: ...py water and dry them with a clean towel before handling food Keep work surfaces clean and avoid cross contamination by not using the same work surface or knife without washing them thoroughly in between The fresh foods to be frozen must be fresh and of the best quality The size of each pack should be small enough to ensure that it is used in one go Small packs freeze more quickly and uniformly an...

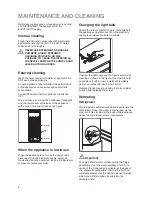
Страница 8: ...or vacuum cleaner see figure D273 CONDENSER COMPRESSOR DEFROST TRAY Before any maintenance or cleaning work is carried out DISCONNECT the appliance from the ELECTRICITY supply Internal cleaning Clean the inside and accessories with warm water and bicarbonate of soda 5ml to 0 5 litre of water Rinse and dry thoroughly NEVER USE DETERGENTS ABRASIVE POWDERS HIGHLY PERFUMED CLEANING PRODUCTS OR WAX POL...

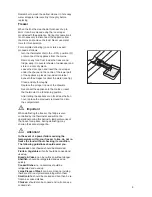
Страница 9: ...onnect the appliance to the mains or reset the thermostat to a functioning position After letting the appliance run for at least half an hour replace the previously removed food into the compartment Important When defrosting the freezer the fridge is also controlled by the thermostat and will not be operational during this period A temperature rise of the frozen food packs during defrosting may sh...

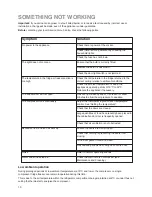
Страница 10: ...re control See ÒSetting the temperatureÓ Check that the doors are closed Large quantities of food have recently been placed in the cabinet and or door is frequently opened Check that air ventilation is not obstructed Ensure the doors are not left open Check that nothing is preventing the doors from closing Is the door gasket intact and clean Has advised periodic defrosting been carried out Refer t...

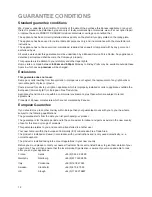
Страница 11: ...erial number of the appliance found on the rating plate 5 The purchase date For general enquiries concerning your Zanussi appliance or for further information on Zanussi products please contact our Customer Care Department by letter or telephone as follows Customer Care Department Zanussi 55 77 High Street Slough Berkshire SL1 1DZ Tel 08705 727 727 During a normal night time period of approximatel...

Страница 12: ...alls to put right an appliance which is improperly installed or calls to appliances outside the European Community EC or European Free Trade Area Appliances found to be in use within a commercial environment plus those which are subject to rental agreements Products of Zanussi manufacture which are not marketed by Zanussi European Guarantee If you should move to another country within Europe then ...

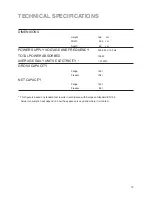
Страница 13: ...0 Hz TOTAL POWER ABSORBED 150 W AVERAGE DAILY UNITS ELECTRICITY 1 31 kWh GROSS CAPACITY Fridge 149 l Freezer 104 l NET CAPACITY Fridge 145 l Freezer 85 l This figure is based on standard test results in accordance with European Standard EN 153 Actual consumption will depend on how the appliance is used and where it is located ...

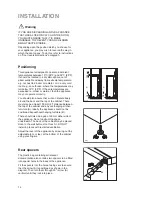
Страница 14: ... the space underneath The back of the cabinet may be placed close to the wall but must not touch it DO NOT install in places with restricted ventilation Adjust the level of the appliance by screwing out the adjustable foot or feet at the bottom of the cabinet using your fingers D200 PR60 A 45 NP002 100 mm 10 mm 10 mm A B Warning IF YOU ARE DISCARDING AN OLD APPLIANCE THAT HAS A LOCK OR CATCH ON TH...

Страница 15: ...th symbol or coloured green and yellow Connect the blue neutral wire to the terminal in the plug which is marked with the letter ÇNÈ or coloured black Connect the brown live wire to the terminal in the plug which is marked with the letter ÇLÈ or coloured red The plug moulded onto the lead incorporates a fuse D207 GREEN YELLOW 13 AMP FUSE BROWN CORD CLAMP BLUE 13 AMP For replacement use a 13amp BSI...

Страница 16: ...to the hinge provided on the opposite side after having removed the small plugs I which should then be fitted on the opposite side 9 Refit the fridge door and replace the middle hinge to the left hand side 10 Replace the door and bottom hinge 1 on the opposite side 11 Refit the feet 2 3 on the opposite side Attention After completion of the door reversing operation check that the door gasket adher...

Отзывы: