7
”
Digital Photo Frame
- 4 -
C
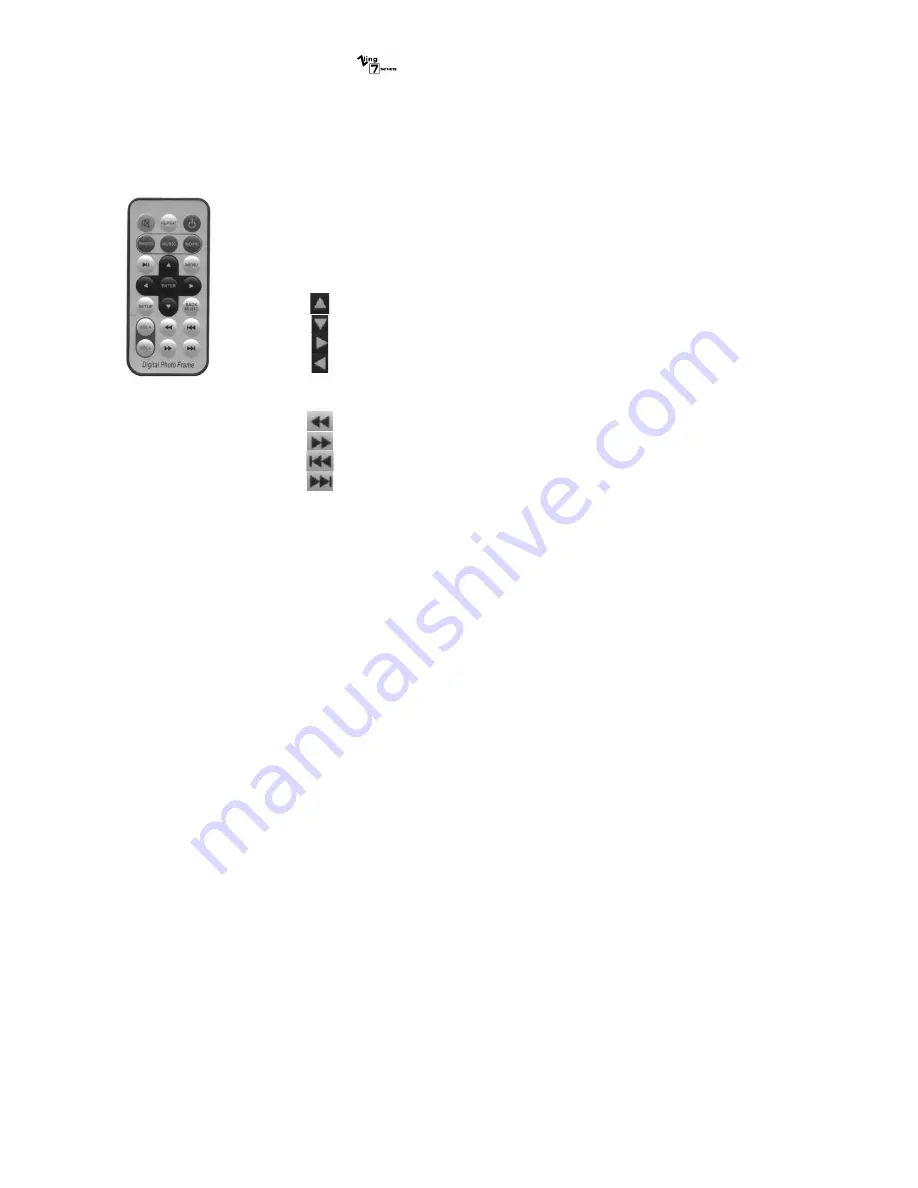
. Remote control unit
1. Key Description
Key
Description
Photo
Shortcut key to the photo menu
Music
Shortcut key to the Music menu
Movie
Shortcut key to the Movie menu
Menu
Jump to main menu
Enter
Playback photo/music/video or go to sub-menu
Move the cursor to the up direction or rotate picture
Move the cursor to the down direction or rotate picture
Move the cursor to the right direction or rotate picture
Move the cursor to the left direction or rotate picture
Vol+
Increase the volume
Vol-
Decrease the volume
Fast backward
Fast forward
Previous photo/music/movie
Next photo/music/movie
2. Replacing battery
a. Place the remote control unit with the buttons facing downward.
b. Pull out the battery cover
c.
Place the
“
CR2025
”
Lithium button battery on the tray with positive
“
+
”
mark facing
upward.
D.
Precaution
l
The digital photo frame is for indoor use only
l
To reduce the risk of fire or electric shock , do not expose this appliance to rain or moisture.
l
Do not block the ventilation holes on the back of the photo frame at any time.
l
Keep your photo frame out of sunlight. Direct sunlight may cause damage of the LCD.
E. Cleaning the LCD screen
l
Treat the screen gently. The screen on the photo frame is made of glass and can be scratched
or broken.
l
If fingerprints or dust make the LCD screen dirty, we recommend using a soft, non-abrasive
cloth such as the camera lens cloth to clean the LCD screen.
F. Installation
1.
Please take out the stand and knob and install them correctly
2.
Connect the AC adaptor and switch it on, insert the memory card which is stored with
video and music files.
3.
Now you can enjoy the music or video files on the digital photo frame
4.
Remove the protective film from the battery door of the remote control unit for normal
operation.


