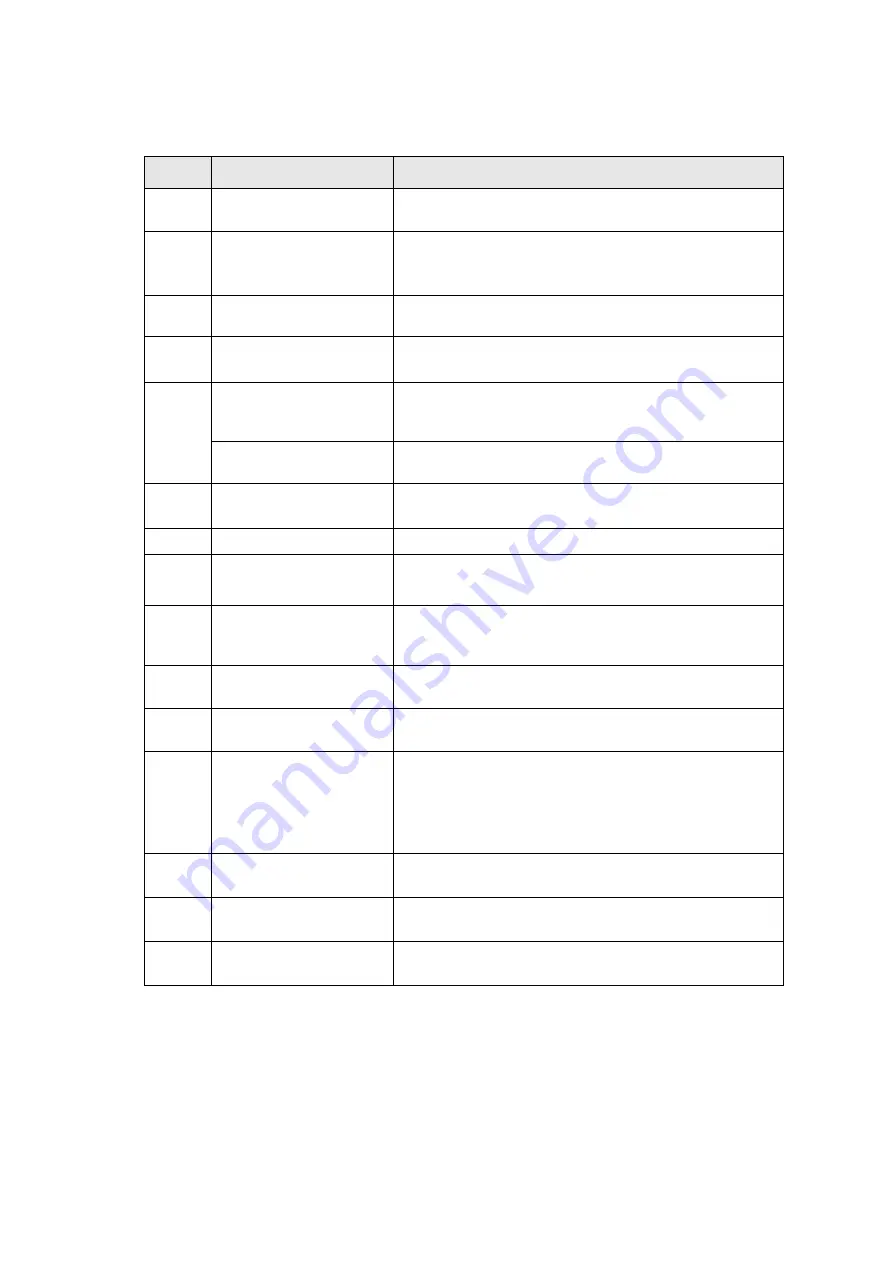
manualshive.com logo in svg
background image


Item 

Description 

Power Indicator LED 

Indicates call status, message status and system status 
of the phone 

Phone Screen 

Shows  a  screen  with  backlight  that  enables  you  to 
view menus and data. 

Line Keys 

Accesses your phone lines and features. 

Soft Keys 

Label  automatically  to  identity  their  context-sensitive 
features. 

Navigation keys 

Scroll through the displayed information. 
• Access History and Directory respectively. 

OK Key 

Confirms actions or answers incoming calls. 

Mute Key 

Toggles and indicates mute feature. 

Message Key 

Accesses voice mails. 

TRAN Key 

Transfers a call to another party. 

HEADSET Key 

Toggles and indicates the headset mode. 

10 

Speakerphone Key 

Toggles the hands-free speakerphone mode. 

11 

Redial Key 

Redials a previously dialled number. 

12 

Volume Key 

Adjusts  the  volume  of  the  handset,  headset  and 
speaker. 
If you adjust the volume for handset or headset to level 
12-15  on  a  call,  on  the  next  call  the  volume  will  be 
reduced back to level 11 to protect your hearing. 

13 

Keypad keys 

Provides  the  digits,  letters  and  special  characters  in 
context-sensitive applications. 

14 

Speaker 

Provides ringer and hands-free (speakerphone) audio 
output. 

15 

Hookswitch Tab 

Secures the handset in the handset cradle when the 
IP phone is mounted vertically.  


Содержание T31G

Страница 1: ...Yealink T31G Phone Guide...

Страница 2: ...Instructions 6 Icon Instructions 8 Phone Display Views 9 Basic Call Features 10 Placing Calls 10 Answering Calls 11 Transferring Calls 11 Ending Calls 12 Conference Calls 12 Do Not Disturb DND 12 His...

Страница 3: ...hone Got everything IP Phone Handset Handset cord Ethernet cable Phone stand Quick start guide Power adapter Optional Wall mount bracket Optional Need help If you have any problems setting up or using...

Страница 4: ...Installation 1 Attach the stand 2 Connect the handset and optional headset 3 Connect the network and power You have two options for power and network connections AC power Optional Power over Ethernet...

Страница 5: ...Ethernet cable the IP phone can be powered from a PoE compliant switch or hub To connect the PoE 1 Connect the Ethernet cable between the Internet port on the phone and an available port on the in li...

Страница 6: ...f firmware updates please allow the phone time to complete Your phone has provisioned correctly if this symbol is showing against the phones line key Your phone has not provisioned correctly if this s...

Страница 7: ...Key Accesses voice mails 8 TRAN Key Transfers a call to another party 9 HEADSET Key Toggles and indicates the headset mode 10 Speakerphone Key Toggles the hands free speakerphone mode 11 Redial Key Re...

Страница 8: ...e Handset mode Headset mode Voice Mail Auto Answer Do Not Disturb Phone Warning Call Mute Ringer volume is 0 Keypad Lock The private line is registered successfully The shared bridged line is register...

Страница 9: ...ress mode MAC address LAN type LAN IP and LAN mask Phone status e g device model hardware version firmware version and product ID Account status e g register status of SIP accounts To view the phone s...

Страница 10: ...ne key Pick up the handset press the Speakerphone key or the HEADSET key 2 Enter a number or select a contact 3 Select Send The phone supports to match the number to show the contact in Directory no m...

Страница 11: ...ore placing a call or can alternate among Speakerphone headset and handset modes during a call When using the speakerphone or the headset the LED indicator glows green 1 During the call pick up the ha...

Страница 12: ...s connected by pressing the Cancel soft key Ending Calls 1 If you are using the handset press the Cancel soft key or hang up the handset 2 If you are using the headset press the Cancel soft key 3 If y...

Страница 13: ...ate contact list appears on the LCD screen 4 Press the Back soft key to back to the previous interface 5 rectory and tap the contact From the contact s information screen tap the contact s phone numbe...

Страница 14: ...ccessory for details Headset The phone supports RJ9 headset and wireless headset via EHS to handle calls To connect headset 1 RJ9 headset Connect RJ9 headset to the headset port of your phone 2 Wirele...

Страница 15: ...of your product in water and do not use it in damp or humid conditions such as bathrooms Do not expose your product to fire explosive or other hazardous conditions There is a slight chance your phone...

Страница 16: ...arantee are The guarantee shall only apply to defects that occur within the 12 month guarantee period Proof of purchase is provided The equipment is returned to your Service Provider or its agent as i...

Страница 17: ...may be modified from time to time Services and equipment are provided subject to British Telecommunications plc s respective standard conditions of contract Nothing in this publication forms any part...

Отзывы: