42
43
GB
GB
OPERATION
Control Panel
Once the Robotic Mower is fully charged, it is ready for programming.
While the default factory settings will suit the majority of users, it is worth familiarising yourself
with the options available.
To start programming, press down on the large STOP button (2) to open the top cover and
access the controls.
zone 1
zone 3
zone 4
zone 5
zone 2
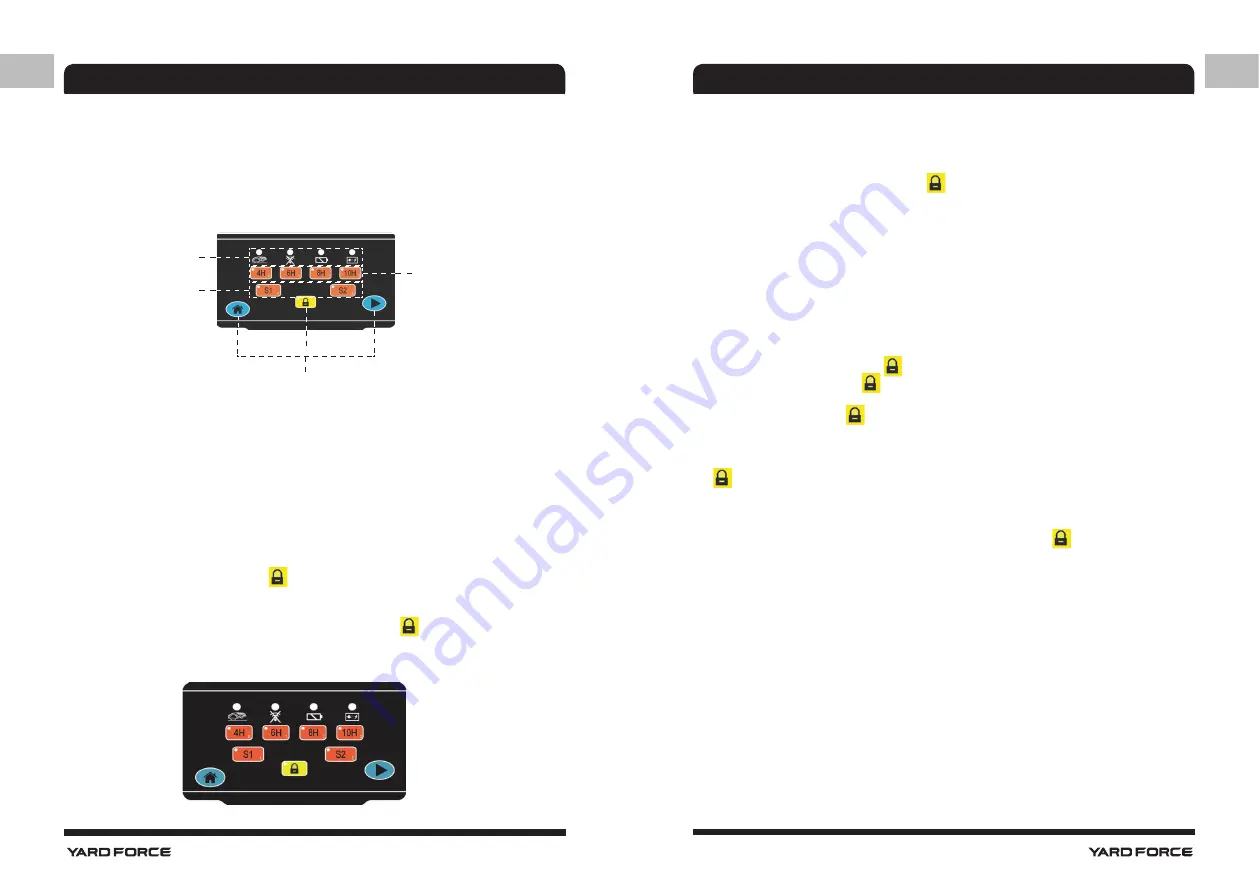
The control panel has five functional areas.
Zone 1: Status indicator LEDs
Zone 2: Working time setting
Zone 3: Signal setting
Zone 4: Locking button
Zone 5: Home & start button
Lock and Unlock
Unlock
A blinking LED above the lock button [
] indicates that the control panel is locked.
To unlock the control panel, enter the PIN code.
There is no factory-default PIN. Instead, press the lock button [
] four times.
If the LED goes out, the PIN entry was successful and the control panel was unlocked.
OPERATION
Lock
Control panel will be locked when the Robotic Mower is restarted using the mains power
switch.
Also, you can simply press the lock button [
] to manually lock the control panel.
Change PIN code
The analog keyboard
The panel is equipped with a 5 key numerical keyboard.
Use "4H" for 0, "6H" for 1, "8H" for 2, "10H" for 3, "S1" for 4, and "S2" for 5.
Changing the PIN Code
1) Switch OFF the mains power switch (11)
2) Press and hold the lock button [
].
3) Hold down the lock button [
] while switching ON the main power switch (11). After
about 6 seconds, all LEDs on the control panel will start flashing fast.
4) Release the lock button [
].
5) Within 6 seconds, enter your new PIN-Code.
The Robotic Mower will confirm the changed PIN with a single beep.
6) All LEDs will go out and the Robotic Mower will reboot. Once the LED of the lock button
[
] flashes, the reboot is complete. You can now unlock your Robotic Mower with your
new PIN.
Note:
If you do not remember your PIN code, please set a new PIN as described above.
It is not possible to reset the device to the default PIN code of "4x [
]"


