


22
23
Hotline: 1-866-902-9690
Hotline: 1-866-902-9690
AP mode
This is the Hotkey to enter
Wireless setting
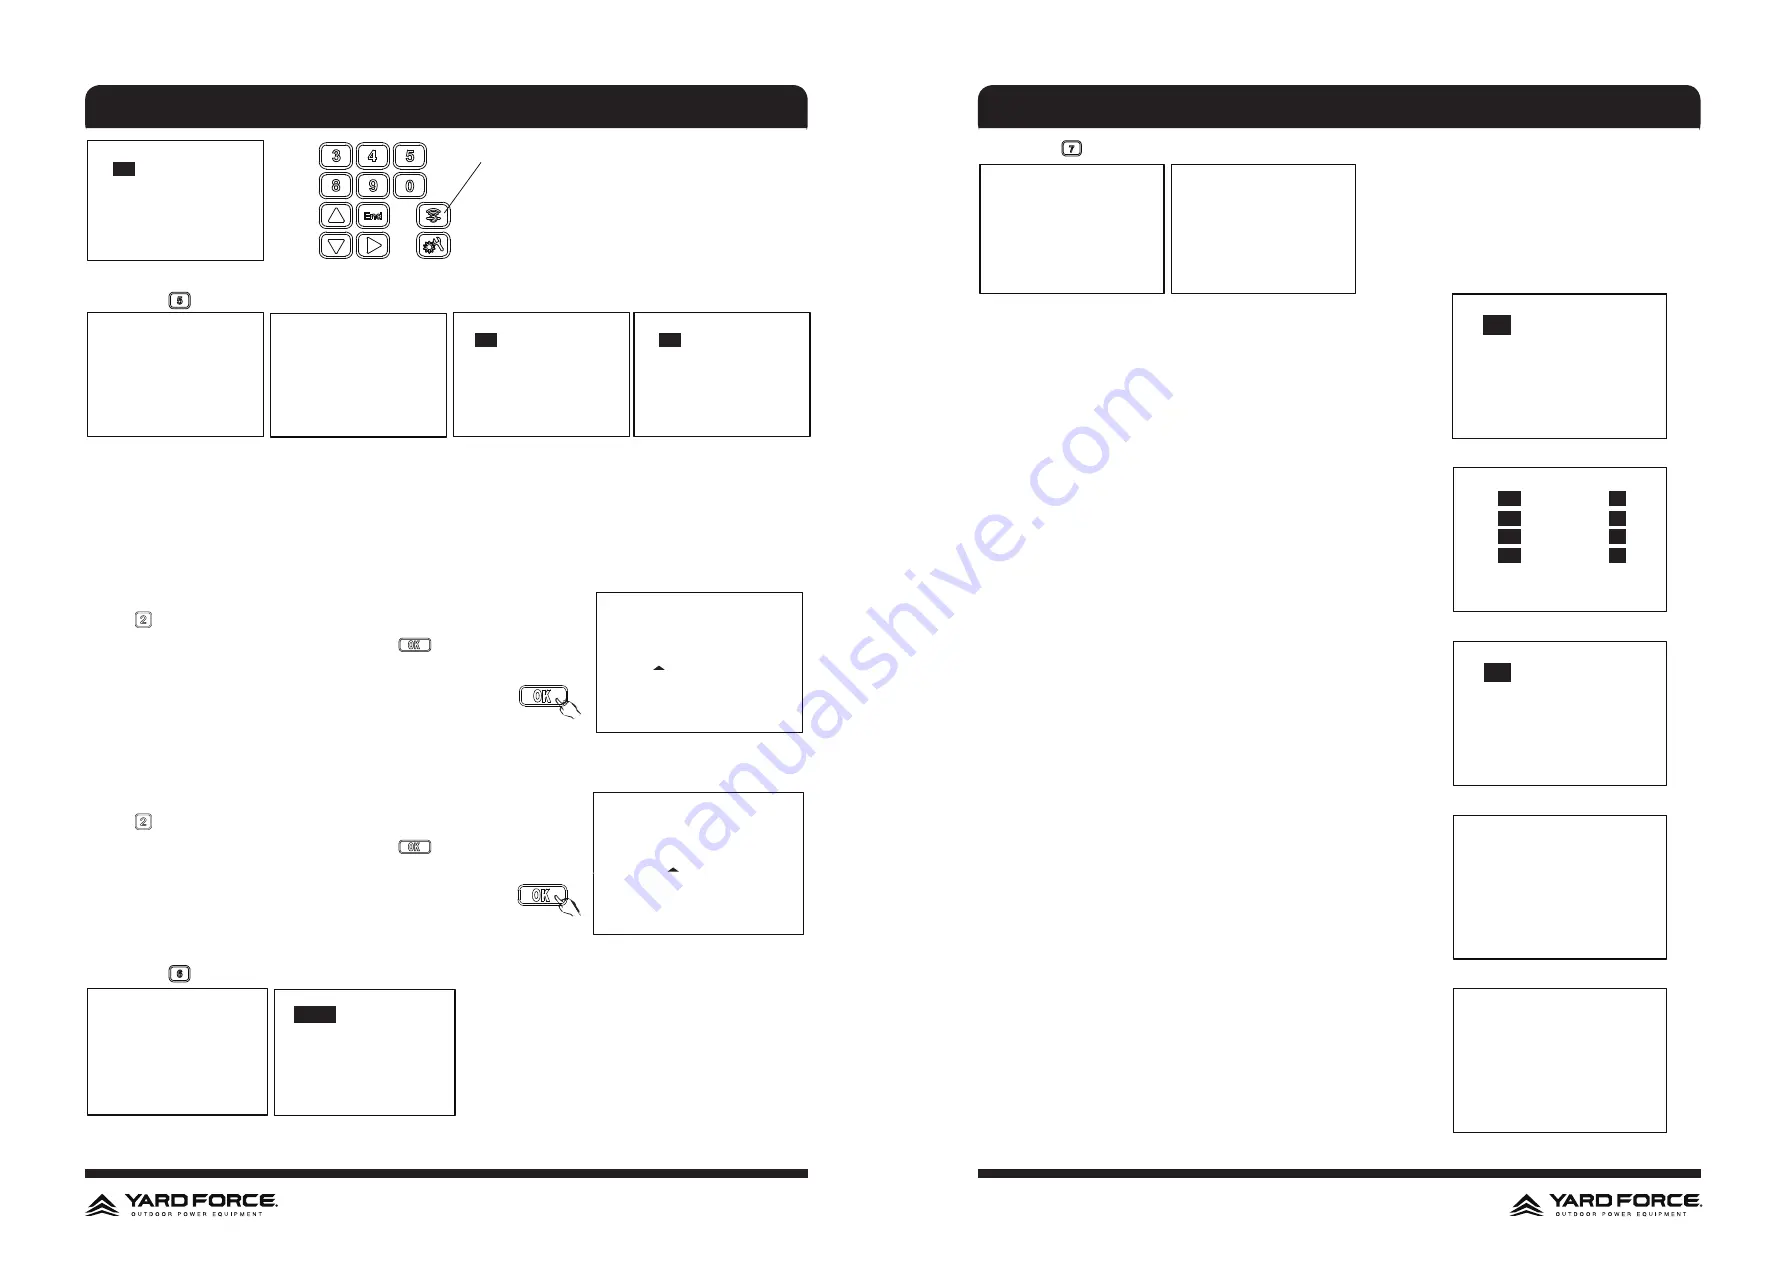
1.
ON
2. OFF
6. Press the
button or use the navigation key + OK button to enter Sensor setting
Sensor setting
SETTING FUNCTION
1. System date and time
2. Working date and time
3. Pin code reset
4. Wireless setting
5. Sensor setting
6. Language setting
7. Other setting
Rain sensor
1. Rain sensor
2. Ultrasonic sensor
Ultrasonic sensor
1.
ON
2. OFF
1.
ON
2. OFF
Please press “OK“ to edit Please press “OK“ to edit
- Rain sensor
NOTE:
Mowing in the rain is not recommended.
This machine has a rain sensor which may stop the robot from mowing in the rain. When the rain sensor is
triggered, the robot will go back to the charging station first, where it will be fully charged. Once charged the
mower will remain in the charging station until the rain has stopped before starting to mow again.
Note: Be careful not to short circuit the sensors on the machine with any metal objects. This will cause the
mower to work abnormally.
Press to switch off the sensor.
When the rain sensor is activated, then press
to set the delay time.
Delay time in docking station
020 minute
- UltraSonic sensor
This machine equipped 2 ultrasonic sensors which may detect the obstacle on the lawn. When the sensor is
actived, the robot will stop and then turn around when detect an obstacle.
Press to switch off the sensor.
When the rain sensor is activated, then press
to set the delay time.
Detect distance before action
30 cm (30-60)
7. Press the
button or use the navigation key + OK button to enter Language setting
Language setting
SETTING FUNCTION
1. System date and time
2. Working date and time
3. Pin code reset
4. Wireless setting
5. Sensor setting
6. Language setting
7. Other setting
1.
English
2. Espanol
3. Francais
Select related number to set the language you require.
8. Press the
button or use the navigation key + OK button to enter Other setting
Other setting
SETTING FUNCTION
1. System date and time
2. Working date and time
3. Pin code reset
4. Wireless setting
5. Sensor setting
6. Language setting
7. Other setting
1. Boundary singal
2. Multi zone function
3. LED light
4. About device
5. Fault record
Select the boundary singal between S1 and S2, make sure that the
mower signal is matched with docking station signal.
If your garden is complex and has separated to different zone via
the narrow path, we suggest to switch on the mult-zone function
You can define the different zone with distance to docking station
and related working time in this area.
The LED light can be turn on, turn off and also can make it
flashing.
The device information is listed in “about device” section, include
product SN number, MAC address , accumulated working time
and also total charging cycles
Device operating fault information is storaged in “ Fault record ”
OPERATION
OPERATION
Boundary signal
1.
S1
2. S2
Boundary signal
1.
S1
2. S2
Boundary signal
1.
S1
2. S2
Multi zone setting
Zone A
010
m from station,
25
%time
Zone B
030
m from station,
25
%time
Zone C
050
m from station,
25
%time
Zone D
100
m from station,
25
%time
LED light
1.
ON
2. OFF
3. Flash
About device
Mower SN: XXXXXXXXXX
MAC address: XXXXXXXXXXXX
Firmware version: XXXXXXXX
Total working hours: XXXXX
Total charging cycles: XXXX
Fault record
Fault : XXXXXXXXXXXXXXXXXXXXXX
2021/01/01 08:00
Fault : XXXXXXXXXXXXXXXXXXXXXX
2021/01/01 09:00
Fault : XXXXXXXXXXXXXXXXXXXXXX
2021/01/01 09:00