PERIODIC MAINTENANCE AND ADJUSTMENT
6-36
6
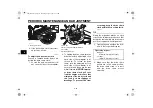
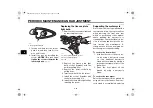
3. Insert a new bulb into the socket,
push it in, and then turn it clock-
wise until it stops.
4. Install the lens by installing the
screw.
NOTICE:
Do not over-
ti
g
hten the screw, otherwise the
lens may
b
reak.
[ECA11192]
EAUM3510
Replacin
g
the license plate
li
g
ht
b
ul
b
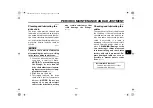
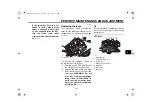
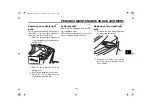
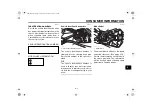
1. Remove the license plate light unit
by removing the screw.
2. Remove the license plate light
bulb socket (together with the
bulb) by pulling it out.
3. Remove the burnt-out bulb by
pulling it out.
4. Insert a new bulb into the socket.
5. Install the socket (together with
the bulb) by pushing it in.
6. Install the license plate light unit by
installing the screw.
EAU24351
Supportin
g
the motorcycle
Since this model is not equipped with a
centerstand, follow these precautions
when removing the front and rear
wheel or performing other mainte-
nance requiring the motorcycle to
stand upright. Check that the motorcy-
cle is in a stable and level position be-
fore starting any maintenance. A
strong wooden box can be placed un-
der the engine for added stability.
To service the front wheel
1. Stabilize the rear of the motorcy-
cle by using a motorcycle stand
or, if an additional motorcycle
stand is not available, by placing a
jack under the frame in front of the
rear wheel.
2. Raise the front wheel off the
ground by using a motorcycle
stand.
To service the rear wheel
Raise the rear wheel off the ground by
using a motorcycle stand or, if a motor-
cycle stand is not available, by placing
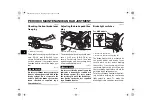
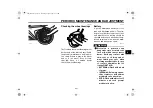
1. Turn signal light bulb
ZAUM1223
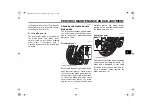
1. License plate light bulb socket
2. License plate light unit
3. Screw
ZAUM1190
2
3
U5D7E5E0.book Page 36 Thursday, August 21, 2014 9:30 AM

