PERIODIC MAINTENANCE AND ADJUSTMENT
7-33
1
2
8
9
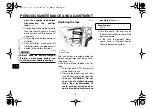
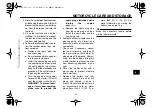
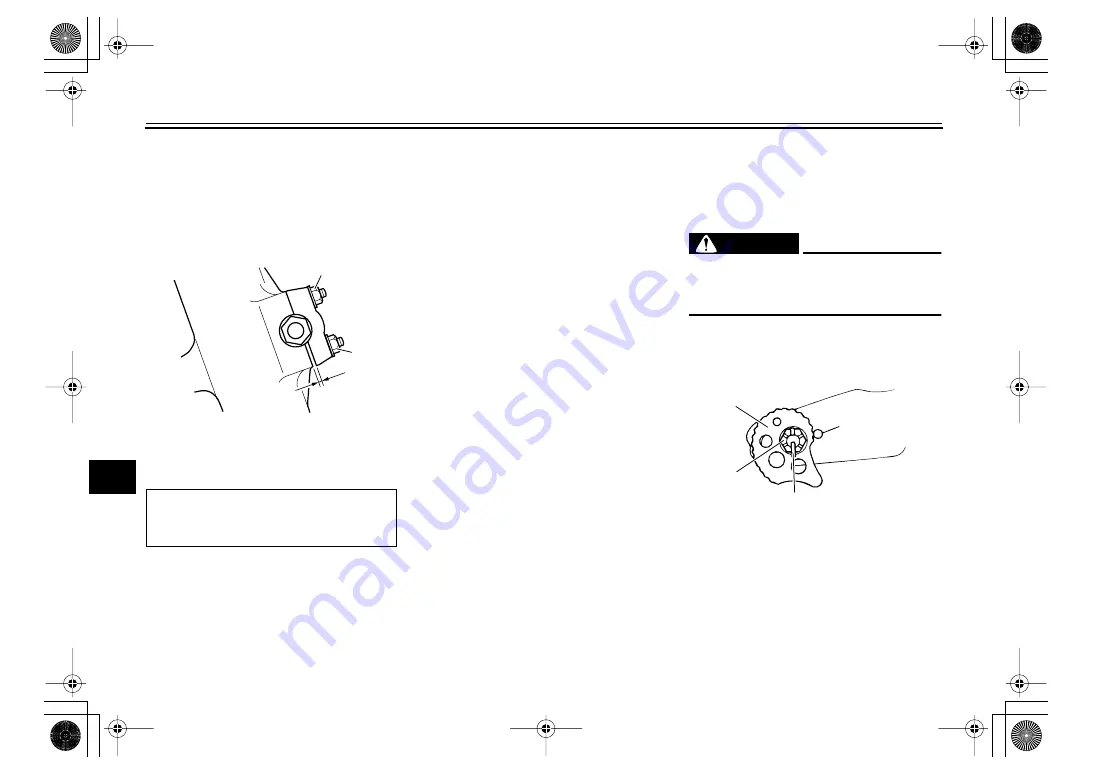
specified tightening torque. Tight-
en the upper nuts first and then
lower ones. When tightened in this
sequence, there should be a gap
formed at the bottom of the axle
holder.
7. After tightening the axle holder
nuts, push down hard on the han-
dlebars several times while apply-
ing the front brake to check if the
front fork compresses and re-
bounds smoothly.
8. Connect the speedometer cable.
EAU25080
Rear wheel
EAU25262
To remove the rear wheel
WARNING
EWA10821
To avoid injury, securely support the
vehicle so there is no danger of it
falling over.
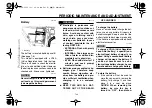
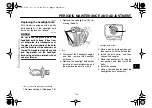
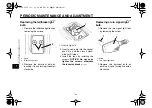
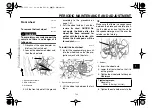
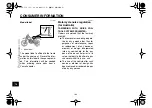
1. Remove the cotter pin, and then
loosen the axle nut.
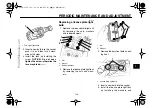
2. Lift the rear wheel off the ground
according to the procedure on
page 7-31.
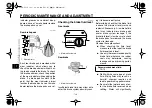
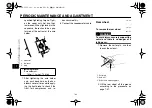
1. Upper nut
2. Lower nut
3. Gap
Tightening torque:
Axle holder nut:
10 Nm (1.0 m·kgf, 7.2 ft·lbf)
1
2
3
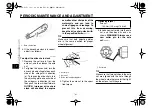
1. Cotter pin
2. Axle nut
3. Drive chain adjusting plate
3
2
1
✧✷✿✬✥✳ ✦✦

