6-29
6
6
6
6
6
PERIODIC MAINTENANCE AND MINOR REP
PERIODIC MAINTENANCE AND MINOR REP
PERIODIC MAINTENANCE AND MINOR REP
PERIODIC MAINTENANCE AND MINOR REP
PERIODIC MAINTENANCE AND MINOR REPAIR
AIR
AIR
AIR
AIR
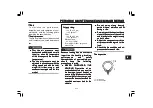
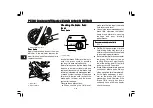
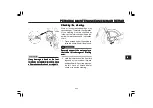
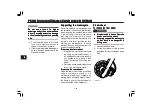
3. Pull the wheel axle out, and then
remove the wheel.
Do not apply the brake after the
Do not apply the brake after the
Do not apply the brake after the
Do not apply the brake after the
Do not apply the brake after the
wheel has been removed together
wheel has been removed together
wheel has been removed together
wheel has been removed together
wheel has been removed together
with the brake disc, otherwise the
with the brake disc, otherwise the
with the brake disc, otherwise the
with the brake disc, otherwise the
with the brake disc, otherwise the
brake pads will be forced shut.
brake pads will be forced shut.
brake pads will be forced shut.
brake pads will be forced shut.
brake pads will be forced shut.
T
T
T
T
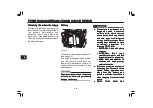
To install the front wheel
o install the front wheel
o install the front wheel
o install the front wheel
o install the front wheel
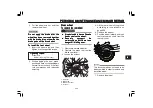
1. Insert the wheel axle, and then
tighten it to the specified torque.
T
T
T
T
Tightening torque:
ightening torque:
ightening torque:
ightening torque:
ightening torque:
Wheel axle:
80 Nm (8.0 m.kgf, 58 ft.lbf)
2. While applying the front brake,
push down hard on the handlebars
several times to check if the front
fork compresses and rebounds
smoothly.
Rear wheel
Rear wheel
Rear wheel
Rear wheel
Rear wheel
T
T
T
T
To remove the rear wheel
o remove the rear wheel
o remove the rear wheel
o remove the rear wheel
o remove the rear wheel
l
l
l
l
l
It is advisable to have a Y
It is advisable to have a Y
It is advisable to have a Y
It is advisable to have a Y
It is advisable to have a Yamaha
amaha
amaha
amaha
amaha
dealer service the wheel.
dealer service the wheel.
dealer service the wheel.
dealer service the wheel.
dealer service the wheel.
l
l
l
l
l
Securely support the
Securely support the
Securely support the
Securely support the
Securely support the
motorcycle so that there is no
motorcycle so that there is no
motorcycle so that there is no
motorcycle so that there is no
motorcycle so that there is no
danger of it falling over
danger of it falling over
danger of it falling over
danger of it falling over
danger of it falling over.....
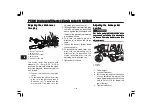
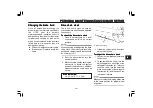
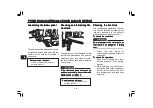
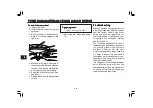
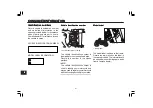
1. Remove the brake adjuster.
2. Remove the brake rod from the
brake cam lever
3. Loosen the axle nut
1. Adjuster
2. Brake rod
3. Brake cam lever
4. Axle nut
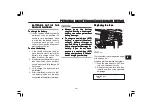
4. Lift the rear wheel off the ground
according to the procedure on
page 6-28.
5. Remove the axle nut.
6. Push the wheel forward, and then
remove the drive chain from the
rear sprocket.
The drive chain does not need to be
disassembled in order to remove and
install the wheel.
7. Remove the wheel.

