PSR-A300
11
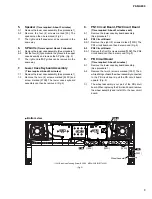
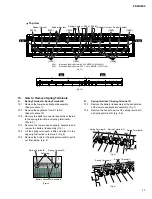
Spring Terminal A
Spring Terminal D
Spring Terminal B
Hook
Hook
Spring Terminal C
Spring Terminal C
Hook
Hook
13.
How to Remove Spring Terminals
A
Spring Terminal A, Spring Terminal B
13-1
Remove the lower case keyboard assembly.
(See procedure 7)
13-2
Remove the keyboards from C1 to B2.
(See procedure 10)
13-3
Remove the battery connector assembly soldered
to the spring terminal A and spring terminal B.
(Photo. 3)
13-4
Reverse the lower case keyboard assembly and
remove the battery lid assembly. (Fig. 1)
13-5
Lift the spring terminal A a little and slide it in the
upper right direction to remove it. (Fig. 8)
13-6
Remove the hook for the spring terminal B to pull it
out from inside. (Fig. 8)
B
Spring Terminal C, Spring Terminal D
13-1
Remove the battery lid assembly at the bottom side
of the lower case keyboard assembly. (Fig. 1)
13-2
Remove the hooks to pull out the spring terminal C
and spring terminal D. (Fig. 8, 9)
[180A]
[190A]
[180A]
[180A]
[180A] [180B]
[180B]
[180B]
[190A]
[190B]
61L
61H
Rubber Contact
Rubber Contact
Rubber Contact
Rubber Contact
Rubber Contact
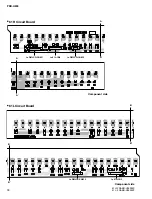
Top view
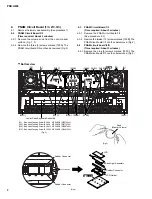
[180]:
Bind Head Tapping Screw-B 3.0X8 MFZN2Y (EP600250)
[190]:
Bind Head Tapping Screw-P SP 3.0X12 MFZNBL (VZ313100)
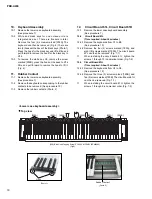
(Fig.7-1)
(Fig.7-2)
2
3
4
5
6
7
8
1
1
2
3
4
5
9
10
11
12
6
7
8
61L
61H
Soldering
Spring Terminal A
Spring Terminal B
Battery Connector Assembly
(Fig.8)
(Photo.3)
(Fig.9)


