Chapter 14 Pattern Recording
70
58
Recording a Pattern in real time
Up until this point, you’ve been working with the preset Patterns of the AN200. Now, here’s your chance to
create some Pattern magic yourself — by recording your own original Patterns.
We’ll give you the basic procedure to get you started. You supply the creative ideas and talent. And the
AN200 will provide the sonic horsepower you need to produce some truly hip and happening tracks.
1 Select a blank Pattern — a clean slate for recording your own notes.
(Have you cleared a Pattern for this yet? If not, go back to Tip 56 and do
it now.)
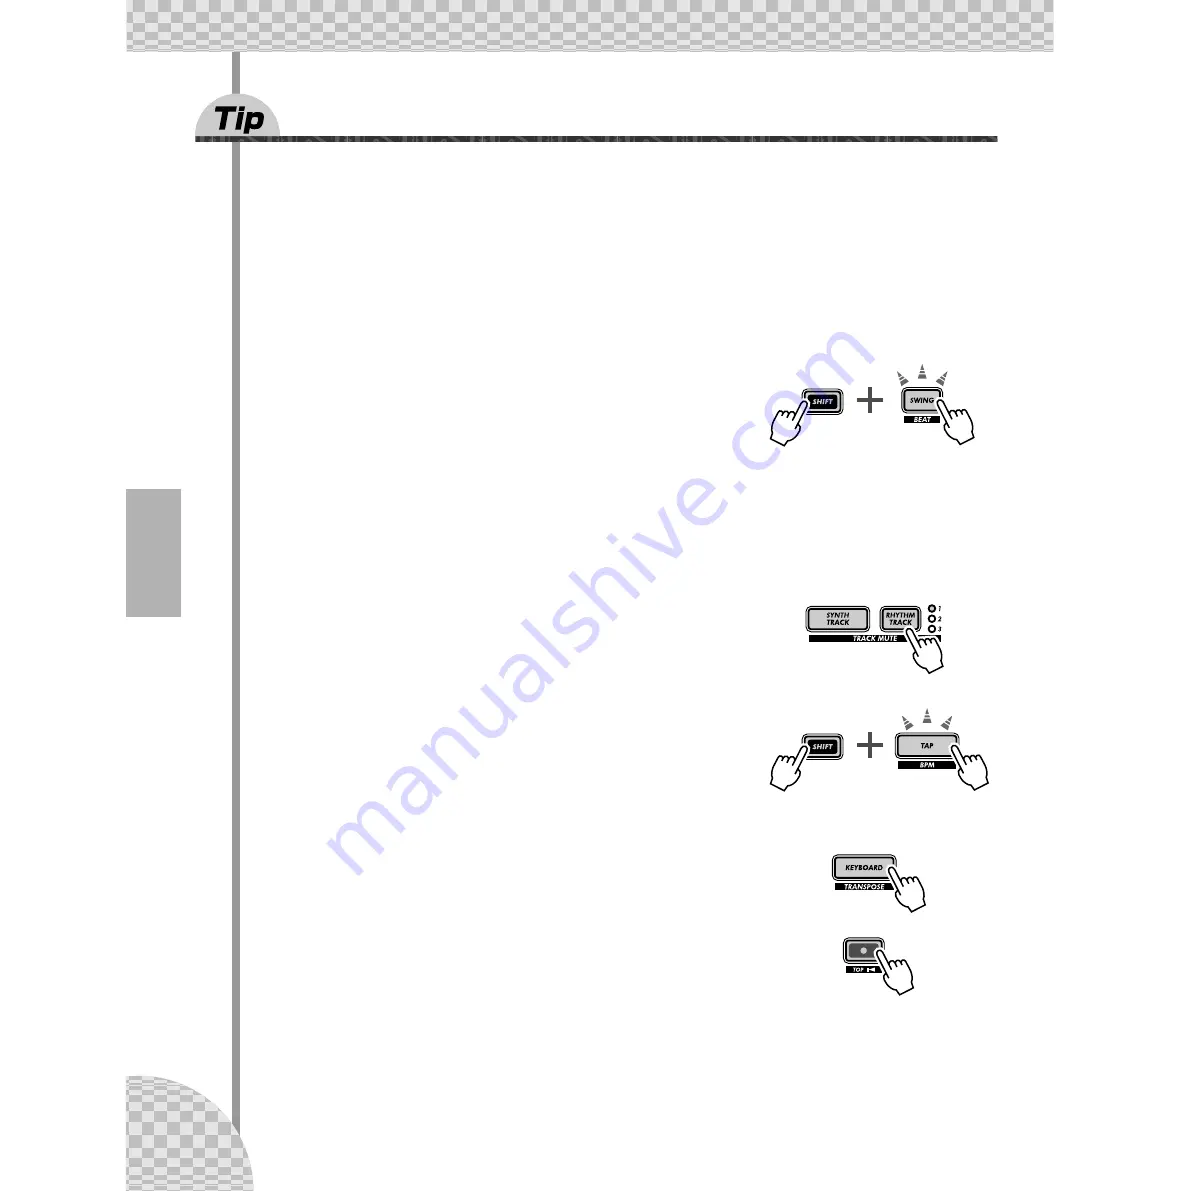
2 Make the Beat setting for the new Pattern: 16, 12, or
8.
Hold down [SHIFT] and press [SWING] (BEAT). Then, turn the DATA knob
to change the setting.
You should make this setting BEFORE recording, since it determines the number of steps you’ll have
available in the Pattern.
A setting of “
16
” gives you sixteen steps or spaces you can record notes to; a setting of “
8
” is obviously
half that — eight steps. The “
12
” setting gives you twelve steps, of course, but also lets you create a
triplet feel — count: “ONE, two, three, TWO, two, three,” etc.
3 Select the track for recording — Synth or one of the
three Rhythm tracks. Press [SYNTH TRACK] for Synth,
or [RHYTHM TRACK] (repeatedly) for Rhythm tracks 1,
2, or 3.
4 Set a comfortable bpm for recording.
Hold [SHIFT] and press the [TAP] button, then use the [DATA] knob.
Keep in mind, you can always change the bpm later. Right now, it’s impor-
tant to set the bpm so that it’s fast enough to capture the feel you’re after,
yet slow enough to let you easily enter the notes. (Make sure to press [EXIT] when you’re done.)
5 Press [KEYBOARD] to enable the AN200’s keyboard.
Did you know you can use a MIDI keyboard to record the notes? If you’ve
got one, see Tip 86 for info on setting it up.
6 Enable recording — press the red Record button.


