4. E-IDE (ATAPI) MODEL HARDWARE INSTALLATION
4.1) Setup Flowchart for CRW2100EZ (E-IDE)
This flowchart shows the procedure for setting up your new Yamaha 3-in-1 E-IDE drive.
For easy cross-referencing, the relevant pages in this manual are also given.
Set up the CD-RW drive
1. Remove the outer casing of
computer. (page 16)
2. Set the jumper switches
3. Fit the drive into the computer
(page 20 [Section B] )
STEP
1
Check that the CD-RW
drive is recognized correctly
Go to Control Panel | System | Device
Manager tab. Double-click on CDROM
and check that the drive has been
recognized correctly by the
computer’s OS.
STEP
2
Install the CD writing software
Follow instructions in Chapter 6, pages
24 - 25 or refer to the documentation
that came on the software disc.
STEP
3
Start using the drive!
Use the drive to create audio CDs, to
back up data on your hard disk, or for
whatever purpose suits your needs.
Read Chapter 8, pages 28 - 38 or refer
to the online manuals supplied on the
software disc.
STEP
4
IBM Compatible or
Macintosh Computers
12
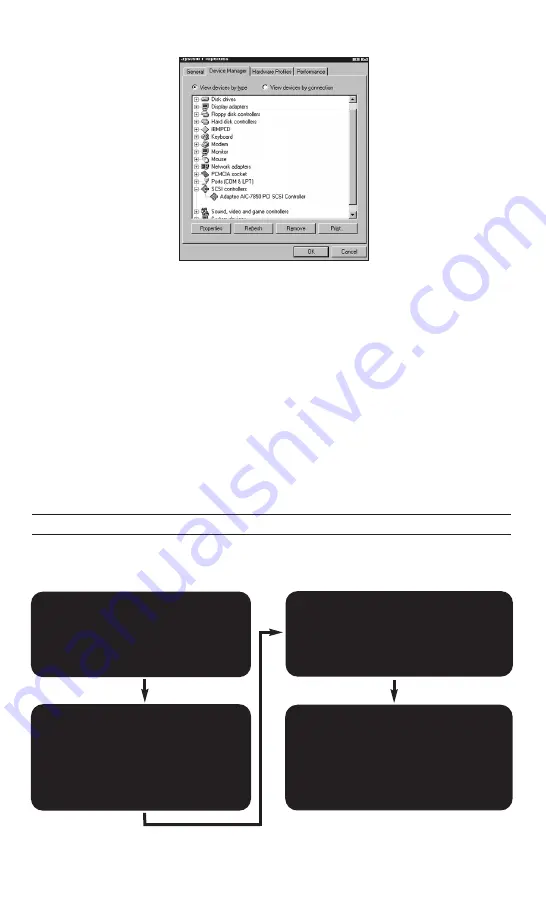
Please note that if there is an exclamation mark on a yellow background, you have a device
conflict. Do not install your new CD-RW drive until you have resolved the conflict.
To resolve the device conflict, please follow the instructions below:
• Check the on line Help menu in the software provided with the SCSI Controller card.
• Check the documentation provided with your SCSI Controller.
• Check Windows Help by clicking the Start button and then select Help. Select Index tab and scroll
to and select the Index topic "devices, troubleshooting". Then click Display and select
Troubleshooting Hardware Conflicts.
• Contact the manufacturer of the SCSI Controller.
Once you have verified that your SCSI controller is correctly installed, proceed with the
installation of your new 3-in-1 CD-RW drive.


