


8
First Time Easy Install
Note
• Any omissions or mistakes can be rectified later.
Once the first time install has been successfully
completed it will not be shown again.
• More advanced programming can be done at a
later stage including adding and naming sensors
and changing various settings.
Unpack the kit
contents and place
them on a table
for convenience.
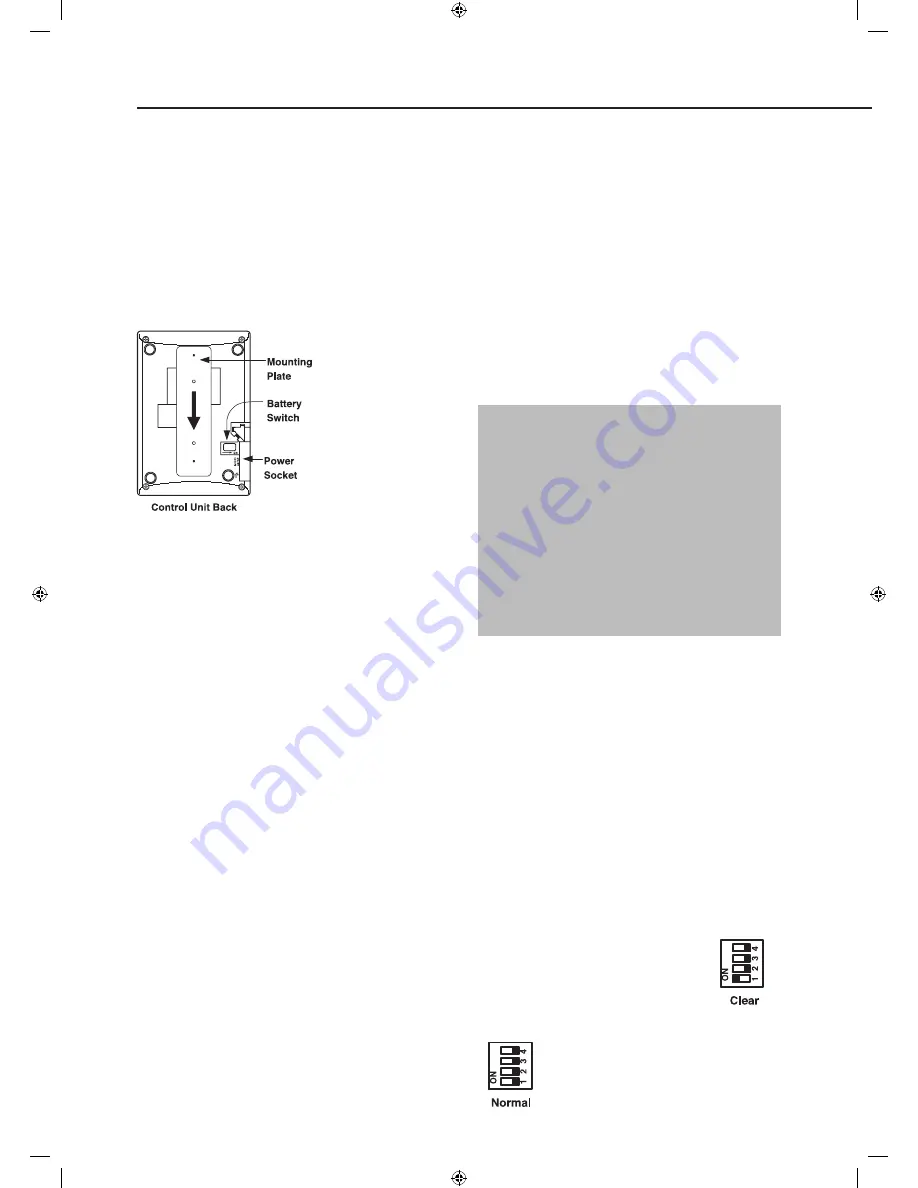
Remove the
mounting plate
(if fitted) from
the control unit
by sliding plate
downwards as
shown and put the
plate to one side.
Plug the power adapter into a wall socket and plug
in the power cord into the power socket.
The control unit will beep and “
Set user code (OK?)
”
will be shown in the text display, the green power
LED will be on.
Remove the rubber battery switch cover and locate
the battery switch beneath, using a pointed tool slide
the battery switch to the right in the direction of the
arrow to switch the internal battery on and replace
the rubber cover.
The unit is now ready for the first time
installation steps:
1
With “
Set user code (OK?)
” displayed press the
✓
key, “
Enter 1st Code ....
” will be shown, choose a
code and enter a four digit number, the dots will
turn into asterisks as the number is entered. If a
mistake is made then the
P
key can be used to
correct the wrong number.
Be sure to make a note of the entered code, it will
be required later.
2
Press
✓
and you are prompted “
Set 2nd Code Y
N
”, you can either choose to skip entering further
codes by pressing the
p
/
q
keys for “
N
” (No)
option and press
✓
, or “
Y
” (Yes) and
✓
to enter up
to 3 more user codes. Each time a user code is
entered the
✓
button has to be pressed to confirm
the entry.
3
Once the user codes are entered the screen will
show “
Reset Code Next step
” if you need to change
any of the codes use the
p
key to select “
Reset
Code
” and press
✓
, otherwise press the
✓
key to
select “Next step”.
4
“
Add Device (OK?)
” will be displayed, select one of
the sensors supplied in the kit.
• Any sensor can be used to learn-in for this step.
5
Press
the
✓
key on the control unit and
“*Push
Button On* Device to Add”
will be shown.
Press the test/learn button:
• Remote keyfob:
Press any key except the
emergency button
• PIR: Press the test button
• Door/Window contact: Press the test button
• Help button:
Press the emergency
button
• Smoke detector:
Press the test button
• Keypad:
Press Panic button A and enter “0000”
to enter test mode indicated by a continuously
flashing LED. Press panic button A and enter
“7”, the keypad will confirm with two fast flashes
that it is in “Siren as Slave” mode. Press panic
button A then “1” to send learn-in signal, then
press disarm twice to quit test mode.
The control unit will beep and
“Detected (OK?) ...
Zone01 B”
will be shown, press
✓
to confirm it is
the correct device.
• Devices are labeled by the following codes:
·
Door Contact
DC
·
PIR Sensor
IR
·
Smoke Sensor
SD
·
Remote Controller
RC
·
Remote Keypad
KP
·
Help Button
FP (Fix-Panic)
6
“
More devices Next step
” will be shown, press
✓
to
add more sensors or select “
Next step
” using the
q
key to skip this action at any time. When you
have finished adding devices, select “
Next step
”
and press
✓
.
7
“
Add Siren (OK?)
” will be displayed.
Remove the siren cover, ensure the
siren power is switched off and set the
program switch to clear memory as
shown. Press the siren learn button
a few times to drain any residual power. Switch
on the siren power and wait for the
siren LEDs to flash in sequence and
then set the program switch to normal
ready for learning in.
3
The quick install guide will prompt you to program the basic system in easy steps.


