13
Connecting to a Faraway Station Using WIRES-X
●
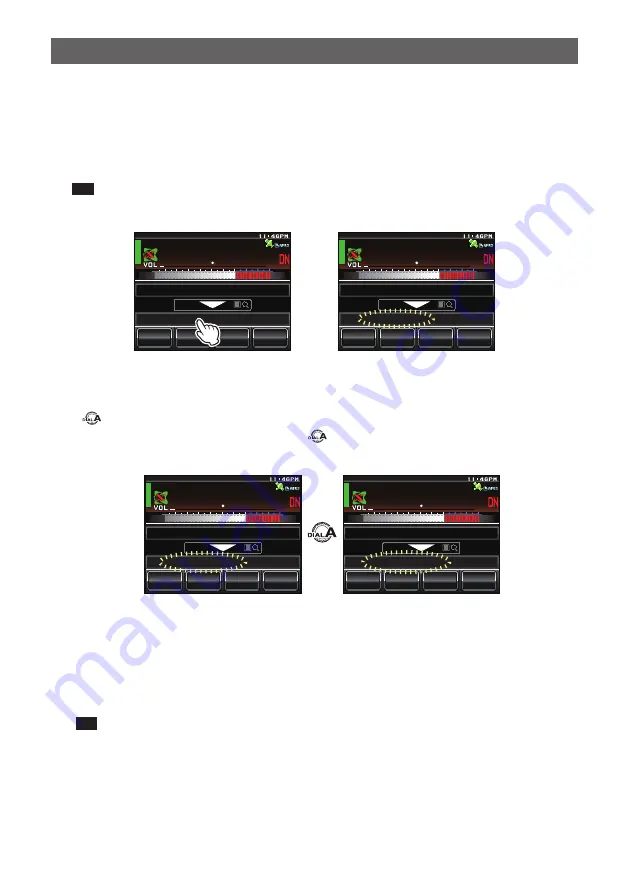
Connecting to the node or room you have most recently connected
If the node or room on the Internet is one that you have been connected to in the past,
the name of the last connected node or room is displayed in grey at the bottom of the
screen.
At this point, either touch the connection destination or press the microphone [PTT] to
start the connection. Upon being connected, the text will light up in white.
Tip
If connection cannot be established, “Not Connected” will appear, and characters will be gray
again.
Ჽ Ჾ Ჸ Ჸ
/ 76'
5%12'
/
8
5 3 .
; # ' 5 7 6 5 7 4 +
5*+0#)#9#-7
, 3 ; $ ( 6 +
; # ' 5 7 % # / 2
→
Ჽ Ჾ Ჸ Ჸ
/ 76'
5%12'
/
8
5 3 .
; # ' 5 7 6 5 7 4 +
5*+0#)#9#-7
, 3 ; $ ( 6 +
; # ' 5 7 % # / 2
●
Switching the current connected destination and the last connected node and
room
Turn
when connected to a node or room on the Internet to display the last
connected node or room. Continue turning
to return to the current connection
destination display.
Ჽ Ჾ Ჸ Ჸ
/ 76'
5%12'
/
8
5 3 .
; # ' 5 7 6 5 7 4 +
5*+0#)#9#-7
, 3 ; $ ( 6 +
; # ' 5 7 % # / 2
The current connected destination
←→
Ჽ Ჾ Ჸ Ჸ
/ 76'
5%12'
/
8
5 3 .
; # ' 5 7 6 5 7 4 +
5*+0#)#9#-7
, 3 ; $ ( 6 +
; # ' 5 7 & 4 + 8 '
The last connected node and room
If the current connected destination differs from the last connected node or room, the
display switches to the last connected node or room. Upon pressing the microphone
[PTT], the connected destination switches to the last connected node or room and
communication is enabled. Touch the last connected node or room to display the
category list of the last connected node or room.
Tip
If connection is not possible, “Not Connected” will be displayed and the text will turn grey.
●
Specifying the DTMF ID of the desired node or room
1
Press and hold “#” on the microphone
The DTMF input screen will be displayed.
2
Enter the DTMF ID
3
Press briefly “#” on the microphone.


