


27
5.2.6 Advanced
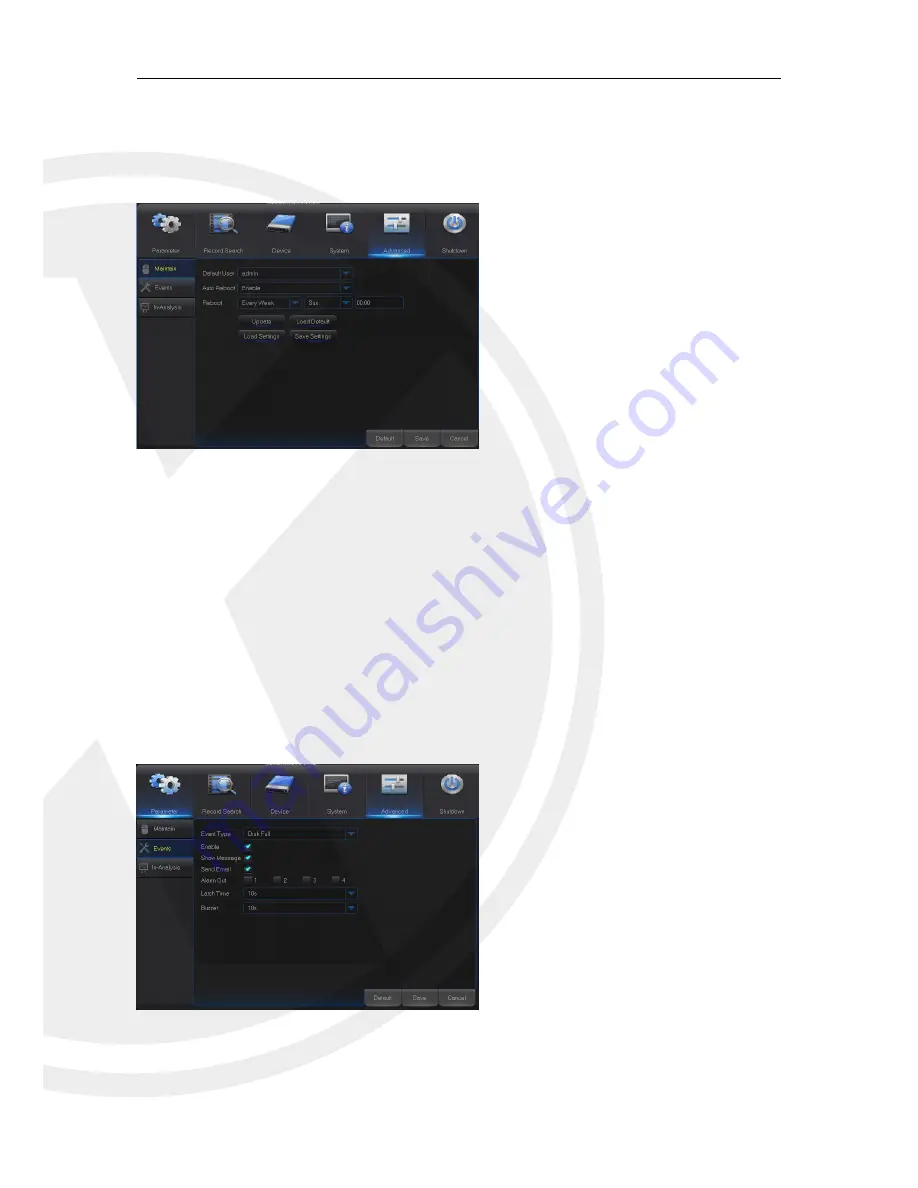
1. Maintain
Go to “Main Menu” → “Advanced” → “Maintain” to enter into the interface shown as Picture
5-48.
Picture 5-48
Load Default:
If [Load Default] is selected, you can initialize the system to the ex-factory
default. Click “Load Default” and select items to be restored
Load Settings:
Load parameters on the removable storage device to the XHRDVR.
Save Settings:
Save the set parameters of user’s XHRDVR to the removable storage device.
Note
: Do not take out the USB memory or cut off the power during upgrading. When the
update is done, system will be automatically restart. After about 5 minutes, the upgrading will be
finished. It is recommended to
load ex-factory default
after upgrading. The auto maintain
function can be effective only when XHRDVR returns back to Preview mode with no any operation
within the set auto maintain time.
2. Events
Go to “Main Menu” → “Advance” → “Events” to enter into the interface shown as Picture
5-49.
Picture 5-49
Auto Reboot:
Enable the auto
maintenance function to reboot
system
regularly
at
every
day/week/month.
When
Auto
Reboot is enabled, the XHRDVR
should be in the main interface and
no user operation.
Update:
Click Update to enter the
Device interface and select the
updating file in USB to execute.
Event Type:
Supports three abnormal
types: Disk Full, Disk Error and Video Loss.
Enable:
Active alarms for abnormal
situations.
Alarm Out:
Enable or disable alarms
Latch Time:
How long the buzzer will
sound when external sensor alarm is
detected (10s, 20s, 40s, and 60s).
Show Message:
Set show message on
the screen when sensor alarm is
detected.
Buzzer:
How long the buzzer will sound
(10s, 20s, 40s, and 60s).
Send Email:
Select to send Email to
specified Email address when abnormal
events appear.


