19
4.2.2. Date/Time
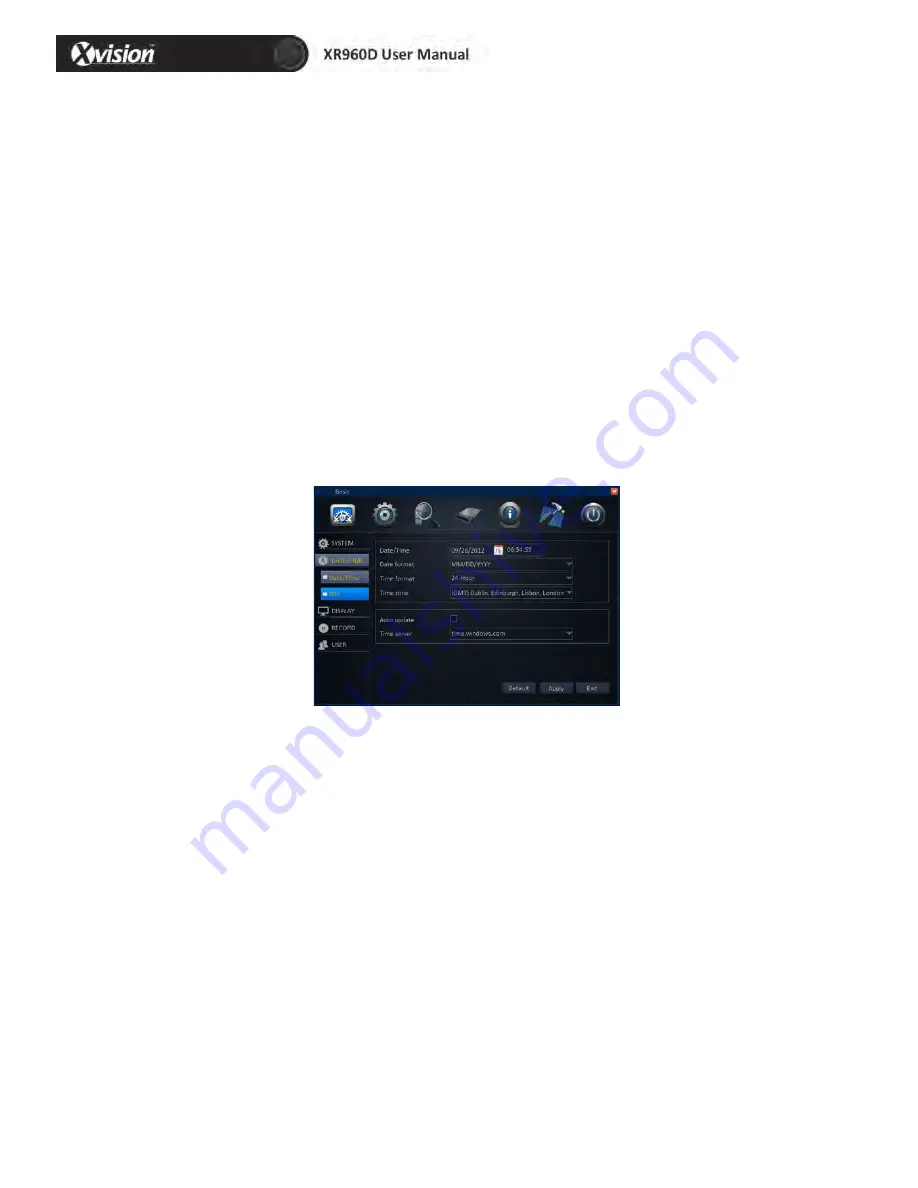
Date/Time setup:
1) Date/time: Click the calendar beside the date setup box, and select the date; Click the
time setup box and click to input.
2) Date format: Select “MM/DD/YYYY”, “YYYY-‐MM-‐DD”, “DD/MM/YYYY” from the
drop-‐down box.
3) Time format: Select “24-‐Hour” or “12-‐Hour” from the drop-‐down box.
4)
Time zone: Select the time zone from the drop-‐down box.
5)
Synchronization: Network proof function. Mark while connecting to the web and
select the proof sever from the drop-‐down box.
6)
Time sever: Select the proof sever among multi sever address from the drop-‐down
box.
Please Note: After setting is completed, click “Apply” to finish setting, and click “Default”.
To recover to default settings, and click “Exit” to the return.
DST setup
1)
Enable: Mark enables the use of the DST setup.
2)
Mode: Select “Week” or “Date” from the box.
3)
Offset: Ttime period ahead or delayed, Select “One hour” or “Two hours” from the
box.
4) Start time: It can be set according to the DST
Note: Click “Apply” to save the new setting. Click “Default”, to cancel the new setting.
Click “Exit” to go back to the previous menu.


