


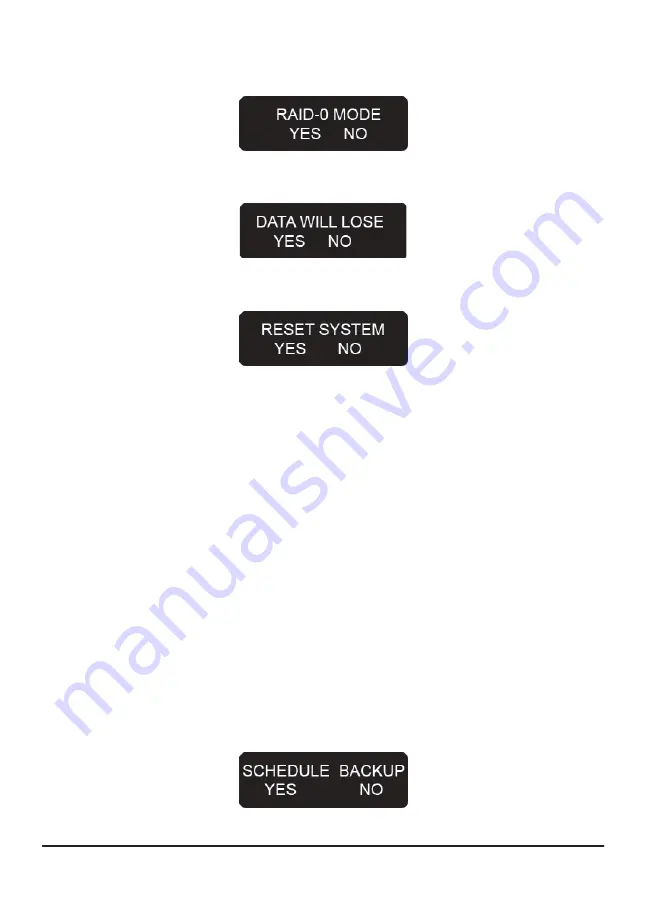
Step 2 Press the “ENT” button and the screen will show the message “RAID-0 MODE YES NO”.
Press the “ENT” button again to confirm.
Step 3 System will show the warning “DATA WILL LOSE YES NO”. To confirm loss of data is allowed,
press the “ENT button”.
Step 4 System will show the message “RESET SYSTEM YES NO”. Press the “ENT” button to confirm.
Step 5 After confirming you will hear a “Beep” sound confirming that the system has been changed to
the RAID mode as directed.
※
To change from RAID 0 to RAID 1 mode, at Step 1 go to the “RAID-1 MODE YES NO” option before
pressing the “ENT” button instead. Follow the remaining steps to change the RAID mode.
3.2.2 Schedule Backup Settings
When the user uses RAID 1 mode for backups, since both hard disks are being mirrored online at the
same time, the backup data may contain viruses. To avoid this problem, the Schedule Backup function
provided by the XL-RAID-SATA-USB allows the user to define a backup interval of multiple days. At the
scheduled intervals the RAID will back up the data from the Primary Disk to the Secondary Disk. This
means the data in the disk array system does not have to be mirrored constantly at all times. This
approach also saves system processing time, making data backup more efficient and effective.
Instructions:
The user can specify a certain number of days (1~30 days) and at the appropriate times the system will
automatically back up the data.
Step 1 Log into the system then use “
▼
” or “
▲
” with the LCD display to scroll through the options until
“SCHEDULE BACKUP YES NO” appears. (Default system password: 0000)
Instructions
13
Содержание XL-RAID-SATA-USB
Страница 1: ...XL RAID SATA USB Data Backup System User s Guide ...
Страница 4: ......
Страница 9: ...7 Product Outline ...
Страница 20: ......


