Step 5 When the hard drive installation has been completed, insert the hard drive tray into the
system horizontally and secure the latch into place.
Step 6 Use the preferred cable included to connect your computer to the relative interface
connection on the XL-RAID-213SA unit.
When your computer has booted, your operating system should recognize the hard drive(s)
automatically. After the hard drive(s) has been successfully recognized, please follow the hard drive
formatting instructions given by the operating system. Once the formatting of the hard drive(s) has
been completed, the hard drive will be ready for use.
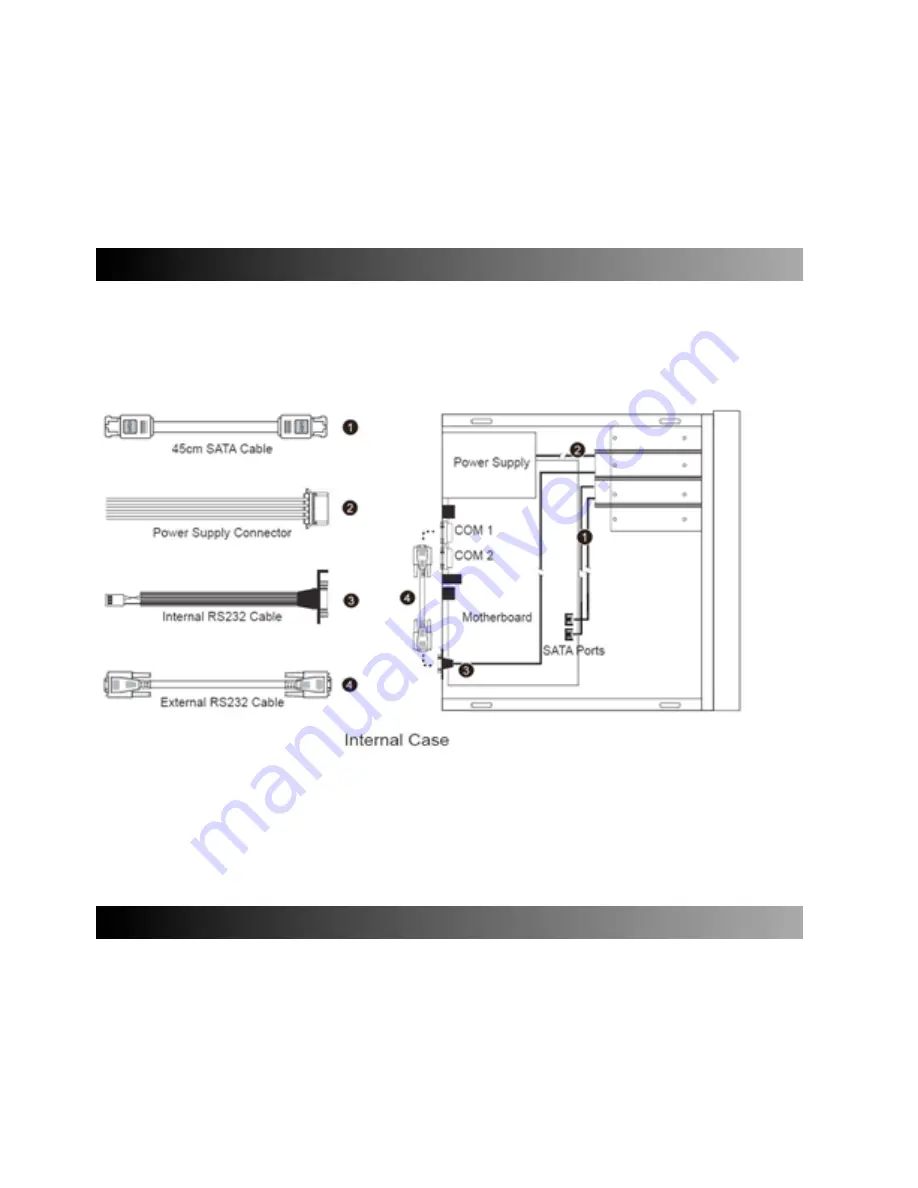
5. Connecting to computer
1. Connect DC12V&5V power cables and SATA cables to XL-RAID-213SA.
2. Connect SATA cable to SATA port on the motherboard.
※
Note :
1. RS232 Port and RS232 Cable: Provides hardware status monitoring to industrial control system or IPC via RS232.
2. We do not recommend users to disassemble the device without proper instructions and authorization. The manufacture warranty
will not cover the damages caused by unauthorized disassembling.
3. To prevent the device from malfunction, please make sure the device is connected with a direct and dedicated power connection of
a stable power input.
6. Setting the Hard Drive Array Mode
Please select the RAID mode with the jumper located at the back panel. The original default is RAID
1, still there are three pins at the back panel for RAID mode selection: RAID 0 mode by setting the
jumper on the bottom of the two pins. RAID 1 mode by setting the jumper on the top of the two pins.
1. RAID 1 Mode
a). Place two new hard drives into XL-RAID-213SA and strongly suggest you to use two
identical hard drives to get the equal capacity. If the capacity is different, XL-RAID-213SA is
downward to the small hard drive capacity.
Содержание XL-RAID-213SA
Страница 1: ...XL RAID 213SA User Manual ...


