


Rev.: 20170814
Platform: DBALL2
Firmware
4
: HYUNDAI
© 2017 Directed. All rights reserved.
Feature
Option List
&
Page 9
* Default Option
Feat.
Operation
Flashes/Options
Description
1. No RF Output*
Module is connected to a remote starter using a standard installation.
2. RFTD Output
Module is connected to an XL202 using an RSR or RXT installation (when available).
3. SmartStart
Module is connected to SmartStart using an RSR or RXT installation (when available).
1. Driver Priority*
Unlocks only the driver door on first press and unlocks all doors on a second press within 5 seconds.
2. All
Unlocks all doors on first press.
1. Disabled
The OEM alarm will not be controlled by DBALL2 upon remote start. No disarm or arm command will be
executed at the beginning or end of the sequence; it must be controlled by the Remote Starter.
2. Safelock
Smart OEM Alarm Control will behave like a standard Safelock feature on a remote starter. It will unlock at the
beginning of the sequence, and relock after start and shutdown.
3. Enabled*
Smart OEM Alarm Control will synchronize with the OEM alarm so that it will disarm and rearm the vehicle in
the remote start sequence, only when required. The reason for this is, factory alarm control must often be done
by lock or unlock operation. This could create unnecessary actions on door lock modules, such as the horn to
honk. When possible, Smart OEM Alarm Control will monitor the alarm and door lock status to detect if the
disarm or rearm is required. If the vehicle is unlocked or is not equipped with factory alarm, the disarm/rearm
will not be executed. Smart OEM Alarm Control will also monitor the remote starter actions so that the factory
alarm control is not done twice. A remote starter, for which the Safelock feature is active, will work perfectly with
this option and will make it invisible to the user.
Smart OEM Alarm
Control
3
RFTD Output
Type
1
2
Unlock Driver
Priority
It is recommended to configure all
features and options listed below
the
the
using
configuration tool found on the module
flashing page on www.directechs.com. The web offers more options; however, manual configuration of the features is
possible using the information on this page.
To enter feature programming routine
-
Turn t
, then
he ignition
.
ON
OFF
-
Within 5 seconds
, press and
the rogramming button
turns
after 3 seconds . Release the
HOLD
LED
ON
p
until the
orange (
)
Programming button.
-
The
to indicate the feature number is 1. After a short delay, the
flashes
rapidly to indicate
LED
LED
will flash green once slowly
red
the current option of feature 1
.
repeat
(i.e. 1x green followed by 1x red indicates feature 1 is set to option 1) The flashing sequence will
until
.
a new command is entered
Changing feature options
-
Press the
arm or
disarm button on aftermarket transmitter to change the option of the selected feature.
lock/
unlock/
-
The
flashes
rapidly the number of times equal to the current option number. After a short delay, the
flashes green slowly
LED
LED
red
the number of times to indicate the current feature.
repeat until
.
The flashing sequence will
a new command is entered
Accessing another feature
-
Press and release the programming button a number of times to advance from the current feature to the next desired feature.
-
The
flashes green slowly the number of times equal to the feature number. After a short delay, the
flashes red rapidly to
LED
LED
indicate the current option of the current feature.
repeat until
.
The flashing sequence will
a new command is entered
When the maximum number of features or options is reached, the
will start flashing again from the first feature or option.
LED
Once a feature is programmed
-
Other features can be programmed.
-
The feature programming can be exited.
Exiting feature programming
-
No activity for 30 seconds; after 30 seconds, the
will turn
orange for 2 seconds to confirm the end of the programming
LED
ON
sequence.
OR
-
Press and
the programming button for 3 seconds. After 3 seconds, the
will turn
orange for 2 seconds to confirm the
HOLD
LED
ON
end of the programming sequence.
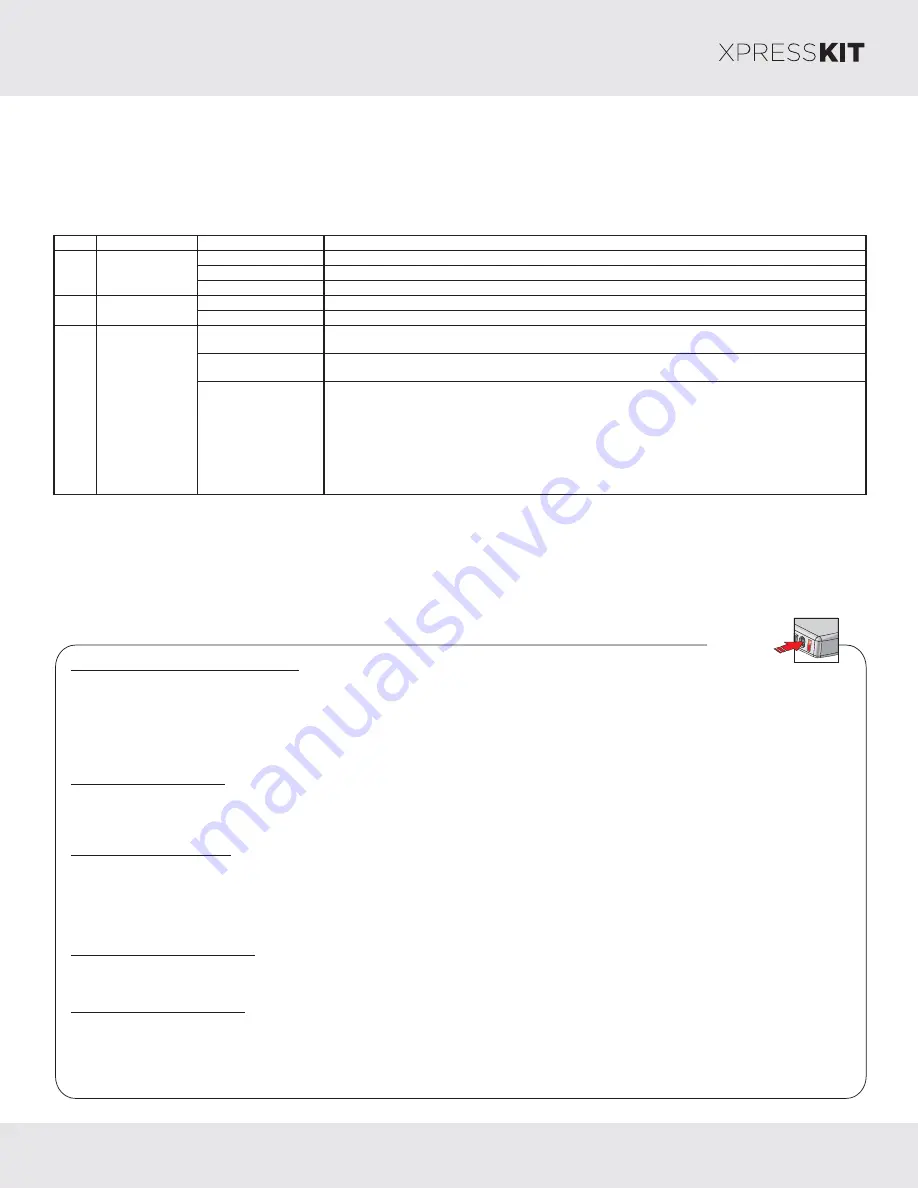
Feature Programming
Programming
Button


