


XK-1A Development Board Tutorial
d i r e c t i o n = ! d i r e c t i o n ;
b r e a k ;
}
}
}
v o i d r e s p o n d T o B u t t o n ( in p o r t but , c h a n e n d c ) {
/* C o d e to r e s p o n d to a b u t t o n p r e s s */
w h i l e (1) {
but w h e n p i n s e q (0) : > v o i d ;
p r i n t f ( " P r e s s e d \ n " ) ;
but w h e n p i n s e q (1) : > v o i d ;
p r i n t f ( " R e l e a s e d \ n " ) ;
c <: 0;
}
}
int m a i n ( v o i d ) {
c h a n c ;
par {
f l a s h L E D s 4 b i t P o r t ( led , c , F L A S H _ P E R I O D , C Y C L E _ P E R I O D ) ;
r e s p o n d T o B u t t o n ( but1 , c ) ;
}
r e t u r n 0;
}
4. Run your application.
A flashing LED should cycle between the four LEDs on one of the XK-1As.
5. On your XK-1A, verify that pressing and releasing button BUT1 causes the
flashing LED to change direction, and then click the
Terminate
button () to stop
your project running.
5.5
Exercise 2
This part of the tutorial shows you how to put ports and threads on different
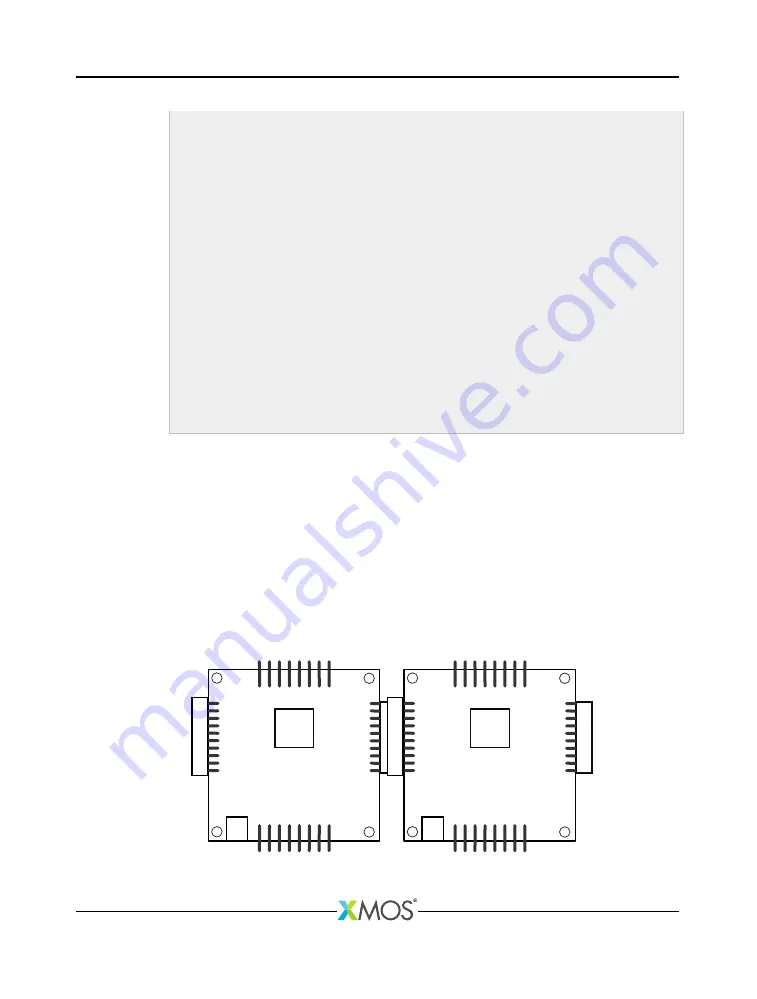
processor cores. It requires you to have two XK-1As available. Follow these steps:
1. Connect the two XK-1As together.
2. Choose
File
·
New
·
XDE Source File
().
X7366A


