MultiUART COM port demo quickstart guide
7/8
selection). The UART will be reconfigured (xTIMEcomposer Studio console will
display the reconfigured value). The terminal console should be reopened with
the new selected baud rate. Press
h
to display user menu.
6. Key in
f
in order to transfer a file through UART 0. Use file upload option if it
is supported by terminal client application or type in the Console window and
then press Ctrl+D to send the data and recieve it for display. In order to get
back to user menu, press
Esc
key.
7. Key in
b
in order to pipe data through UART channels 1-7. Type in the console
window and then press Ctrl+D to send the data through 7 channels and recieve
it for display. Hardware setup for pipe option should be as shown in the
loopback connections figure above. If the connection to any of the channels is
disconnected you will not see data received back and a message is displayed on
the terminal console saying that the MultiUART pipe is broken.
8. If you successfully sent characters using the
b
option above, verify that the
MultiUART pipe through all UARTs is indeed present by removing one of the
jumpers, repreating the
b
,
CTRL-D
sequence above upon which an error message
regarding the broken pipe should be displayed.
9. Key in
h
in order to display user menu. This help is displayed any time during
execution by pressing
Esc
key followed by
h
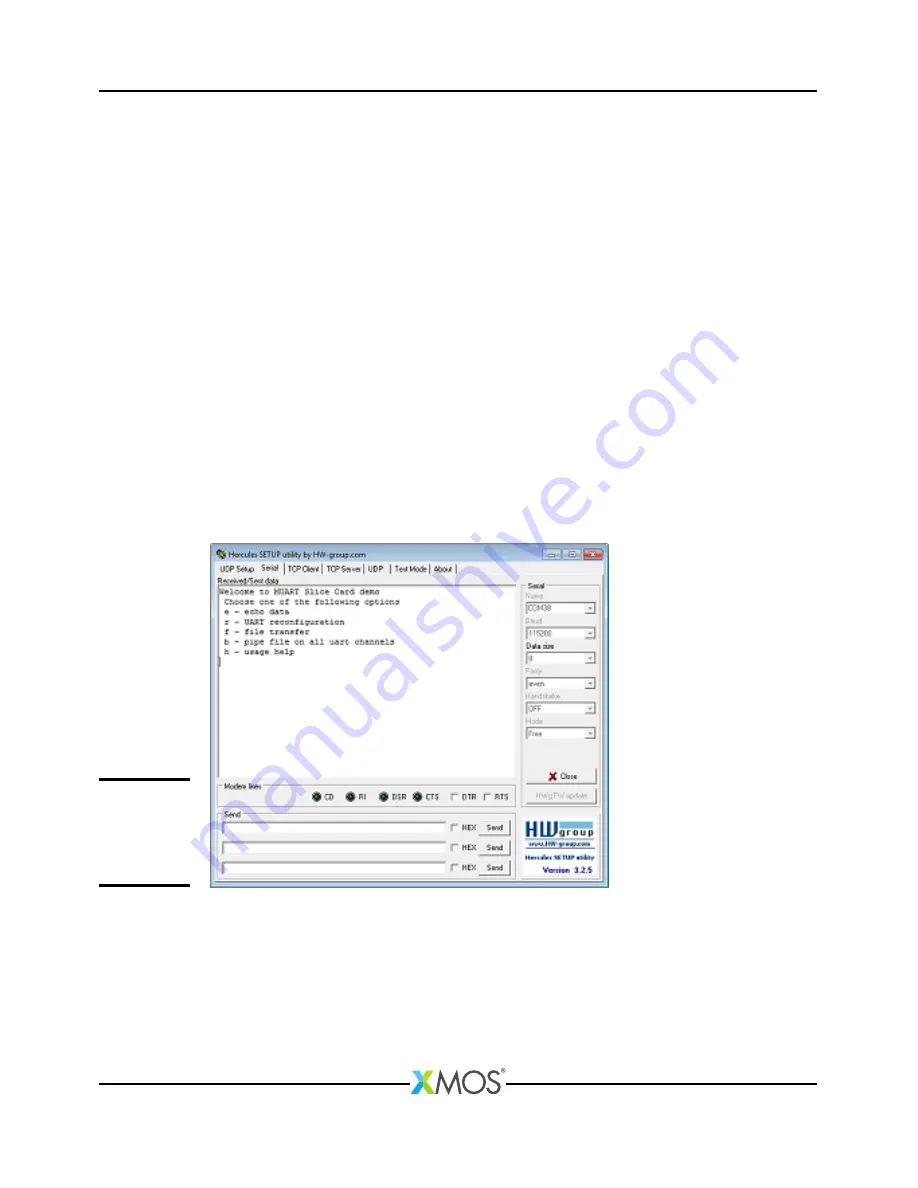
Figure 3:
Screenshot of
hypertermi-
nal
window
1.5
Next steps
1. Refer to the module_multi_uart documentation for implementation details of
this application and information on further things to try.
2. Evaluate the full
ethernet to serial
(8 UART) reference product. This is a
fully featured reference product including an embedded webserver, multicast
REV A


