


14
Click
Continue
when you are done.
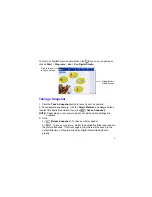
5. Define your animated characters’ path.
(See page 28 for more on how to define the path of an animated character).
Click
Continue
when finished.
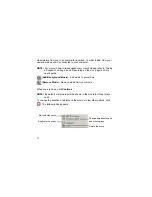
6. Select the background music. Click [
Set Background Music
].
7. Choose your background music. To listen to the music before selecting,
place your cursor on any one of without clicking.
Click [
Mute
] to turn background music on and off.
NOTE:
When you change the
Mute
button to , it does NOT remove the
background music. You just will not be able to hear it. To remove the
music entirely, click [
Set Background Music
] and choose
.
After you select your music, click
Continue
.
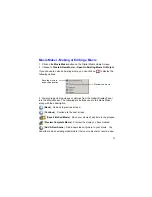
8. Click [
Transition Effect
]. Sample the effects by placing your cursor
above each individual effect.
9. Choose the opening effect (how you want the E-Card to open up). Click
Continue
.
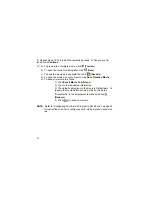
10. To preview the E-Card, click [
Preview
].
To save the E-Card for editing later, click [
Save
].
To save the E-Card as a separate file, click [
Save As
].
11. Type in the requested information. In the
Attach Card As
pull-down
menu, select
A Video (*.wmv)
if the person you are sending the card to has
Windows Media Player.


