


10
NOTE:
Refer to “Configuring Your E-mail Program to Send Files” on page 29
for instructions on how to configure your E-mail program to send video
mail.
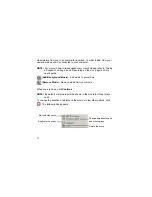
Video Settings
[
Settings
] - Click this button to change the settings of your videos. In
order to use the built-in microphone for Veo Advanced Connect, select
USB
Audio Device
from the
Audio Source
pull-down menu.
NOTE:
In order for the new settings to take effect, apply before recording.
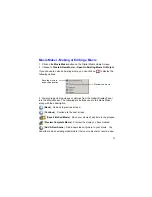
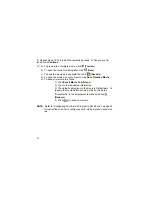
Recording an Audio Clip
1. Click the
Record An Audio Clip
button.
2. Adjust the volume using the
Microphone
Volume Adjustment Bar
. Click
[
Record
] to record your audio. Notice the button turns into [
Stop
].
Click the
Stop
button any time to end recording.
3. After the recording stops, the following buttons will appear on the bottom of
the screen:
[
Adjust Volume
] - Adjust volume of audio clip.
[
Trim Audio
] - Trim the audio clip to the selected size and length.
[
Play
] - Play the audio clip.
[
Rerecord Audio
] - Record another audio clip.
Drag to select starting/ending point of audio


