Managing and printing jobs from the Tape Client
Tape Client Job Submission Guide
2-7
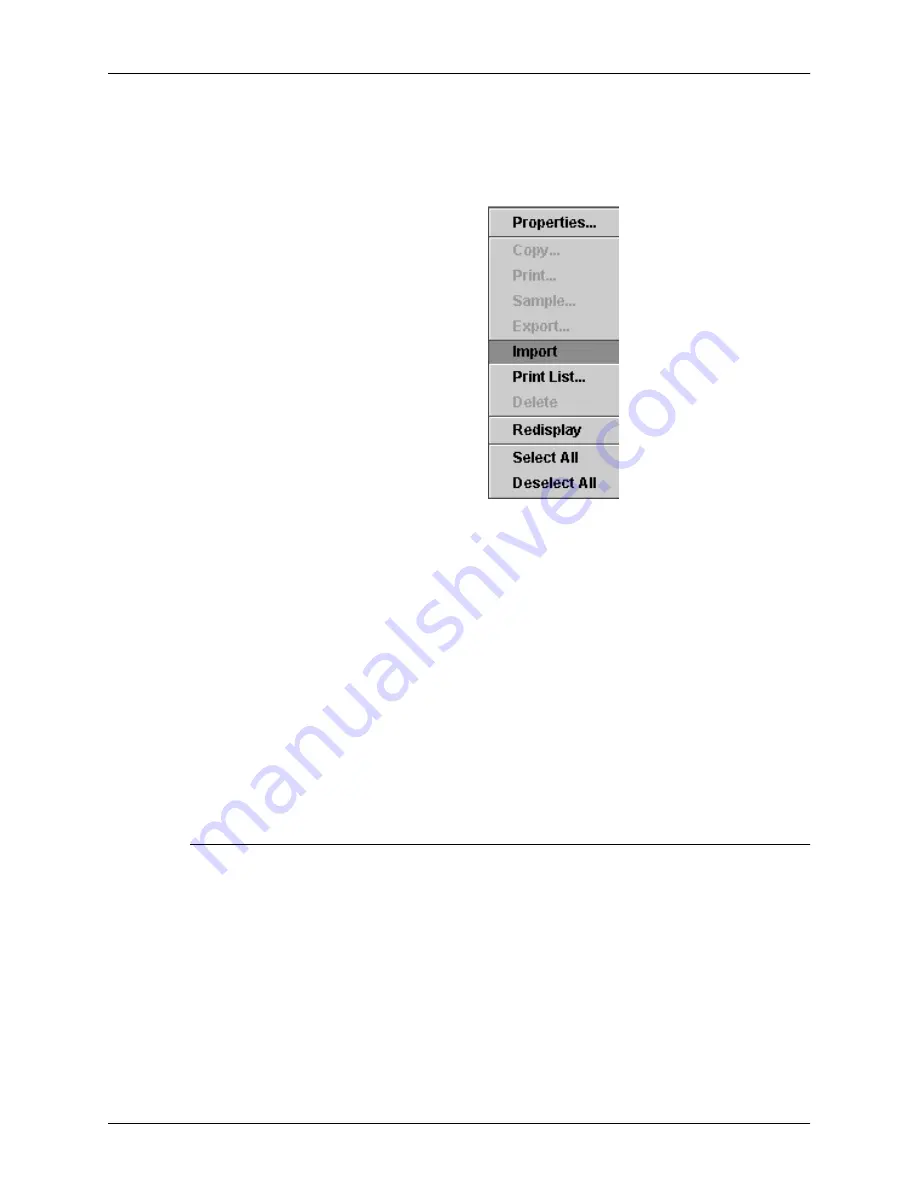
7. After you have selected all the files that you want, right-click
in the resource list section again, and select Import from the
pop-up menu.
Figure 2-5. Popup menu with Import selected
A Question prompt window opens, advising you that the
importing process could be lengthy.
CAUTION
Imported files automatically overwrite existing files that have the
same name, unless the file is read-only. You do not receive a
confirmation prompt or an opportunity to cancel the file
replacement.
8. Click Yes on the Question window to start importing the
resource files.
Specifying files for printing
To select the files on the tape that you want to print, follow these
steps:
1. Load the job tape.
2. Open the Tape Client window.
3. On the Tape Client window, do one of the following:
•
Select All to print all the physical files on the tape.
•
Select the Range button to print one or more of the
physical files.


