USING THE PC UI
Powering on the PC UI
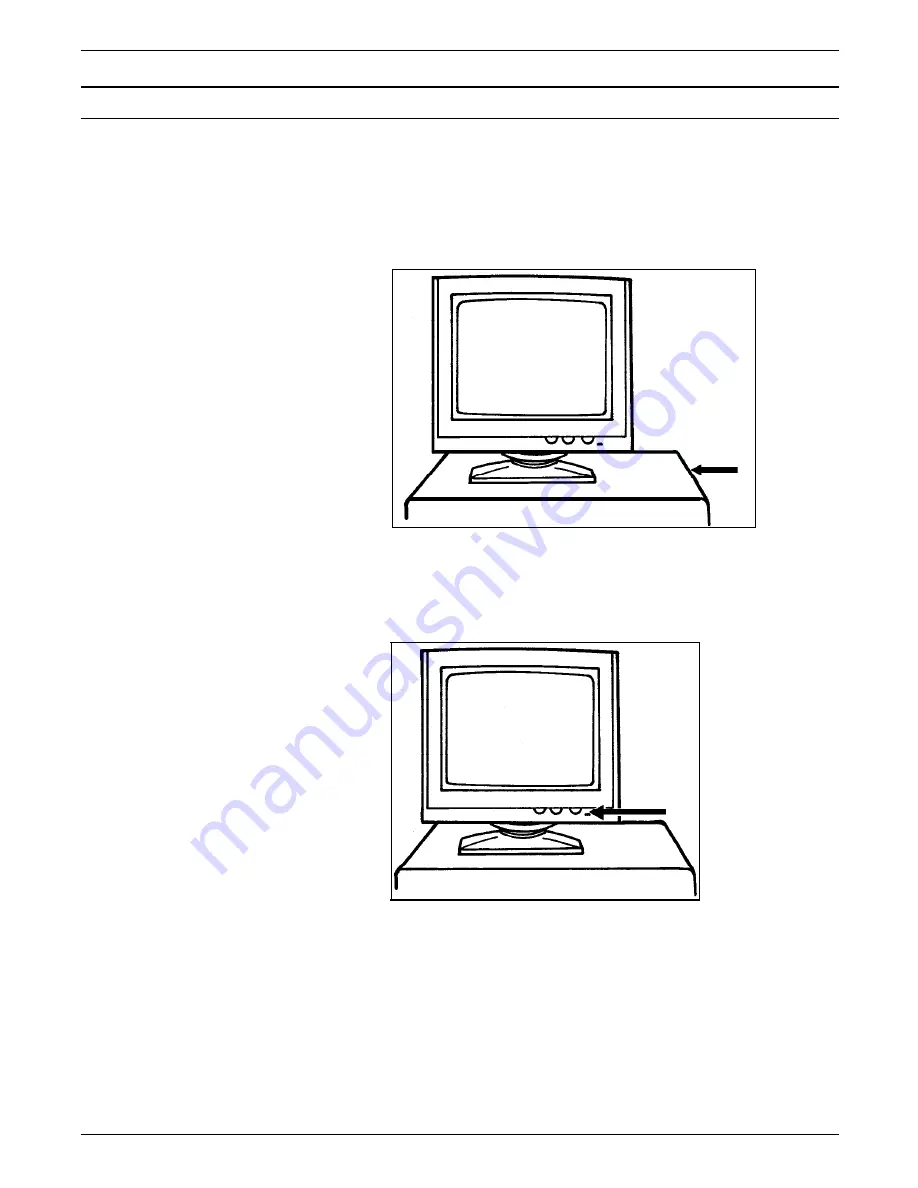
1. Set it to ON (1).
Note: The switches described for the PC UI may not be in
the positions shown because of the different PC UIs. Refer to
your PC UI documentation for the locations.
Figure 1-2
Power switch on the PC UI
2. Power on the PC UI monitor by pressing the Power button
on the front bottom of the monitor.
Figure 1-3
Power button on the PC UI monitor
Some information appears on the screen as the PC UI starts.
Next, the Wait cursor appears (refer to the “Types of cursors”
section later in this chapter). Next, you see the screen depicted
in figure 1-4.
1-2
XEROX 4635 LASER PRINTING SYSTEM PC USER INTERFACE REFERENCE


