


Install the Touch Screen Driver for Microsoft Windows XP:
Here is a simple walk through of Windows XP Touch Driver Installation for
1020TSV. You can skip this step if you have the 1020YV.
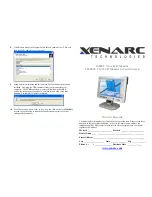
1.
Click on Start, Run, and Enter D:\Driver\Win2000_XP\Setup.exe (Please
change the drive letter corresponding to the drive containing the installation
CD). Click
OK
.
2.
The Install Wizard window appears. Click
Next
.
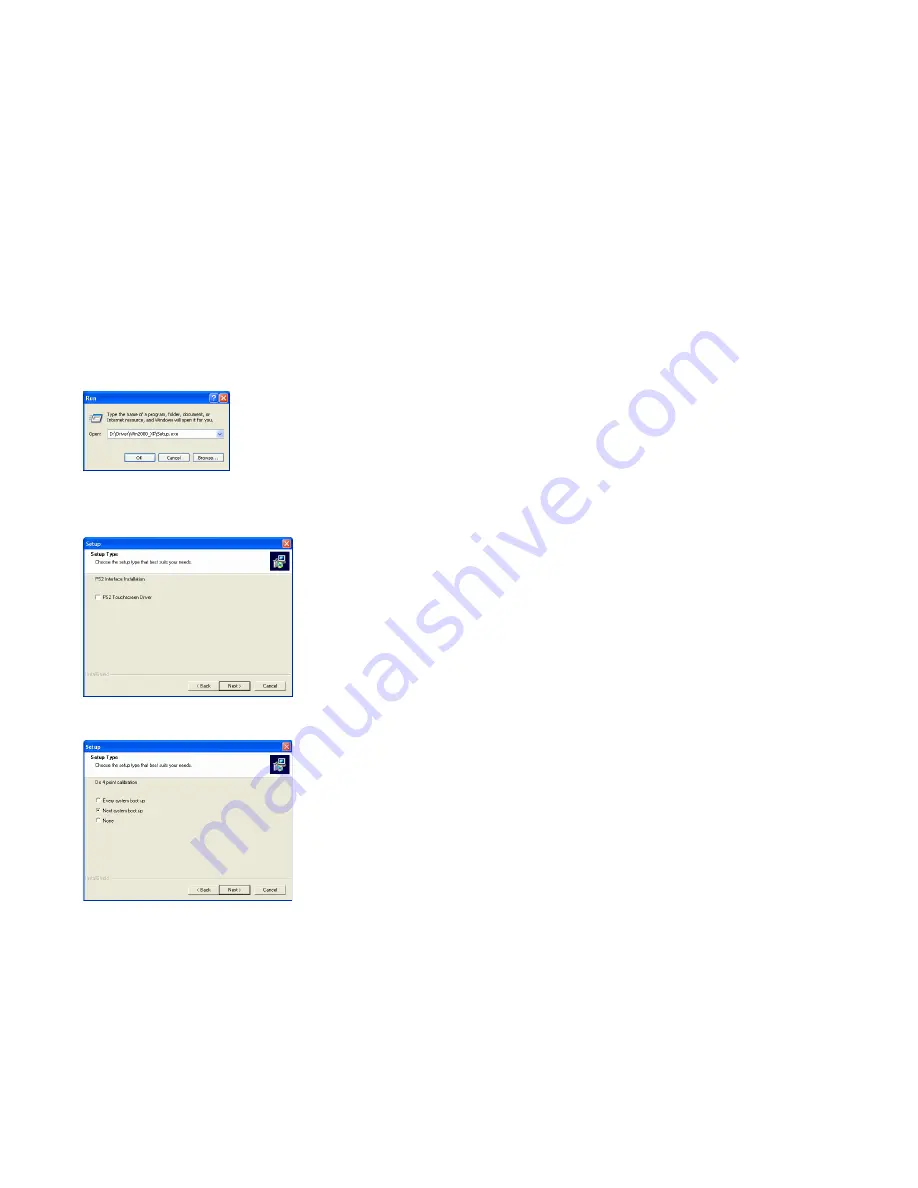
3.
Click
Next
to continue. Please leave the check box next to “PS2
Touchscreen Driver”
unchecked.
4.
Select
Next system boot up
for 4-Point Calibration and click on
Next
to
continue.
External Buttons, Hot keys description:
Note1: The OSD Menu is only available when a video source is present.
Note2: The Hot keys are only available while the OSD menu is off.
“
M
”
– Stands for Menu. This button is for OSD menu on/off toggling.
“
S
”
– Stands for Select. Use this button to scroll the menu when the
OSD menu is on. Use this button as a hot key to switch video
channel directly when OSD menu is off, following this rotation:
VGA ->Video1 -> Video2 ->VGA.
“
/\
”
– Stands for Increase. Use this button to increase value while OSD
menu is on. Use this button as a hot key to increase speaker
volume directly when OSD menu is off.
“
\/
”
– Stands for Decrease. Use this button to decrease value while
OSD menu is on. Use this button as a hot key to decrease speaker
volume directly when OSD menu is off.
“D”
– Stands for Dimmer. Use this button to quickly dim the backlight
for night time use, following this rotation: Full Brightness ->
Medium Brightness -> Low Brightness -> Full Brightness.
Remote Control functions Description:
“
Menu
” – Stands for Menu. This button is for OSD menu on/off toggling.
“
“+”
– Stands for Increase. Use this button to increase value while OSD
menu is on. Use this button as a hot key to increase speaker
volume directly when OSD menu is off.
“–”
– Stands for Decrease. Use this button to decrease value while
OSD menu is on. Use this button as a hot key to decrease speaker
volume directly when OSD menu is off.
“
/\
”
– Stands for Up. Use this button to Scroll up through the OSD
menu while OSD menu is on.
“
\/
”
– Stands for Down. Use this button to Scroll down through the
OSD menu while OSD menu is on.
“PIP” – Use this button to enable Picture In Picture function. Press once
for AV1 in PIP window, press twice for AV2 in PIP window, press
again to turn off PIP.
“POP” – Use this button to enable Split Screen function. Press once for
AV1 in Split Screen, press twice for AV2 in Split Screen, press
again to turn off PIP.
“YES” – Use this button in PIP or Split Screen mode to switch between
the three modes: Small PIP Window, Large PIP Window, and Split
Screen.
“Scan” – Use this button to switch video channel, following this rotation:
VGA ->Video1 -> Video2 ->VGA. Pressing this button in PIP or
Split Screen mode will change the input of the main screen.


